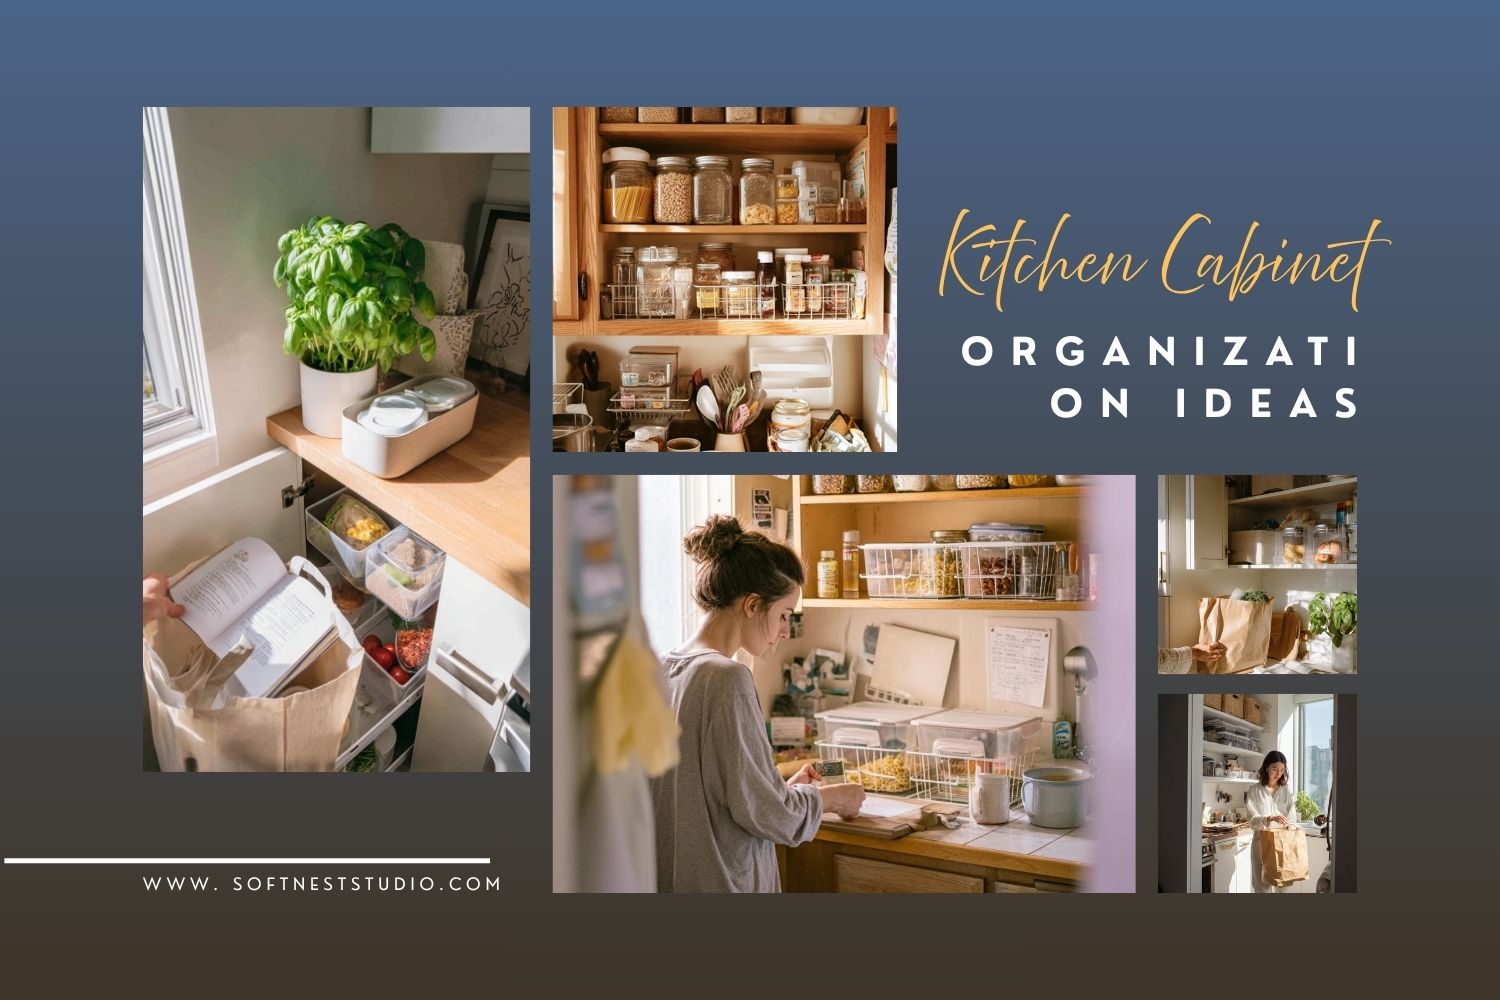
Kitchen cabinet organization ideas can make cooking faster and cleanup easier. When snacks, spices, mugs, and containers have a clear home, you waste less time searching and you buy fewer duplicates.
This guide shares real-life setups you can copy, from labeled pull-out bins and spice risers to door racks for foil and wraps. You will also see small styling touches that keep cabinets looking calm, even in a busy family kitchen.
Each section matches a common kitchen situation, like a tiny apartment, a rental, a budget reset, or a coffee station. You will get simple steps, a pro-level layout tip, and a budget note so you can choose what fits your home.
Pick one cabinet to start, set a timer for 20 minutes, and test the system for a week. Small changes in one spot often lead to better habits in the whole kitchen.
1. Family-Friendly Cabinet Zones for Snacks and Lunch
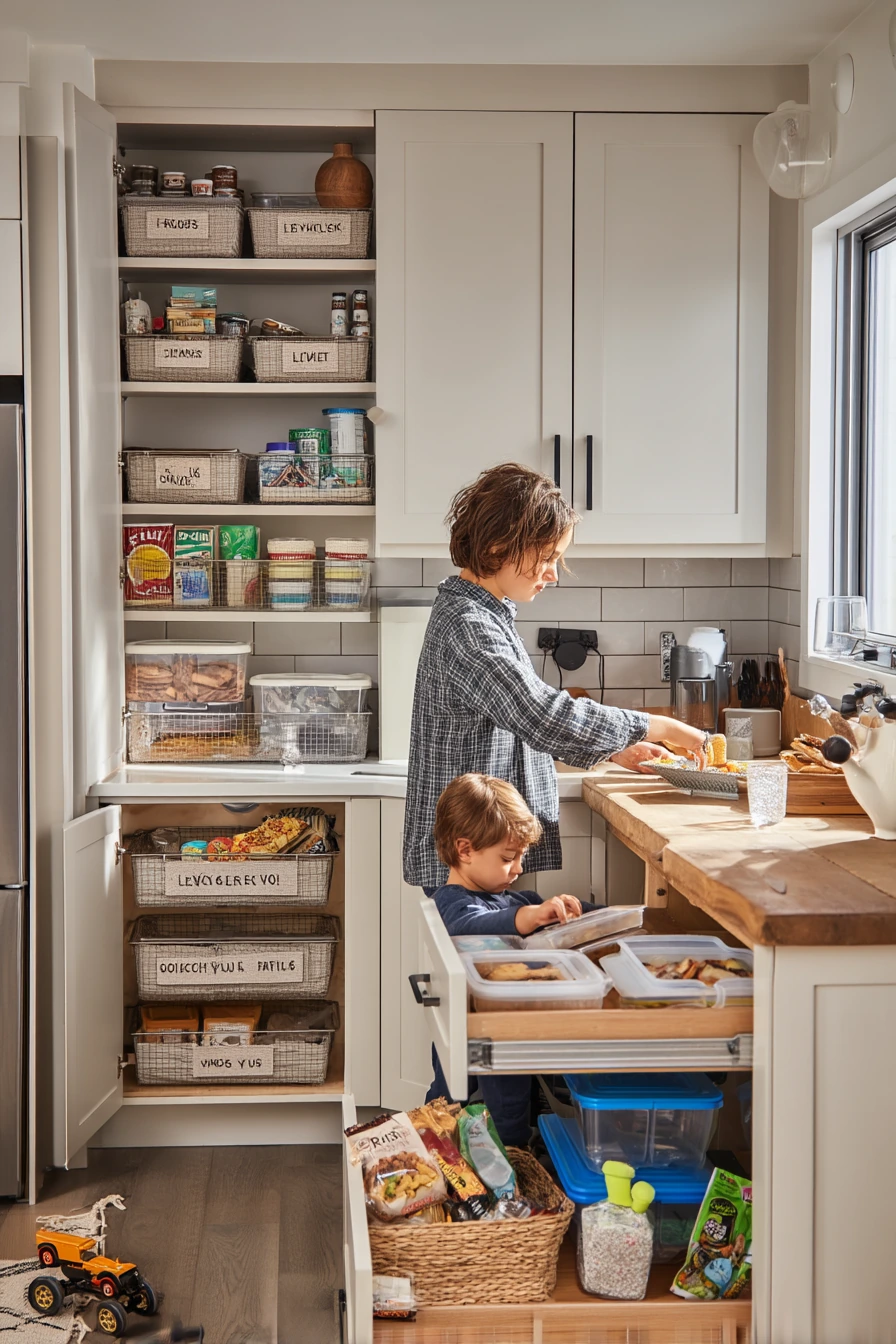
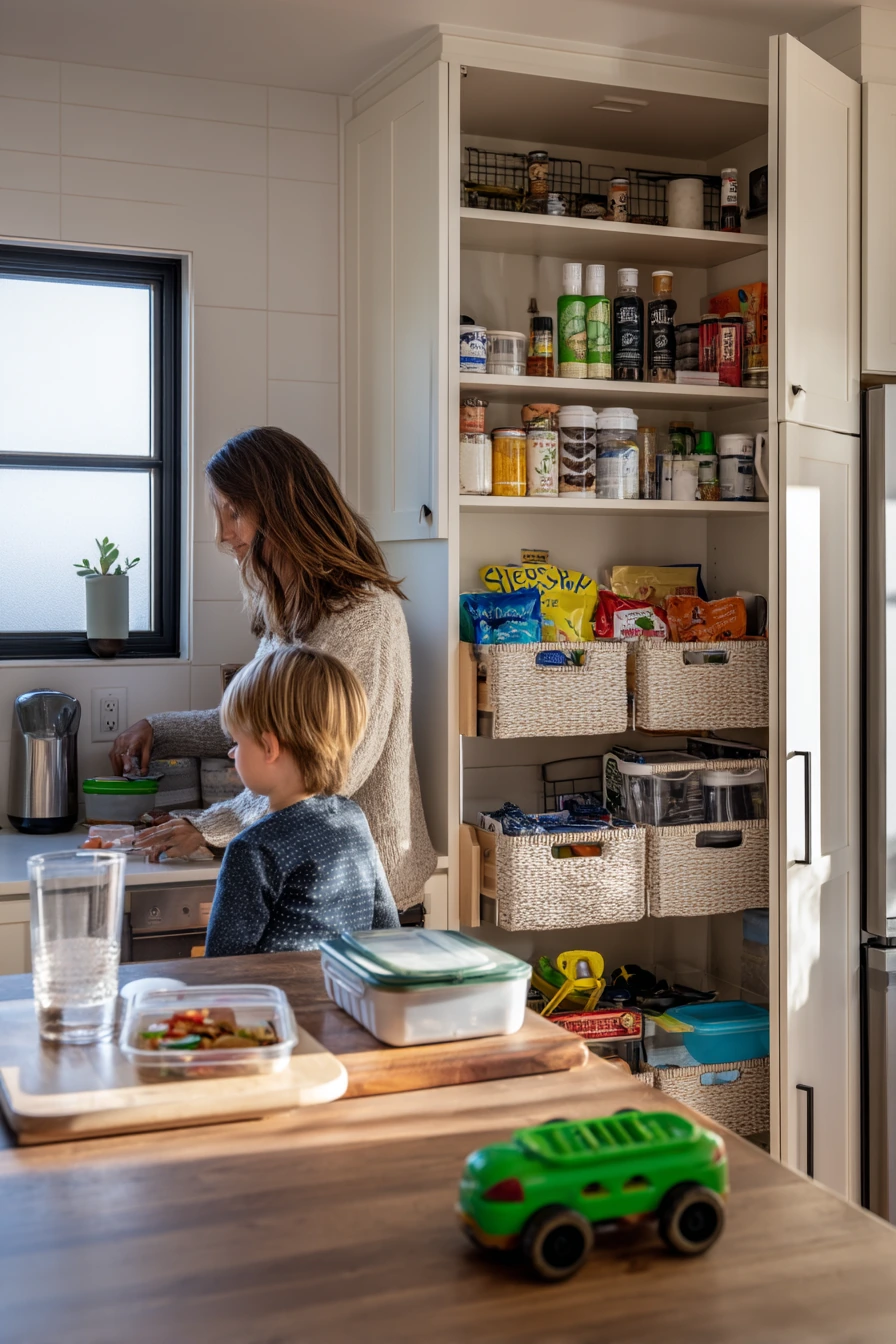
A family kitchen needs cabinet organization ideas that work during the morning rush. Start by making two zones: a kid-friendly snack zone and an adult meal-prep zone. Labeled pull-out bins for snacks help kids grab items without digging. Keep lunch containers near the counter where the lunchbox opens, so packing is one smooth path.
Use stacked mugs in one cabinet to free up shelf space for pantry baskets. Add spice risers so you can see every jar at once. A narrow door rack is perfect for foil, wraps, and parchment because it keeps boxes upright and easy to pull. This setup feels lived-in and calm, even if there is a water glass nearby or a charging cable by the toaster.
How to style it: choose labels that match, like simple black text on white. Group snack bins by type, such as salty, sweet, and grab-and-go. Keep one bin for “school extras” like napkins and small bags. If toys end up under the island, add a low basket so the floor stays clear while you cook.
- Set one pull-out bin for each snack type and label the front.
- Store lunch containers with lids together in a dedicated basket.
- Use a spice riser so jars do not hide behind each other.
- Add pantry baskets for backstock like crackers and granola bars.
- Mount a slim door rack for foil, plastic wrap, and bags.
Pro Design Tip: Place the snack and lunch cabinet closest to the fridge so kids can build lunch in one spot, and keep the lowest shelf for items they can reach safely.
Budget Considerations: Use sturdy shoebox bins and painter’s tape labels first, then upgrade to matching pull-out bins only after the zones prove they work.

2. Tiny Apartment Cabinet Organization for Small Spaces
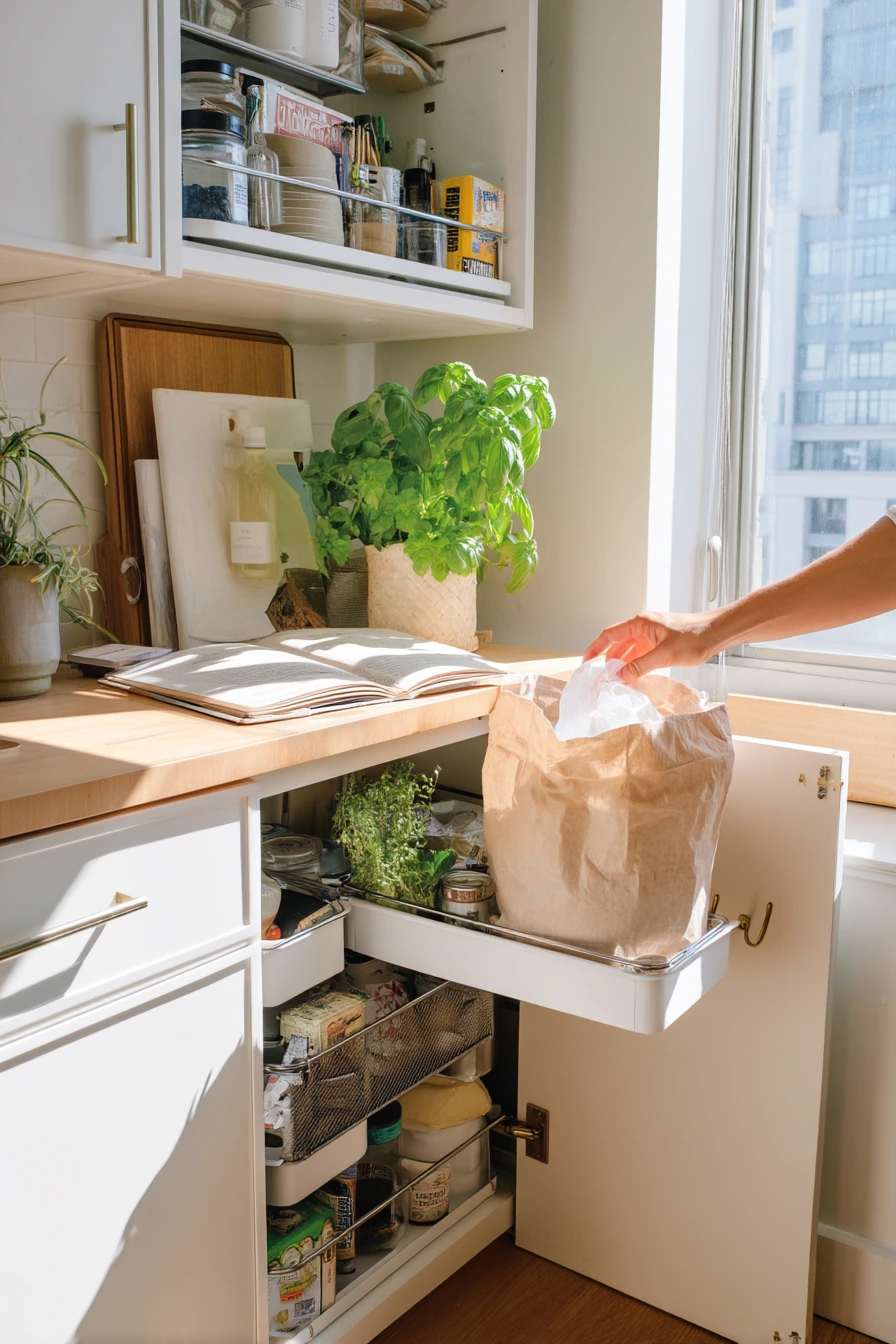
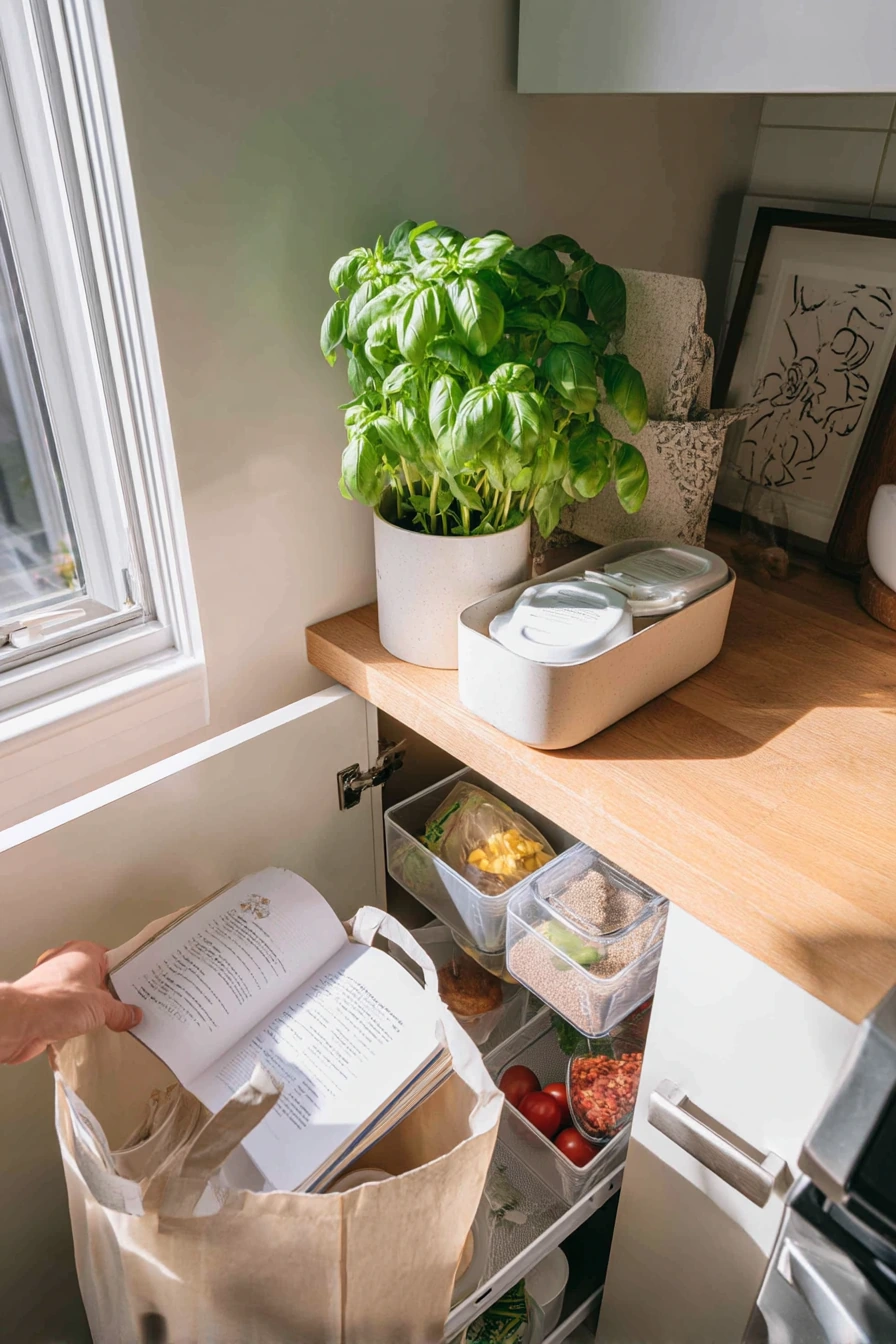
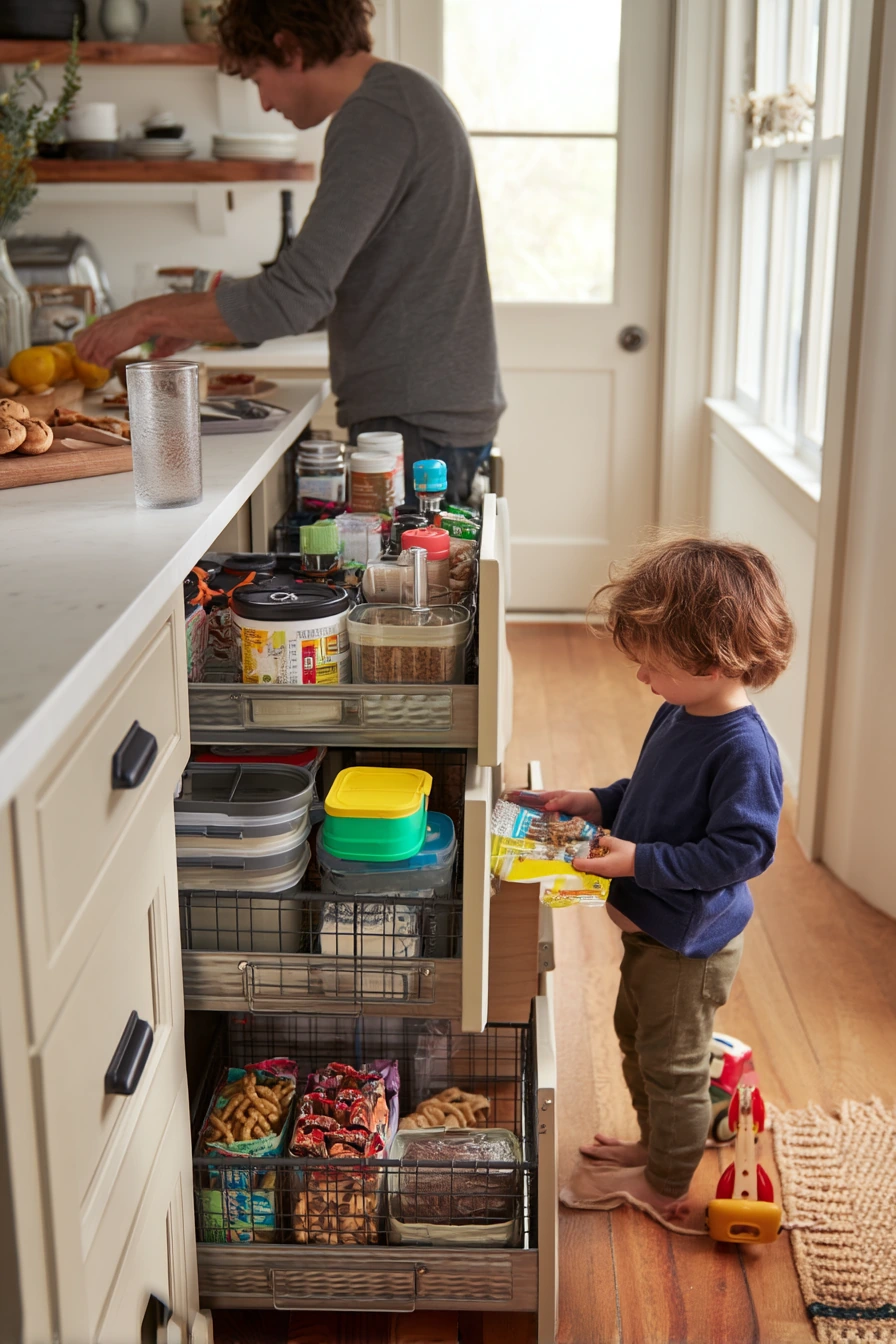
In a compact apartment kitchen, smart cabinet organization ideas focus on vertical space and flexible storage. Vertical pan dividers keep skillets and cutting boards upright so you do not have to lift a heavy stack. Stackable clear bins help you see food fast, which matters when your cabinets are shallow.
Add under-shelf basket inserts to double a shelf without drilling holes. A corner lazy Susan turns an awkward spot into the best place for oils, sauces, and peanut butter. Use hooks inside cabinet doors for measuring cups, small strainers, or oven mitts. This renter-friendly approach works even when you are unloading groceries from a paper bag and your counter space is limited.
How to style it: keep one cookbook open on a stand and store the rest vertically like files. Choose bins in the same shape so the cabinet looks neat when you open it. Keep a small basil plant by the window, then match your bin labels to the pot color for a simple, cohesive look.
- Use vertical dividers for pans, lids, and baking sheets.
- Group pantry items into clear bins by meal type, like breakfast or pasta.
- Slide under-shelf baskets in for snacks or tea bags.
- Put condiments and oils on a lazy Susan in the cabinet corner.
- Add door hooks for tools you use daily.
Pro Design Tip: Measure your cabinet depth and choose bins that leave a small “finger gap” at the front so you can grab them without scraping your knuckles.
Budget Considerations: Dollar-store file holders can act as vertical dividers, and simple S-hooks can replace pricier door-mounted systems.

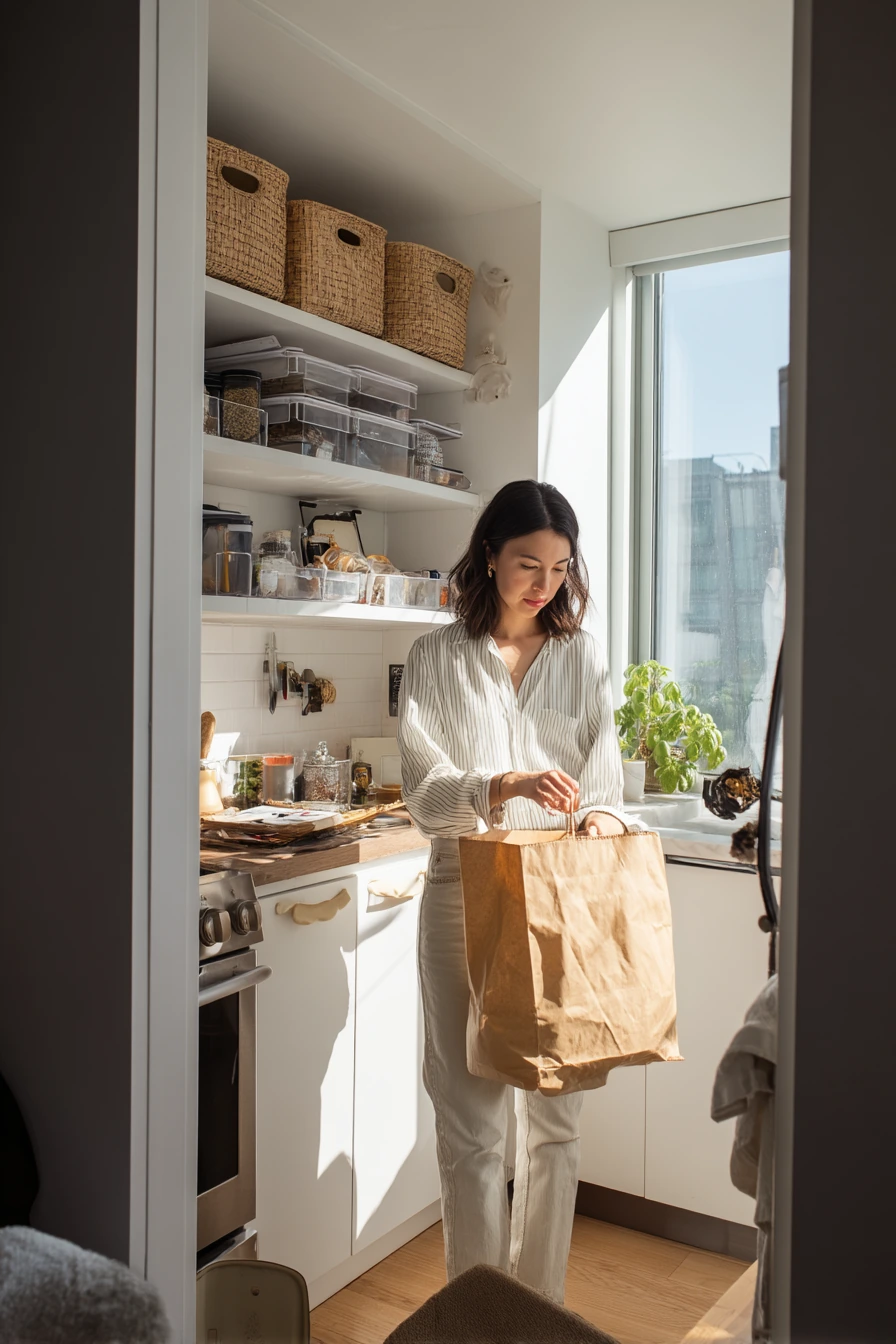
3. Budget Cabinet Organization Using Jars, Bins, and Risers

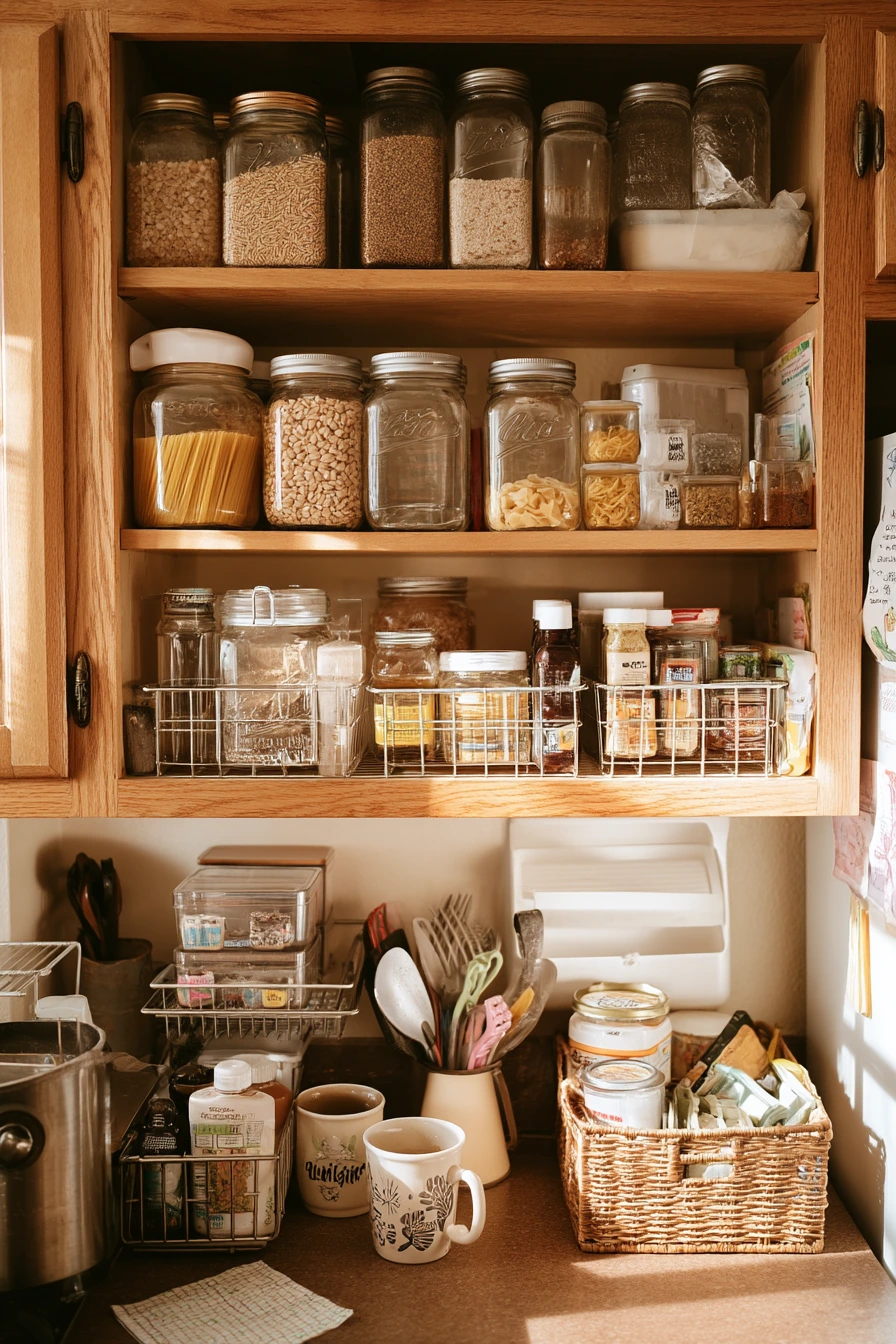
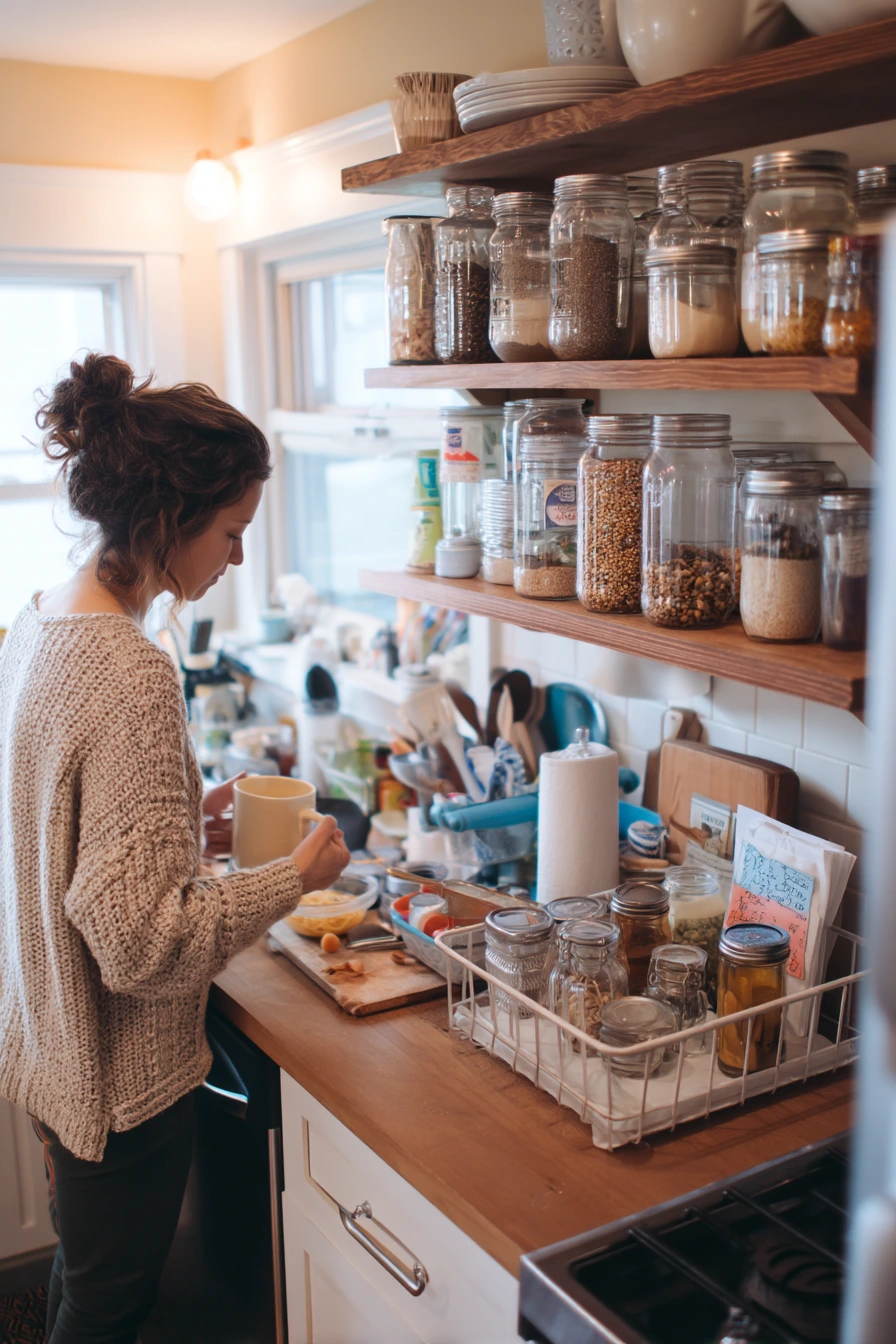
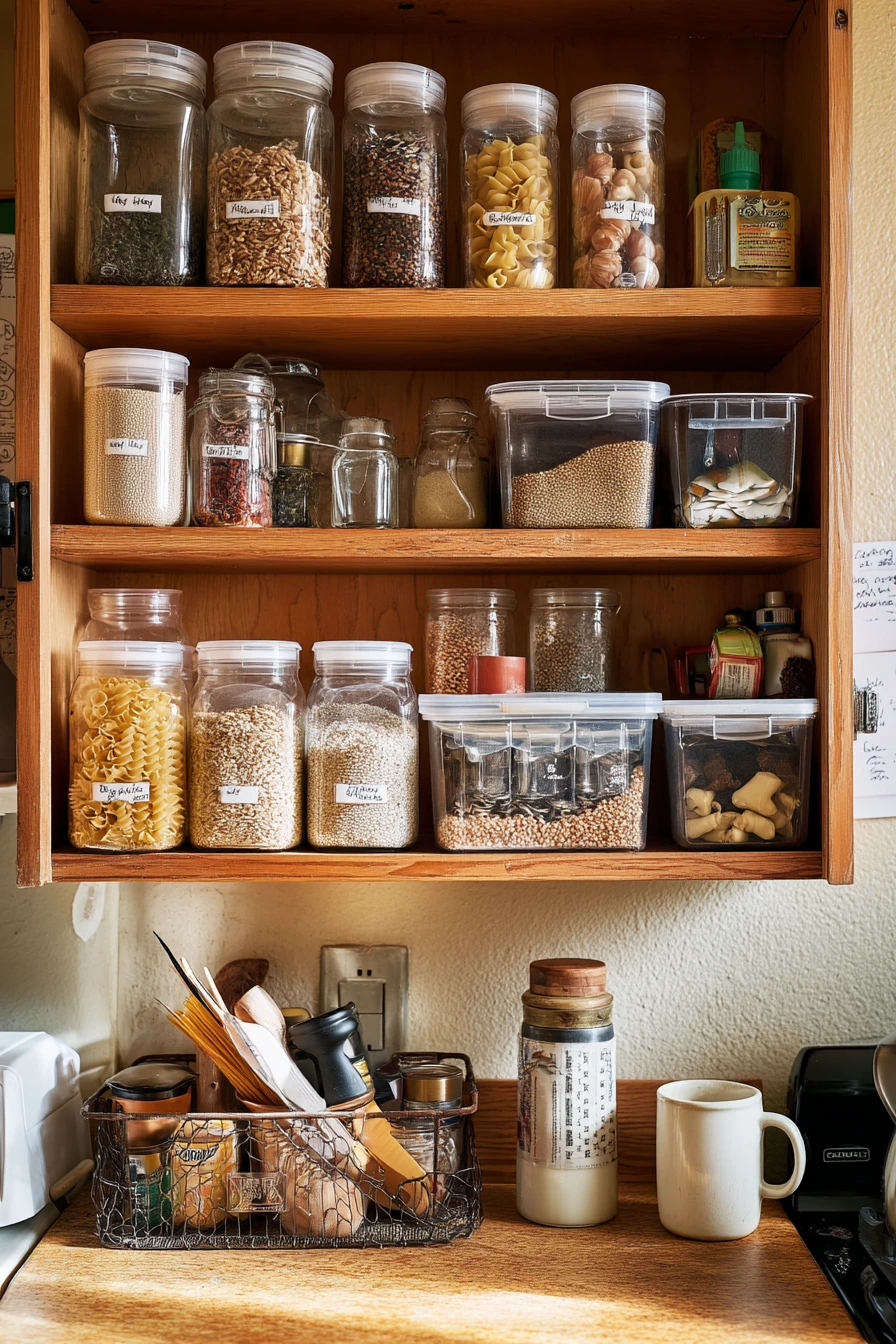
Budget cabinet organization ideas work best when you reuse what you already own. Repurposed glass jars are great for grains, pasta, and snacks because you can see levels at a glance. Labeled plastic bins keep packets and small items from sliding around. Shelf risers add a second level so canned goods and bowls do not get lost in back.
A lazy Susan is a low-cost way to control condiments. Put ketchup, mustard, and salad dressing on one turntable so you can spin and grab. Simple wire baskets under shelves are useful for bread, tortillas, or onions, and they let air move around. This kind of setup fits a real kitchen where dinner is starting, pasta is boiling, and you are tidying in short bursts.
How to style it: use one label style across jars and bins, even if the containers do not match. Keep jars in a straight row with the labels facing forward. Place the most used grains at eye level, and keep backstock on a higher shelf. If receipts and school flyers pile up, add a small “paper basket” in a cabinet near the fridge to hide the clutter fast.
- Wash and reuse glass jars for rice, oats, and pasta.
- Sort packets into labeled bins like soup, snacks, and baking.
- Add shelf risers to create a second row for cans or bowls.
- Use a lazy Susan for condiments and small bottles.
- Hang wire baskets under a shelf for light items.
Pro Design Tip: Keep your tallest jars on the left or right edge of the shelf so the center stays open for quick grabbing and better sightlines.
Budget Considerations: Skip matching canisters at first; reuse jars and spend on just one item that fixes a daily pain point, like a lazy Susan.
4. Renter-Friendly Cabinet Organization Without Damage

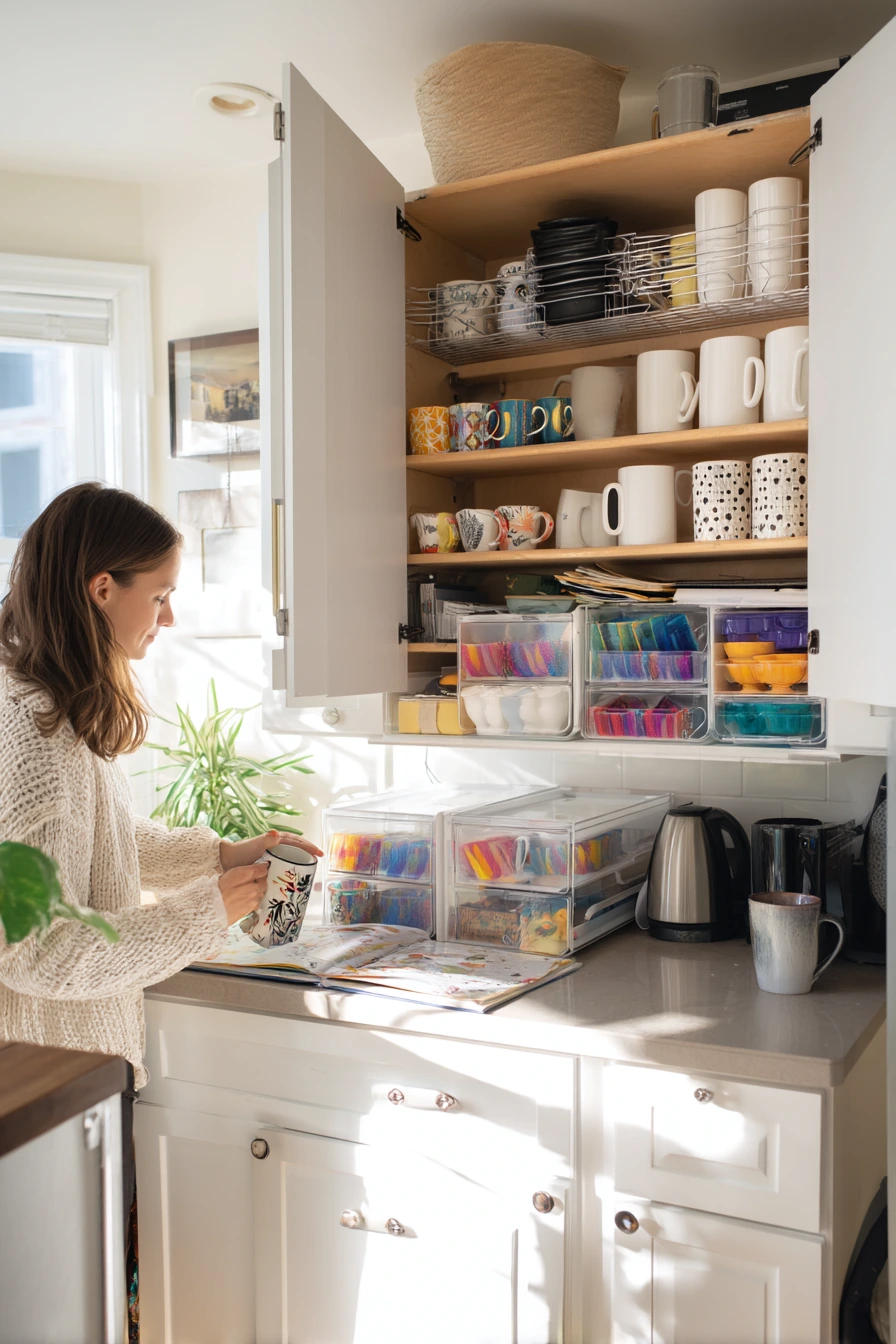
Renter-friendly cabinet organization ideas should be removable, adjustable, and easy to reset. Adhesive hooks inside doors add storage for pot holders, measuring spoons, or small brushes without screws. Removable shelf liners protect surfaces and stop stacks from sliding, especially in older rentals.
Expandable bins are helpful when cabinet widths vary. Stackable drawer trays create mini sections for utensils, tea, or medicine cups. For baking sheets and cutting boards, use tension rod dividers so items stand up and do not fall over. This is a good move-in system for a young couple unpacking mugs and learning how the kitchen flows.
How to style it: choose one neutral liner color so open cabinets look clean. Place mugs by height, with everyday cups in front and special ones in back. Keep a small plant on the counter and repeat that green tone in your labels or bin clips. If you keep a takeout menu, tuck it into a slim folder stored upright near your papers.
- Stick adhesive hooks inside doors for light tools and mitts.
- Line shelves with removable, washable shelf liner.
- Use expandable bins to fit changing cabinet sizes.
- Stack drawer trays to create sections in deep drawers.
- Place tension rods as dividers for sheets and boards.
Pro Design Tip: Set up one “unpacking cabinet” near the sink for the first week, then move items to their final homes after you see what you reach for most.
Budget Considerations: Adhesive hooks and tension rods are low-cost and move with you, so you can reuse them in the next place.


5. Minimalist Pantry Cabinet Organization with Clear Canisters

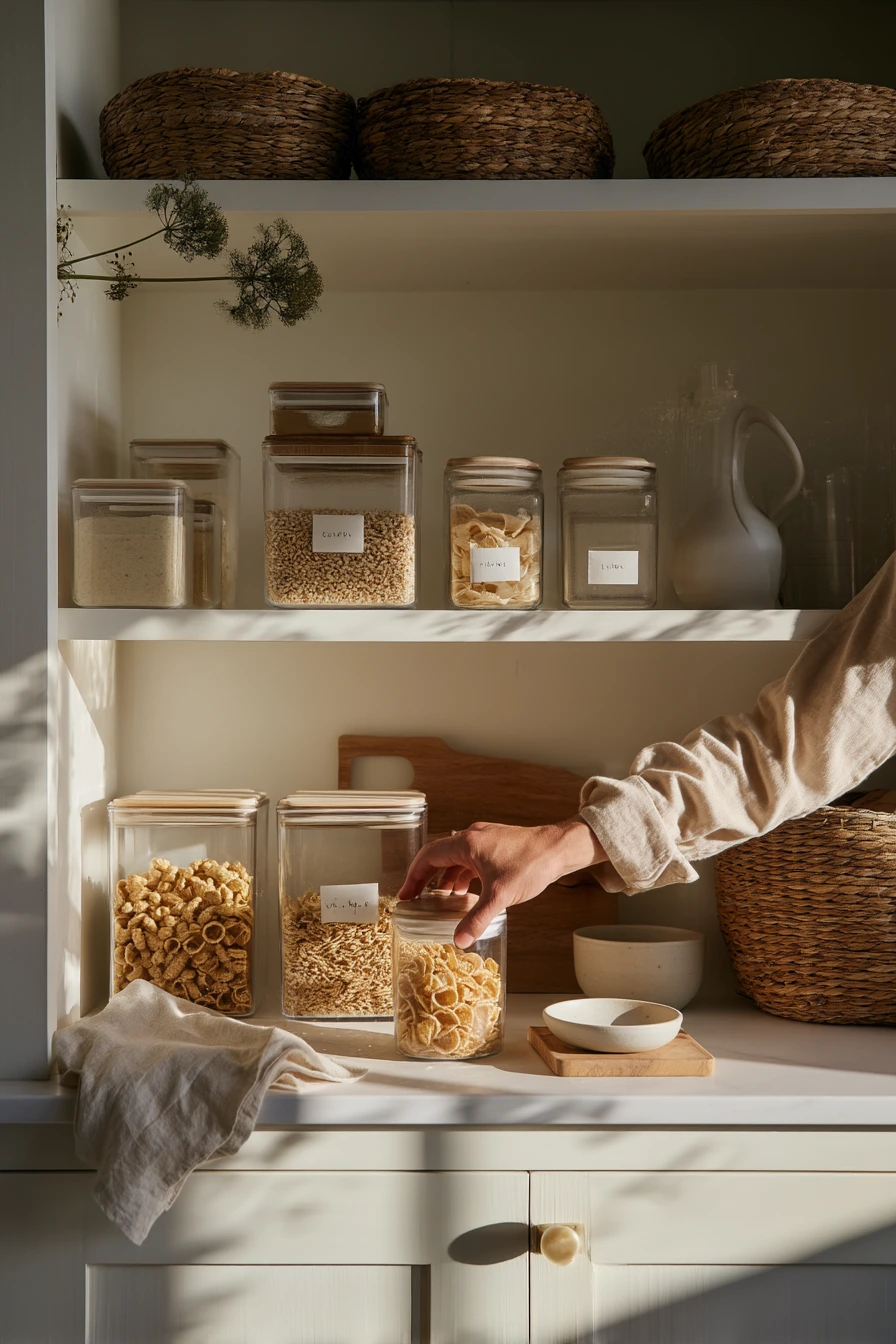
Minimalist organization ideas work well in a pantry cabinet because they reduce visual noise. Uniform clear canisters make it easy to see what is running low, and they stack neatly. Labeled baskets for tea and snacks keep small bags contained and stop shelves from looking messy.
A slim spice drawer is a space saver if you can dedicate a shallow drawer near the stove. For appliances, hidden storage behind shaker doors keeps counters clear. Store the toaster, blender, or air fryer in an appliance cabinet so your kitchen looks calm, even when you are actively pouring cereal into a container.
How to style it: keep labels simple and consistent, like all caps or all lowercase. Choose baskets in one texture, like woven or wire, and repeat it on each shelf. Leave a little empty space on each shelf so it does not feel packed tight. Add one linen napkin or a ceramic spoon rest on the counter to keep the look warm, not sterile.
- Transfer staples into matching clear canisters with tight lids.
- Use labeled baskets to group snacks, tea, and baking add-ins.
- Keep spices in a slim drawer or low shelf near your prep area.
- Store appliances behind doors to reduce counter clutter.
- Arrange items by height, with tall canisters in back and short in front.
Pro Design Tip: Plan your labels before you buy containers, then size the canisters to your real portions so you do not waste space with oversized jars.
Budget Considerations: Buy canisters in stages, starting with your most used items like cereal and flour, and use simple baskets you already own for the rest.
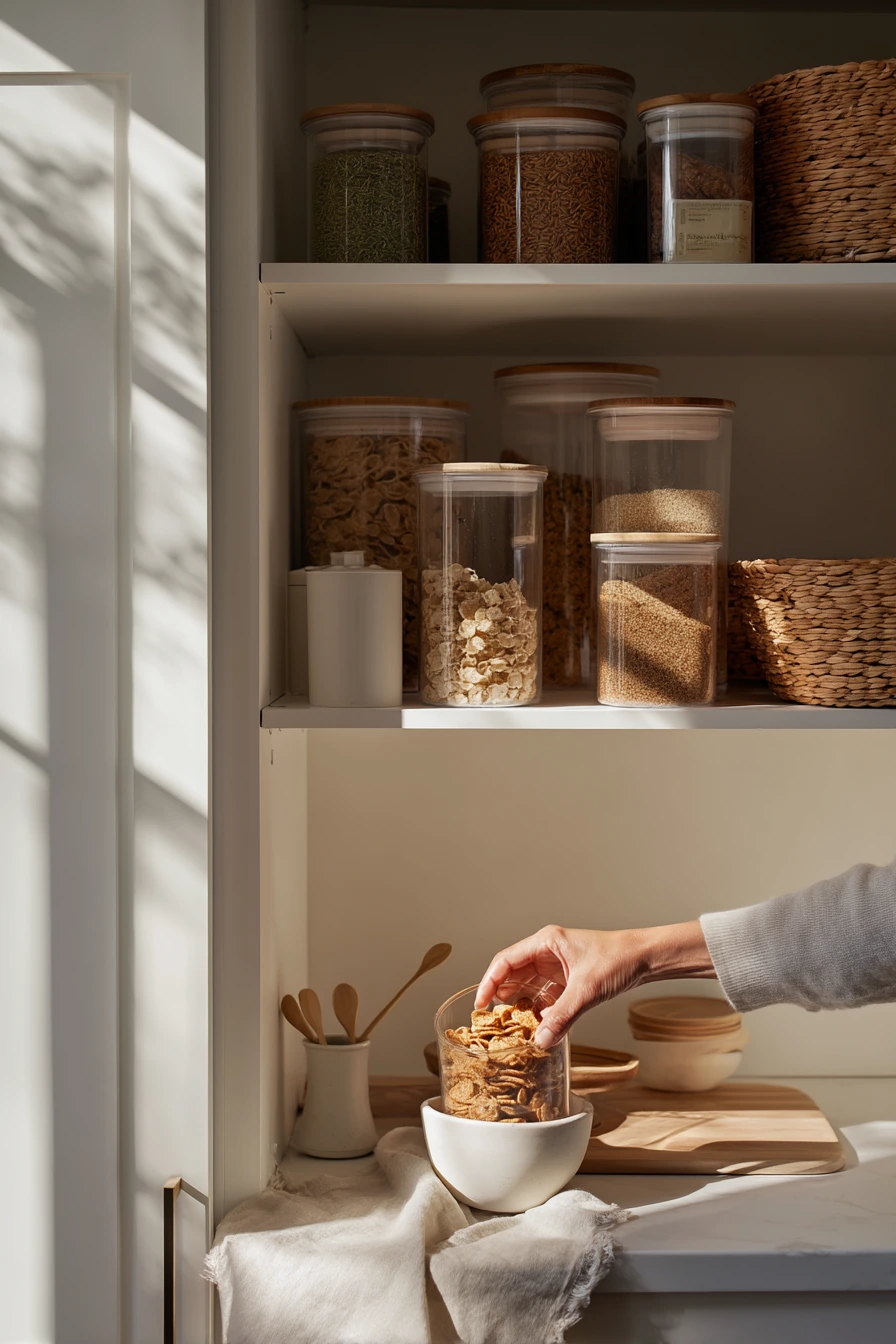

6. Coffee Station Cabinet Organization for Busy Mornings

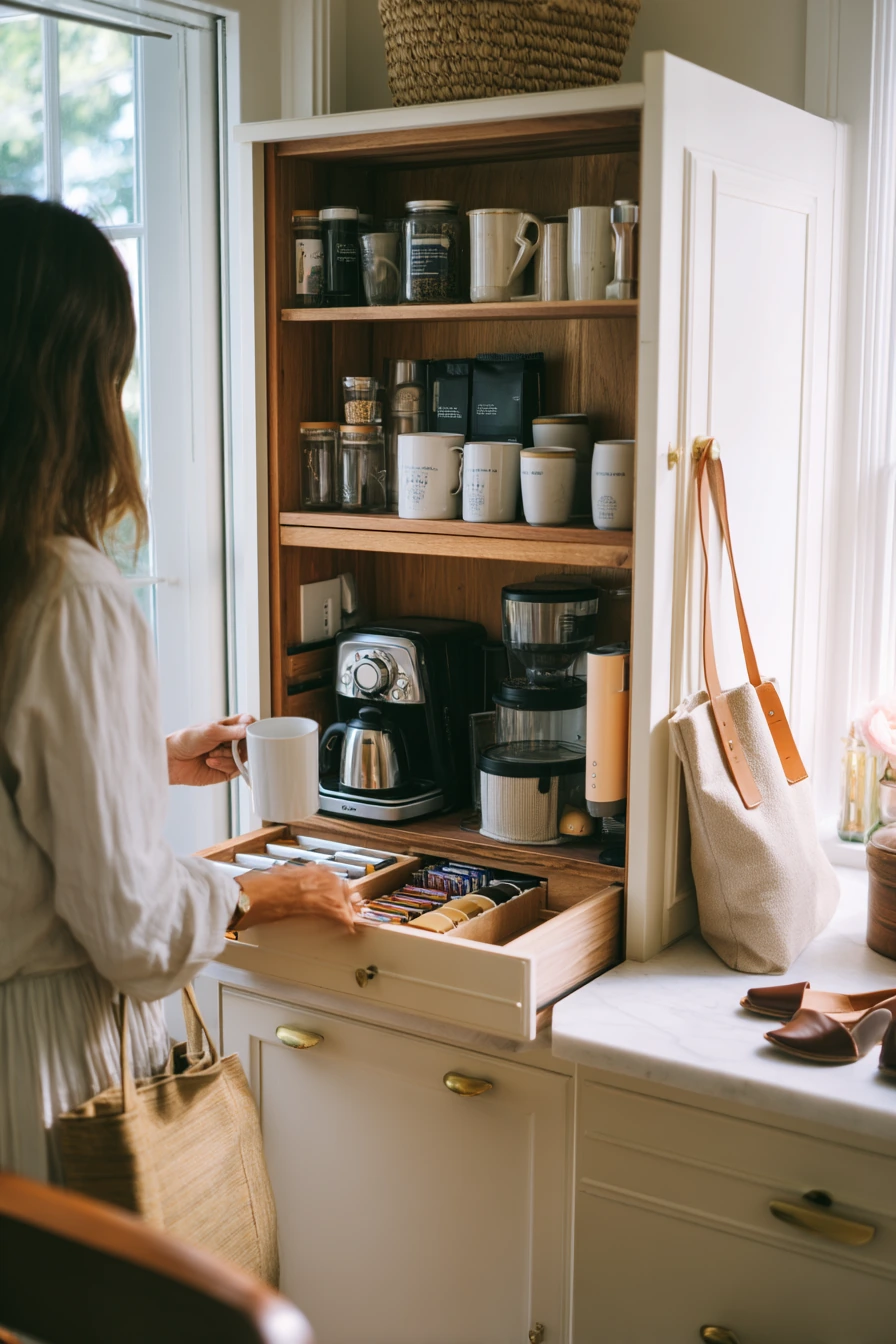
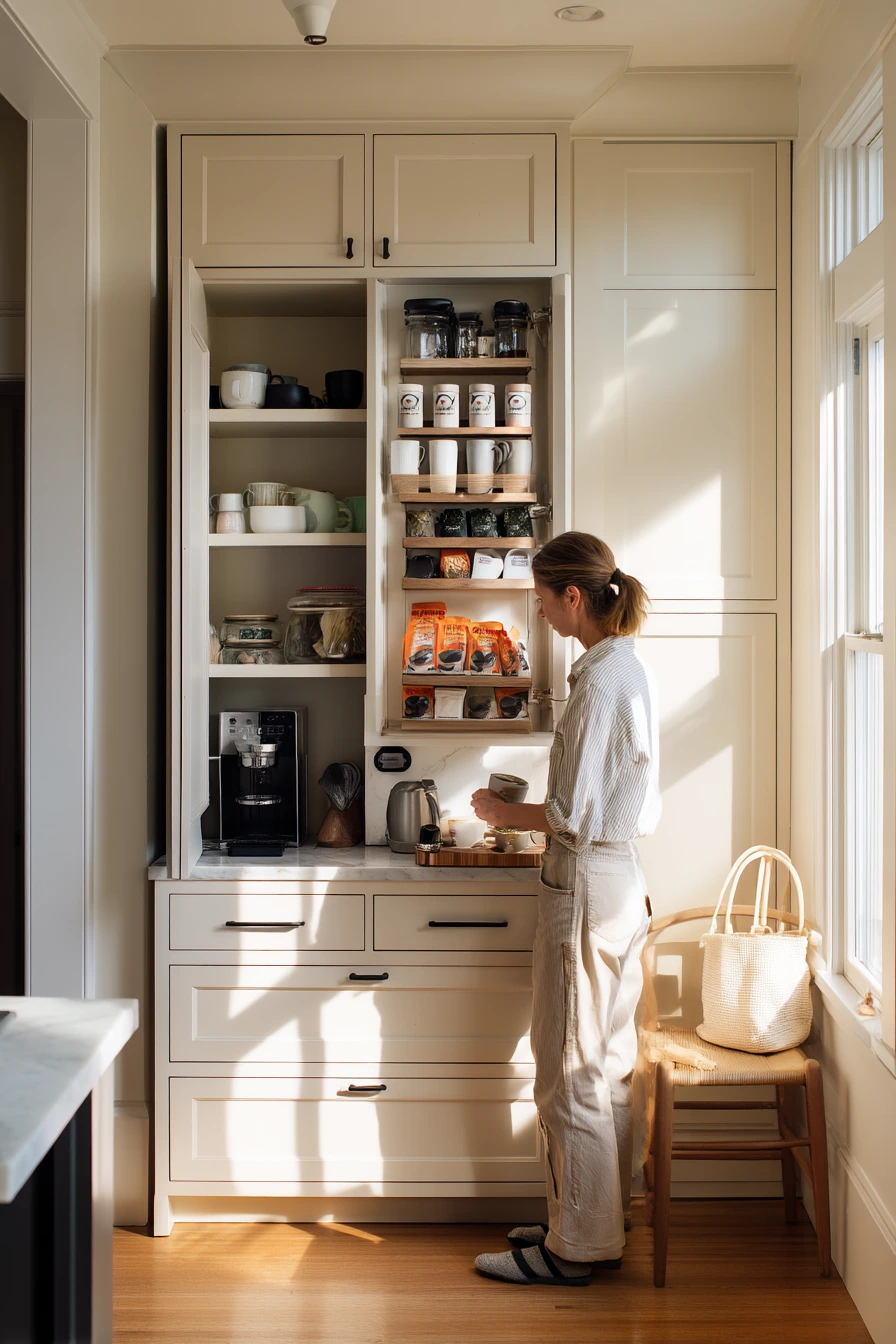
A coffee station is one of the easiest cabinet organization upgrades because it saves time every day. Place stacked mugs on one shelf, then keep sugar jars and tea tins beside them so everything is in one spot. A pull-out tray for pods or tea bags makes it easy to see options, even when you are rushing out the door.
Use the lower cabinet for filters, extra coffee, and travel cups. Sort filters by size in a small bin so they do not bend. If you use a frother or scoop, store it in a shallow tray near the front. This setup fits real life, like work clothes, a tote bag on a chair, and a spoon with a small coffee stain that needs a quick rinse.
How to style it: choose a simple color group, like white mugs and wood lids on jars. Keep one small tray on the counter for the daily basics, and hide backups in the cabinet. Add a small label to each jar so guests can help themselves without asking.
- Stack mugs by type, like daily mugs and guests mugs.
- Store sugar and sweeteners in clear jars with lids.
- Use a pull-out tray or bin for pods and tea bags.
- Keep filters upright in a bin in the lower cabinet.
- Place travel mugs and lids together in one basket.
Pro Design Tip: Create a “one reach” layout by keeping mugs above, pods at hand level, and backups below so your morning routine stays smooth.
Budget Considerations: A simple plastic bin can replace a pull-out tray, and you can reuse matching jars from pasta sauce for sugar and tea.

7. Baking Cabinet and Drawer Organization for Supplies


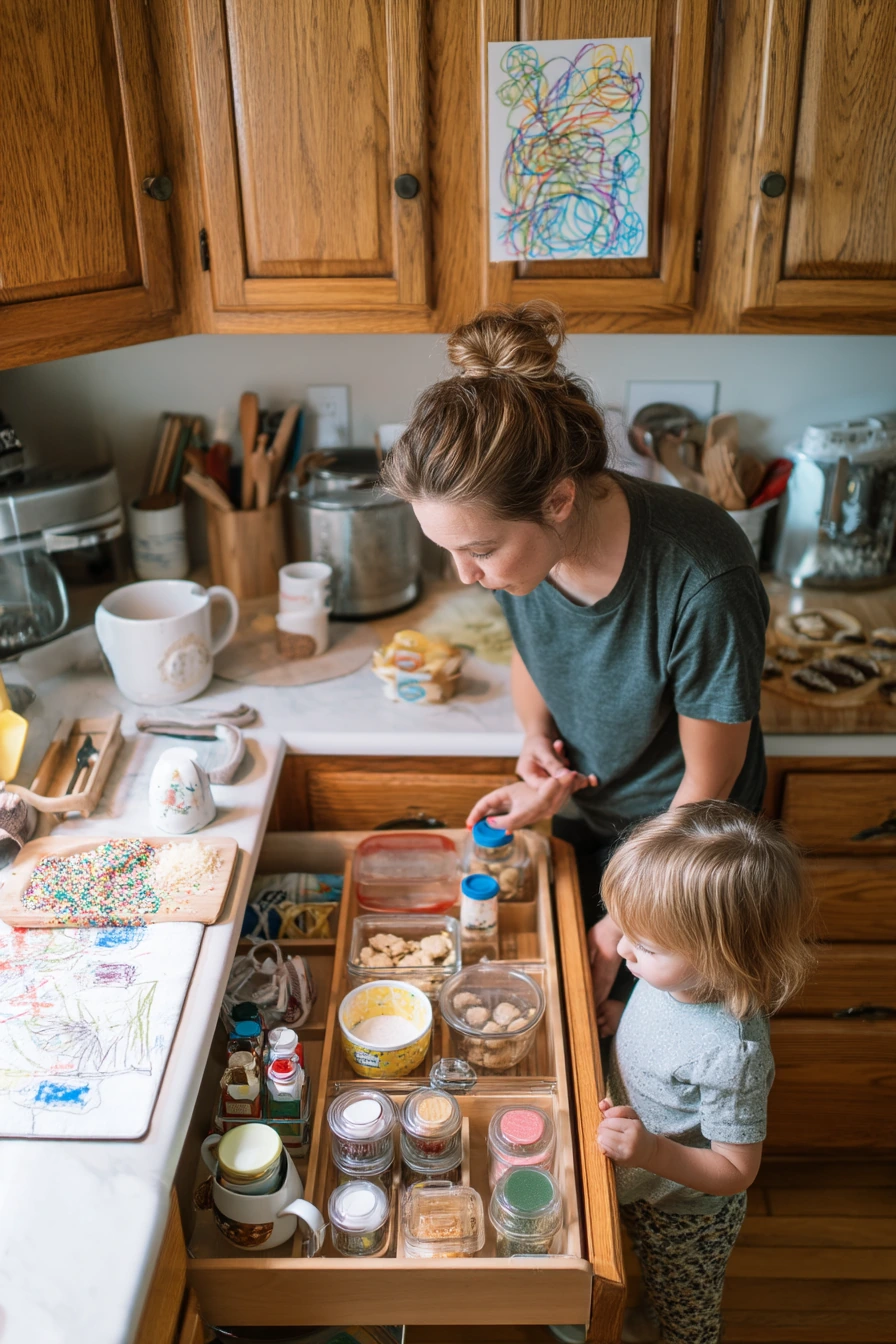
Baking cabinet organization ideas work best when tools and ingredients are grouped together. Use labeled drawers for sprinkles, measuring cups, piping tips, and cookie cutters so small items do not get lost. Store flour and sugar in sealed canisters to prevent spills and keep scoops inside each container.
A pull-out shelf for mixers and bowls saves your back and keeps heavy items easy to reach. Place mixing bowls nested by size, with the most used in front. If you bake with kids, set one low drawer for kid-safe tools like silicone spatulas. This keeps the process fun and reduces mess, even when flour dust is on the counter and a drawing is taped to the cabinet.
How to style it: use clear drawer bins so you can spot cutters fast. Keep your canisters in a clean row with matching scoops. Add one small recipe card holder or store a favorite recipe in a plastic sleeve inside the cabinet door for quick access.
- Sort baking tools into labeled drawer sections.
- Keep sprinkles and small toppers in a shallow bin with dividers.
- Store flour and sugar in sealed canisters with measuring scoops.
- Add a pull-out shelf for a mixer and heavy bowls.
- Group sheet pans and cooling racks upright with a divider.
Pro Design Tip: Make a “baking runway” by keeping ingredients on the top shelf, tools at hand level, and heavy appliances on a pull-out below.
Budget Considerations: Use recycled food containers for sprinkles and buy one sturdy pull-out shelf only if you bake often and lift a heavy mixer.

8. Hide Clutter with Deep Drawers, Dividers, and an Appliance Garage
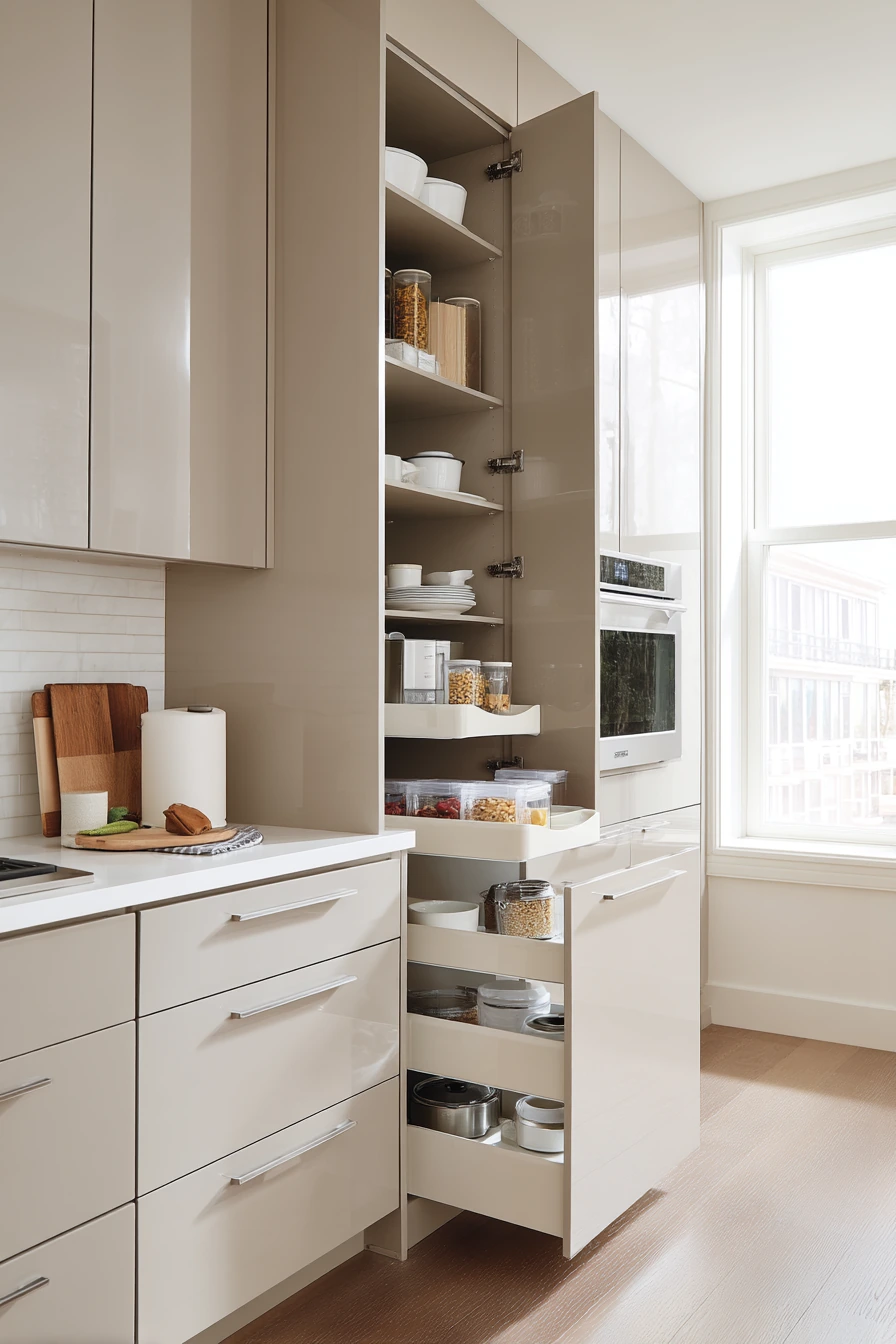
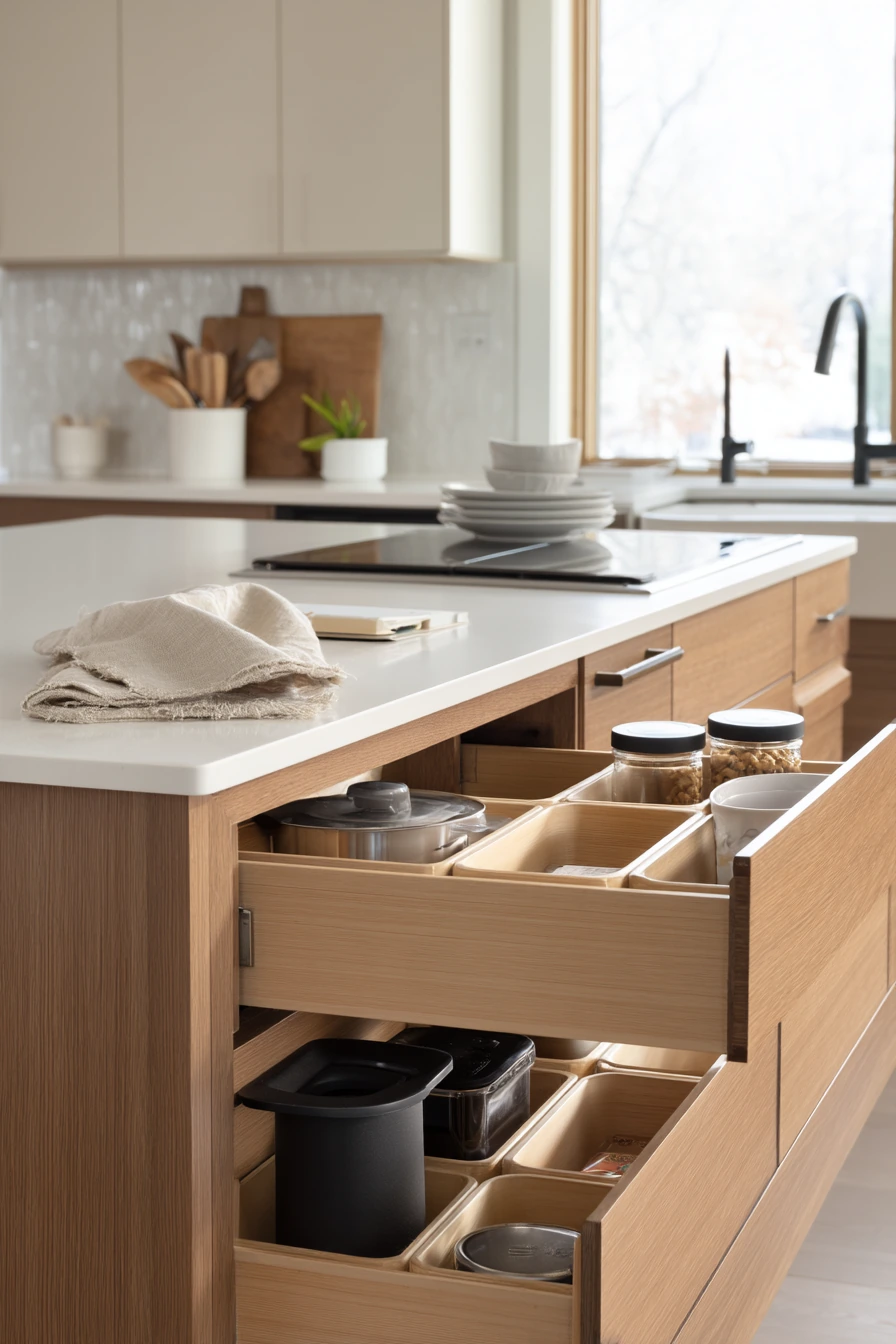
If your kitchen looks messy fast, focus on cabinet organization ideas that hide clutter while staying easy to use. An appliance garage keeps daily tools like a toaster or blender behind a door, so the counter looks clear. Deep pull-out drawers for pots and pans are easier than lower cabinets because you can see everything from above.
Add spice inserts so jars stay in tidy rows and do not tip. Tray dividers keep cutting boards and baking sheets upright. Use labeled bins for snack refills so bulk bags do not spill. This kind of setup feels polished but still real, like a dish towel on the counter, a phone charging, and fingerprints on a handle.
How to style it: choose bins that match your cabinet color, like clear or soft white, so they blend in. Put the labels on the top edge of the bin so you can read them from above when drawers are open. Keep the appliance garage simple, with just the items you use weekly, not everything you own.
- Use an appliance garage to keep counters clear.
- Store pots and pans in deep pull-out drawers for easy access.
- Add spice inserts so jars stay lined up and readable.
- Use tray dividers for boards, sheets, and platters.
- Keep snack refills in labeled bins to prevent bag clutter.
Pro Design Tip: Assign one drawer per task, like cooking, baking, and storage, so items stop drifting into random cabinets over time.
Budget Considerations: If you cannot add an appliance garage, use a large tray in a cabinet to corral appliances and slide it out like a simple “garage.”
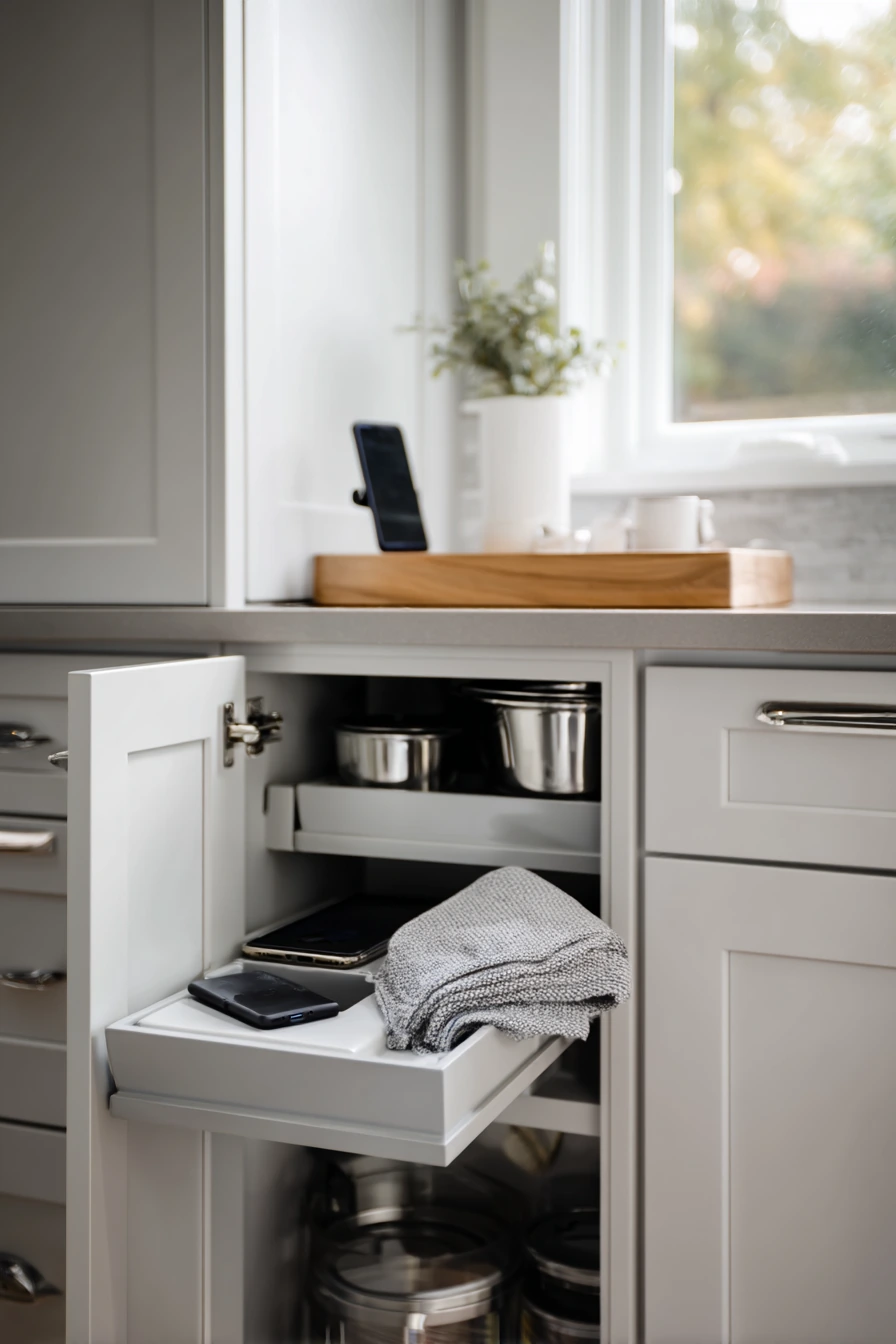
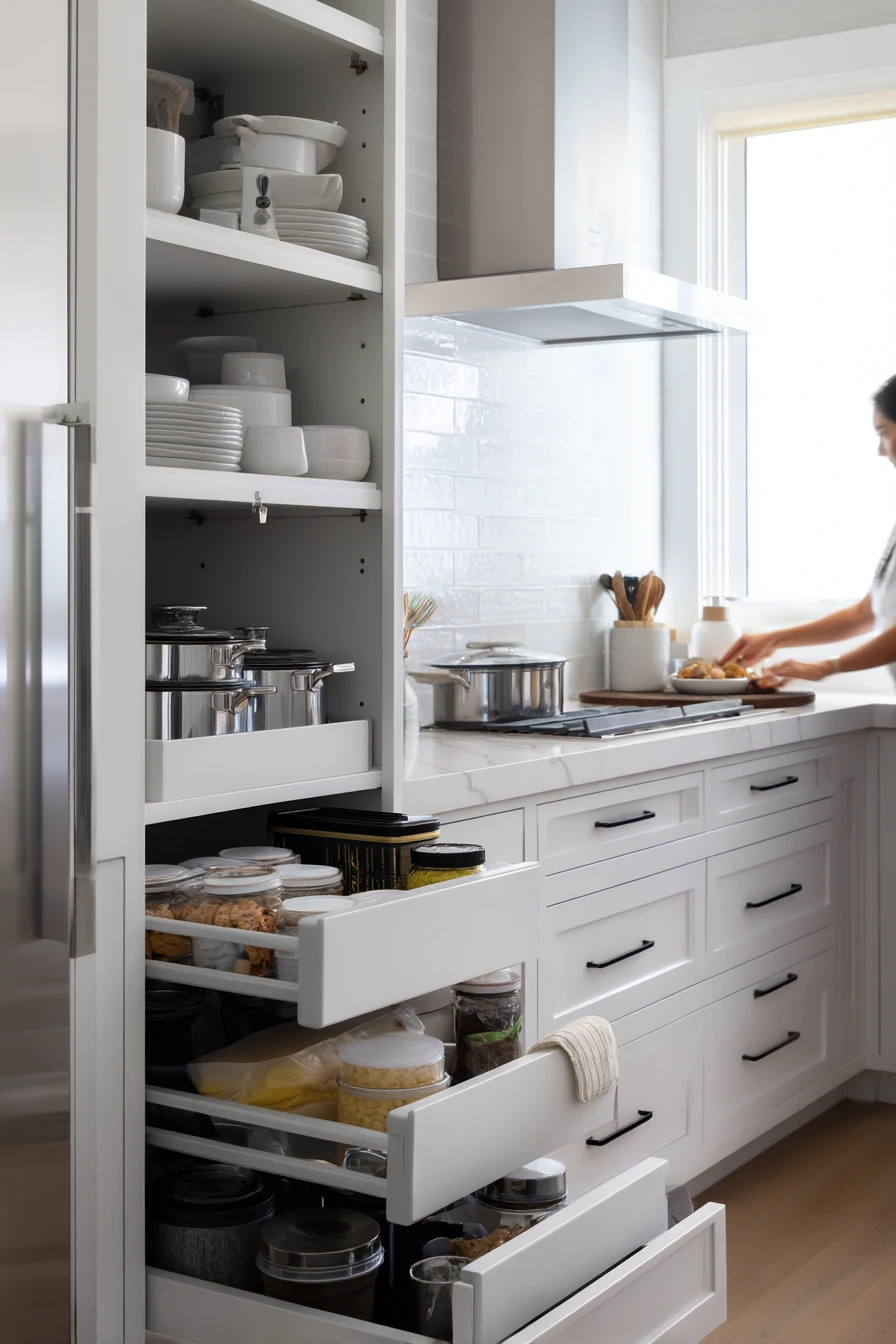
9. Hosting-Ready Cabinets for Snacks, Plates, and Quick Setup

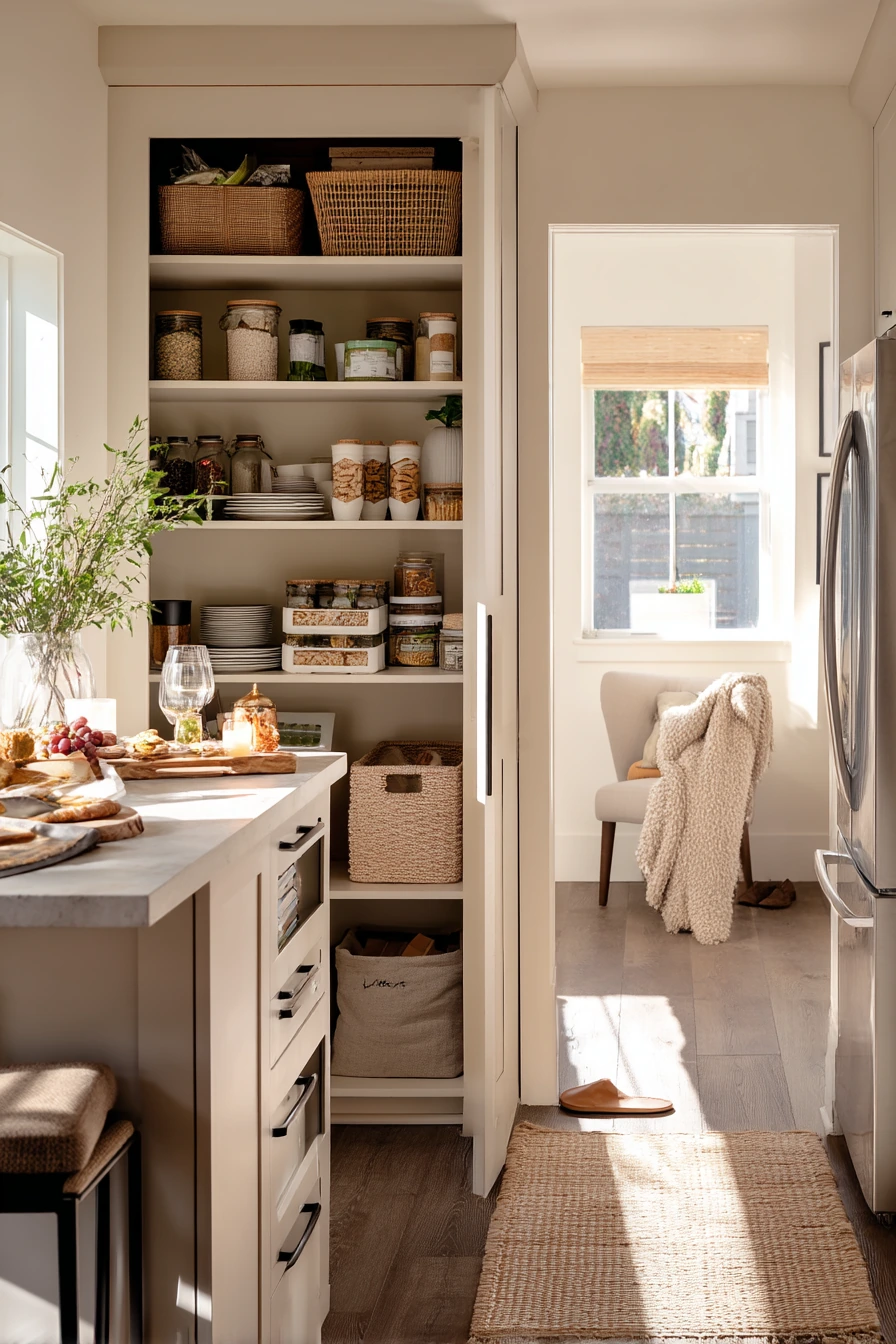
When you host, you need cabinets that open to a ready-to-serve setup. Use glass storage jars for chips, nuts, and crackers so you can see what you have before guests arrive. Shelf risers create two levels for plates and small bowls. Nested bowls save space and keep serving pieces together.
Pantry baskets are great for party items like napkins, skewers, and small plates. Stack plates by size and keep the most used set at the front. This makes it easy to set out snacks while people arrive, even if there is a wine glass on the island and the next room feels busy.
How to style it: keep jars in a line and use matching lids for a clean look. Store one “hosting basket” near the front so you can grab it in one trip. Add a simple label like “party” or “snack board” so anyone in the house can help.
- Use glass jars to store snacks and reduce open bags.
- Add shelf risers to separate plates and bowls by size.
- Keep bowls nested and store serving tongs inside the largest bowl.
- Use pantry baskets for napkins, candles, and small serving items.
- Stack plates neatly, with everyday plates easiest to reach.
Pro Design Tip: Create a “guest path” by keeping snacks, serving bowls, and plates in one cabinet near the island so setup takes minutes.
Budget Considerations: Thrift stores are good for extra bowls and jars, and you can use simple baskets you already own for the hosting kit.
10. Weekend Kitchen Reset: Maintenance Cabinet Organization System


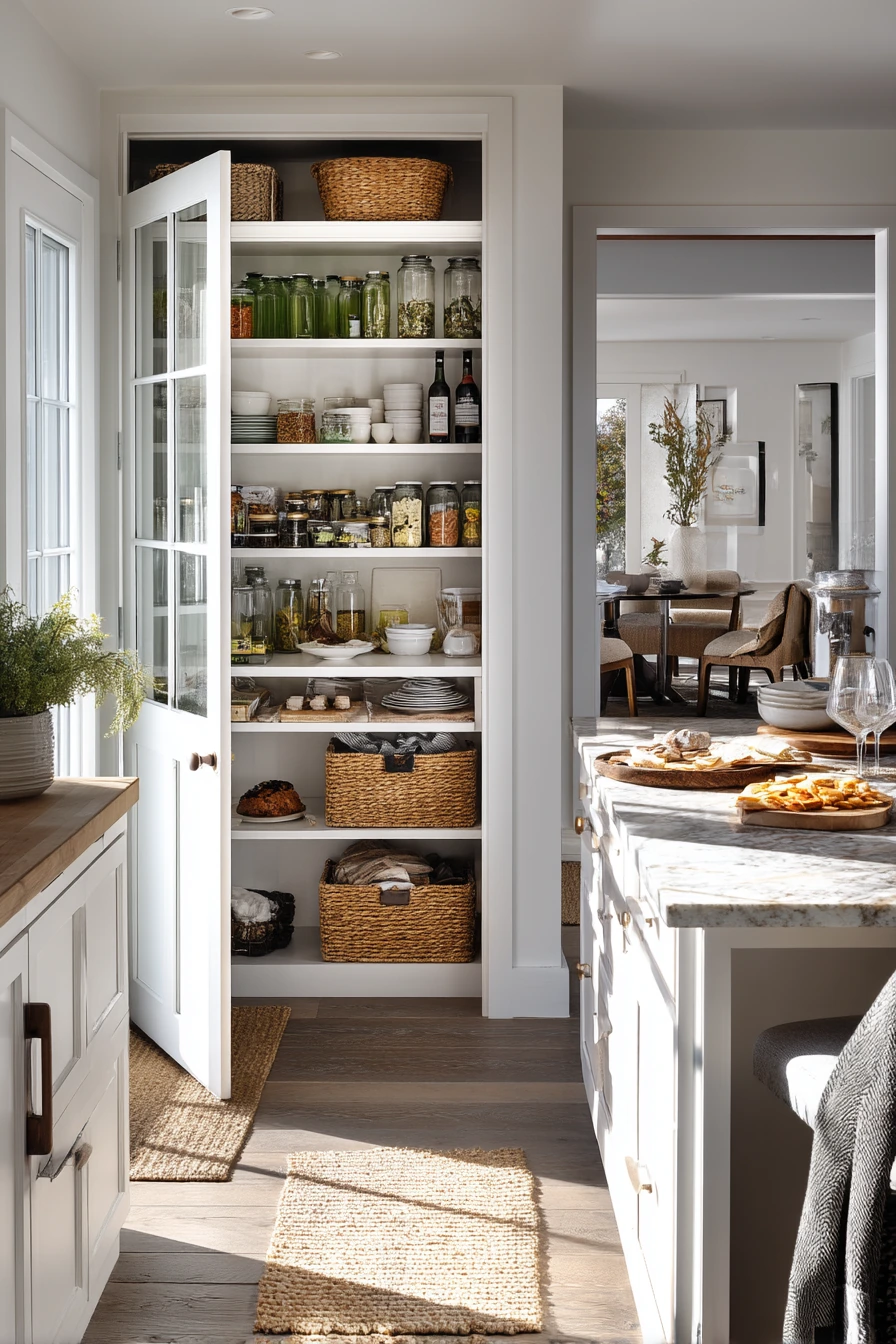
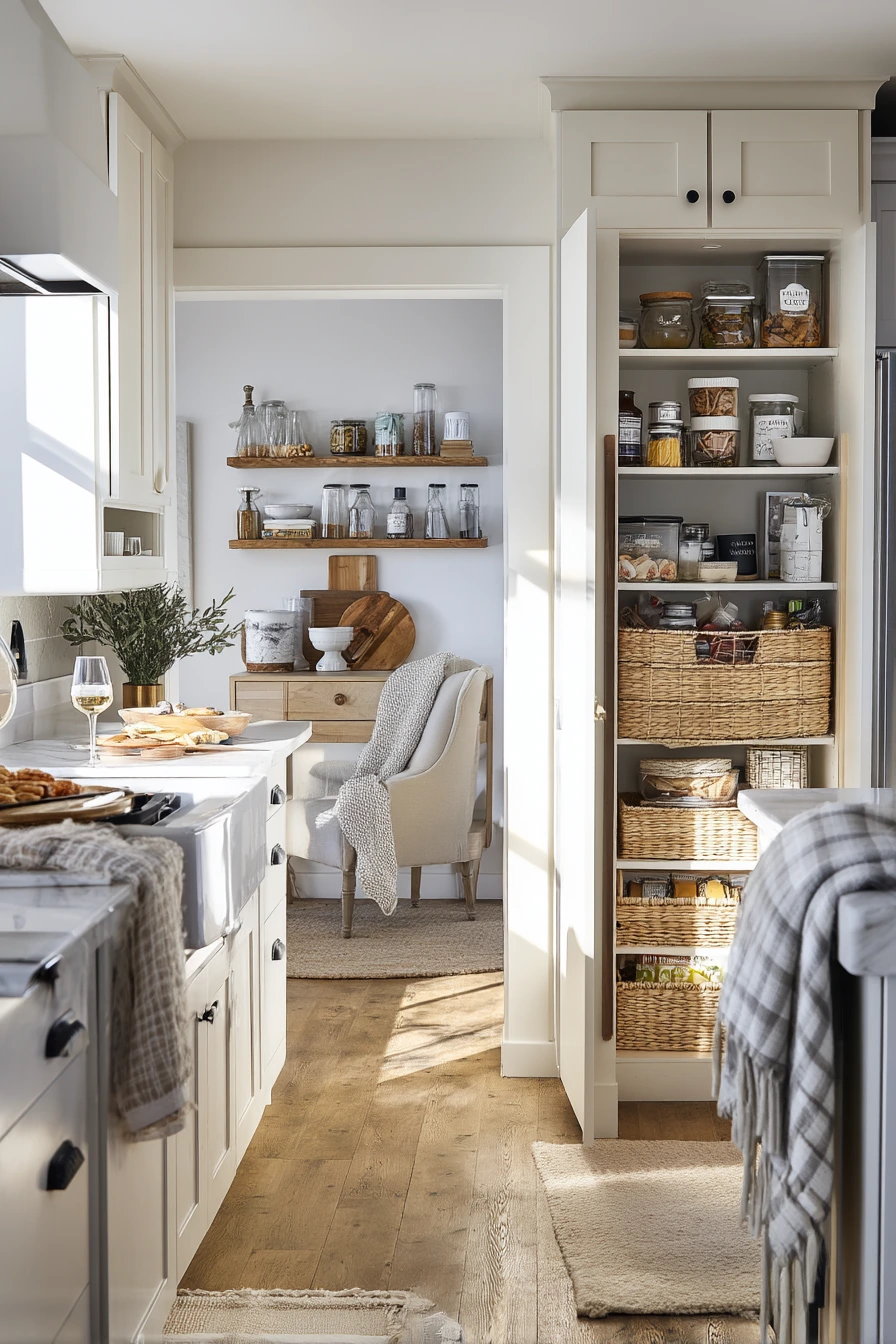
A weekend tidy-up is the best time to set a maintenance system that sticks. Start with one cabinet and remove everything. Wipe shelves, then put back only what you use. A spice pull-out helps you see jars quickly, and labeled pantry bins keep categories stable over time. Drawer dividers stop utensils from turning into a jumble.
Do not forget the messy zones. Create compost caddy storage so it is easy to empty and clean. Add baking sheet organizers so trays stand up and do not collapse. If you store reusable bags in a lower cabinet, sort them by type and size, then keep them in an open bin so they do not spill out.
How to style it: use simple labels and keep one empty “reset space” bin for items that do not have a home yet. During the week, drop stray items in that bin, then put them away on the weekend. This helps your kitchen stay calm, even with mail on the counter and plant leaves leaning toward the window.
- Empty one cabinet at a time and clean it before restocking.
- Use a spice pull-out or tiered riser to keep spices visible.
- Set labeled pantry bins for repeat items like snacks and pasta.
- Add drawer dividers to keep tools sorted by category.
- Store reusable bags and compost tools in a dedicated lower cabinet bin.
Pro Design Tip: Write a small “cabinet map” on a note in your phone so everyone in the home knows where things go during the reset.
Budget Considerations: Use cardboard boxes as temporary bins during sorting, then replace only the ones you need with durable organizers.

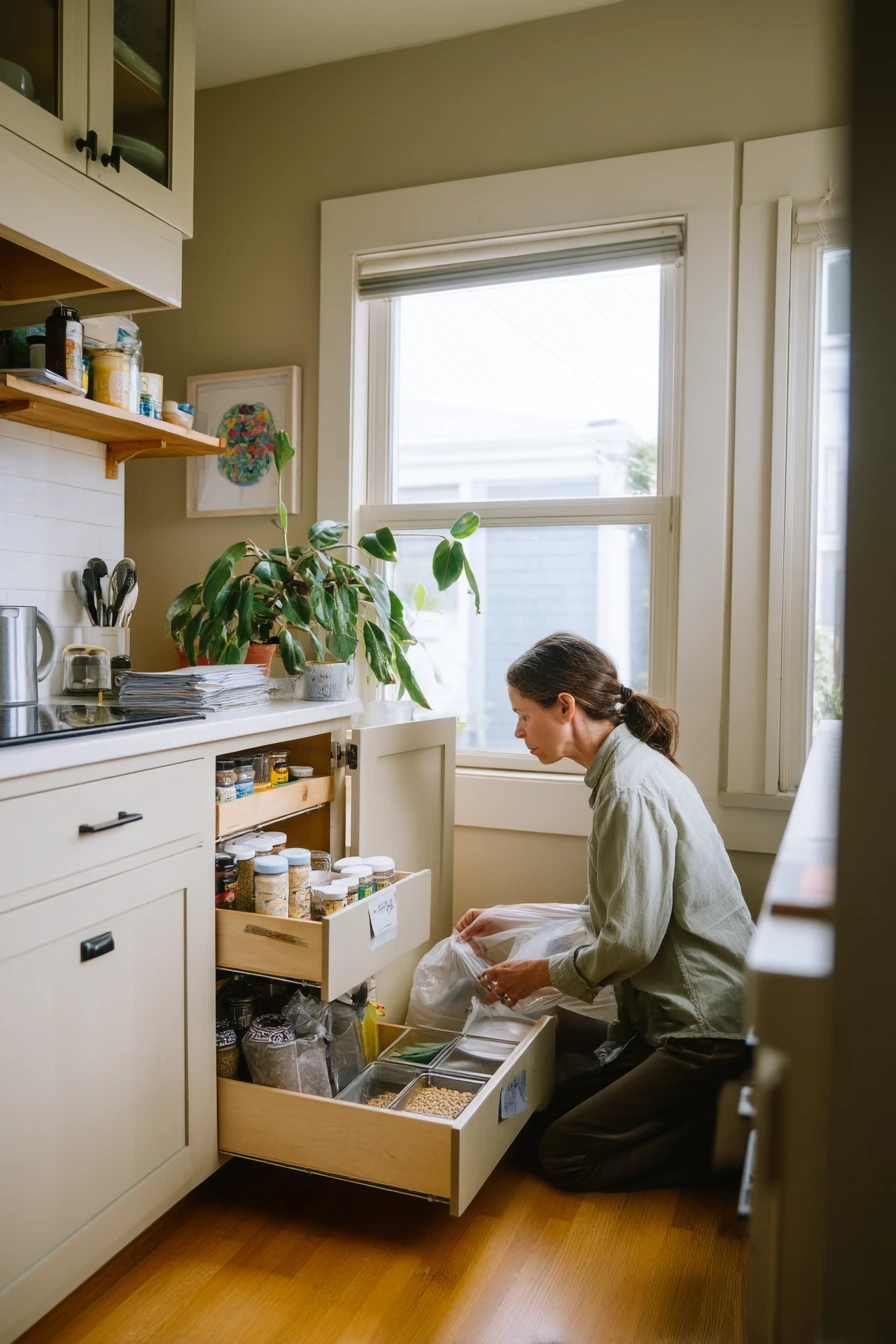
Good kitchen cabinet organization ideas are simple: group items by task, store daily tools at hand level, and use bins and dividers to keep categories from mixing.
Start with one cabinet that bothers you most, like snacks, spices, or pots. After a week, adjust the layout, then move to the next area.
FAQ
What is the best way to organize kitchen cabinets? Start by sorting items into zones, like cooking, baking, coffee, and snacks. Use bins, risers, and dividers so each zone stays separate.
How do I organize cabinets in a small kitchen? Use vertical dividers, under-shelf baskets, and clear stackable bins. Keep only the items you use often in the easiest-to-reach spots.
What should I put in lower cabinets? Store heavy items like pots, pans, small appliances, and mixing bowls down low. Pull-out drawers or bins make these items easier to access.
How do I keep snack cabinets organized with kids? Use labeled pull-out bins and keep kid snacks on the lowest shelf. Add one bin for school lunch items so packing stays quick.
How do I organize spices without a lot of space? Try a tiered spice riser, a slim drawer insert, or a small pull-out spice rack. Keep the spices you use most near the stove.
What are the best renter-friendly cabinet organizers? Adhesive hooks, removable shelf liner, tension rods, and expandable bins work well and remove cleanly. Avoid drilling or permanent hardware.
How often should I reset my kitchen cabinets? Do a quick 10-minute reset weekly and a deeper clean every few months. Focus on one problem cabinet at a time to keep it manageable.