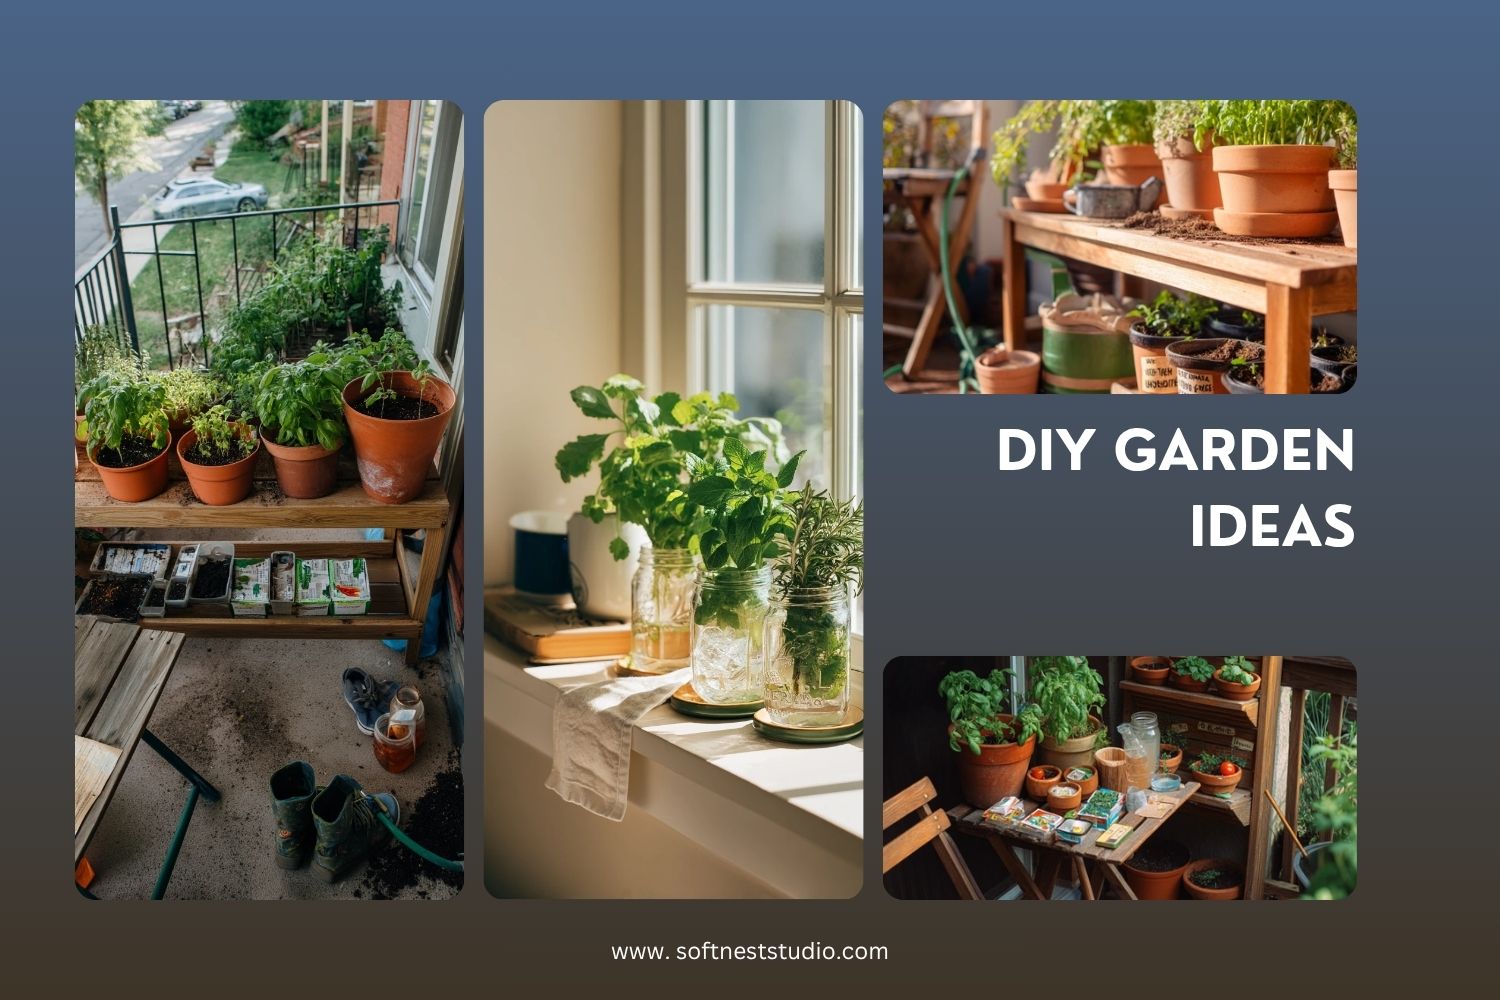
DIY garden ideas can turn a small patio, balcony, or yard into a place that grows food and feels calm. You do not need a big space or fancy tools to start.
This guide covers real-life projects like container gardens in terracotta pots, a raised garden bed with raw pine boards, and herb starters in recycled glass jars. Each idea is practical and renter friendly where possible.
You will get simple steps, styling tips, and notes on tools, light, and plant choices like basil, cherry tomatoes, mint, cilantro, and rosemary. These projects are easy to keep up with on busy days.
Use the sections as a checklist. Pick one project, gather supplies, and set up a small system for watering, labels, and storage so your garden stays neat and useful.
1. DIY Container Garden for a Small Patio
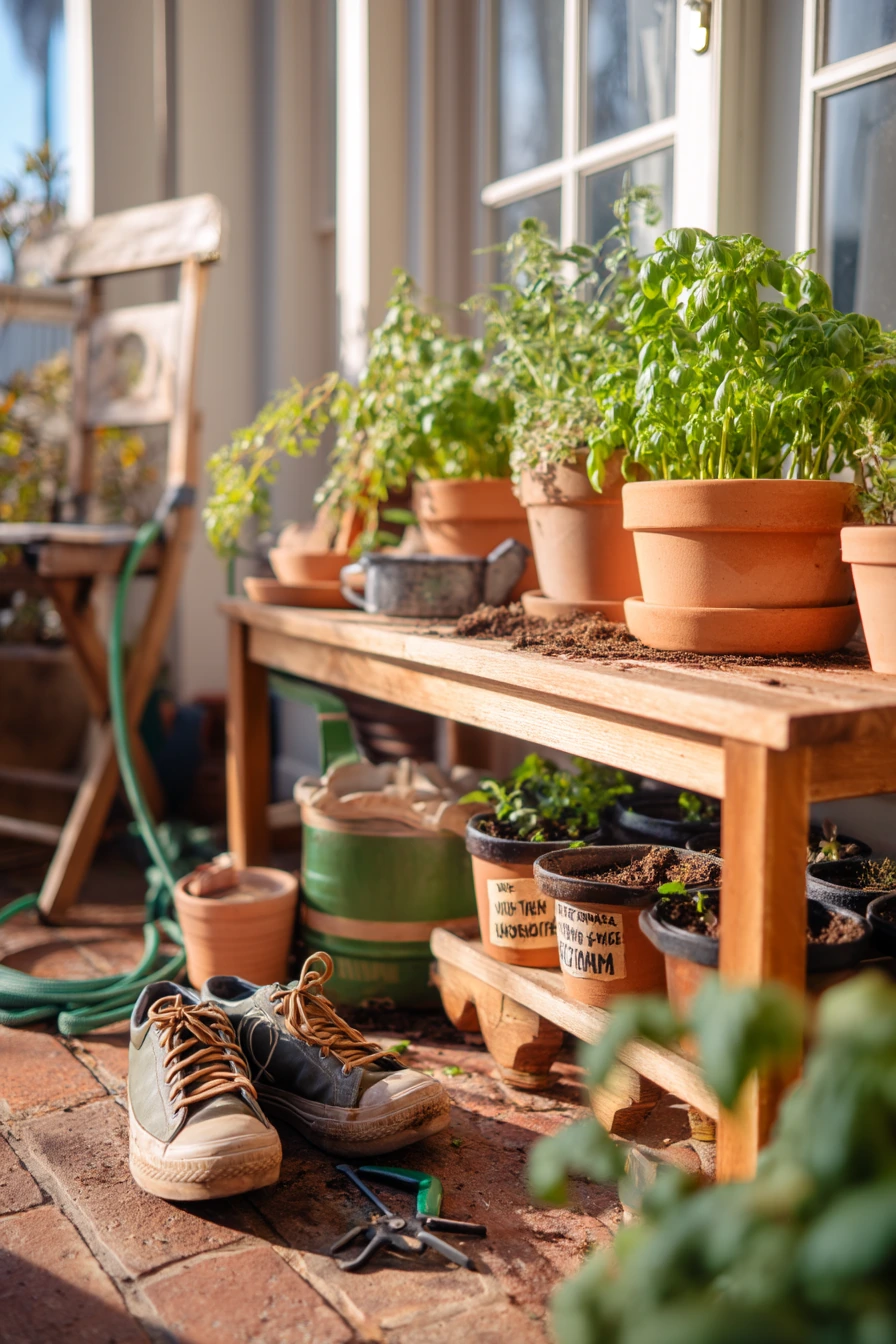
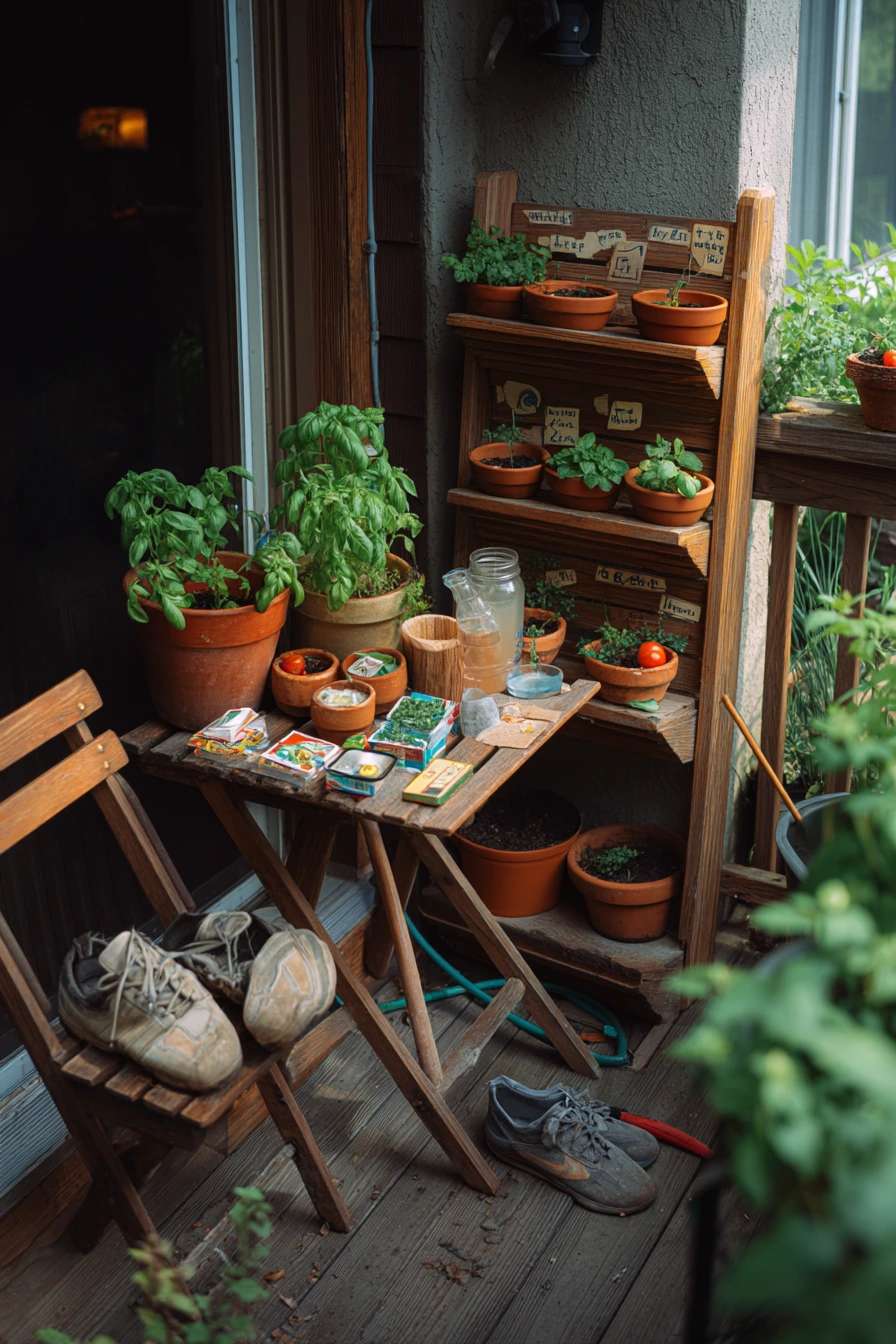
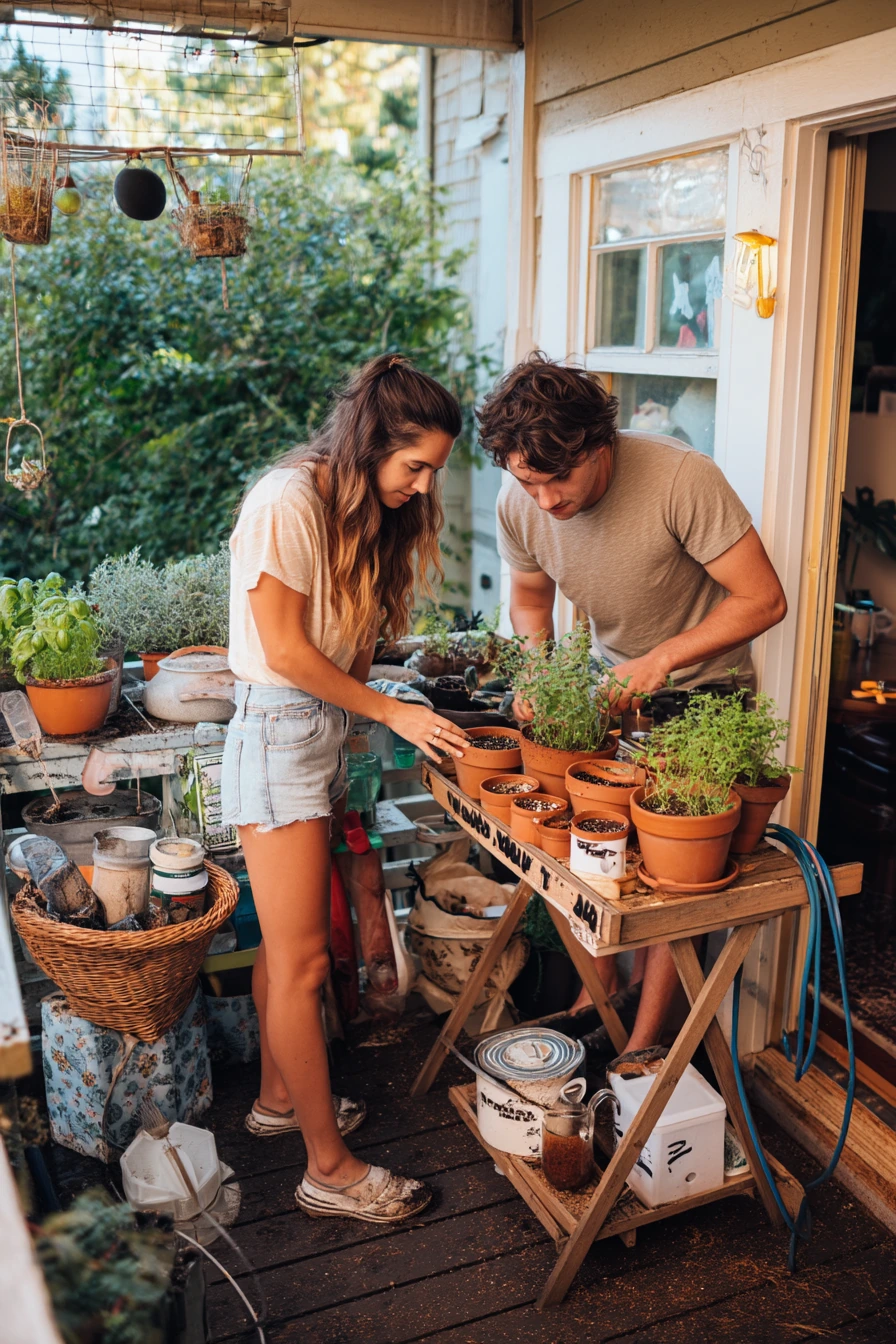
A DIY container garden is a strong choice for a townhouse patio because it is flexible and easy to change. Start with terracotta pots in two or three sizes so the layout looks calm. Add a simple cedar plant shelf to lift some pots up, so basil and cherry tomatoes get more light and airflow.
Keep the space lived-in and usable. Place a folding bistro chair near the herbs so you can pinch leaves while you sit. A salvaged watering can looks nice and is handy, but a small watering jug works too. Put muddy sneakers by the door on a tray, and keep seed packets and scraps in a small tin so they do not blow away.
For care, group pots by water needs. Tomatoes and basil like steady moisture, so check them daily in warm weather. Use herb labels so you do not forget what is planted, and keep a coiled hose or small can within reach. If your patio gets soft window light in the evening, add a warm lamp glow for a cozy feel and safer watering.
- Choose 3 to 5 main pots, then add 1 small pot for herbs you use daily.
- Use pot feet or a saucer to protect the patio and reduce stains.
- Plant tomatoes in the largest pot with a cage or stake for support.
- Place basil near the front so you harvest often and it stays bushy.
- Style with one shelf and one chair so the area does not feel crowded.
Pro Design Tip: Repeat the same terracotta pot color and use one wood tone for shelves to make a small patio look planned, not messy.
Budget Considerations: Terracotta pots add up fast; mix in recycled buckets or nursery pots hidden inside cheap baskets to cut costs.
2. DIY Raised Garden Bed in a Suburban Yard
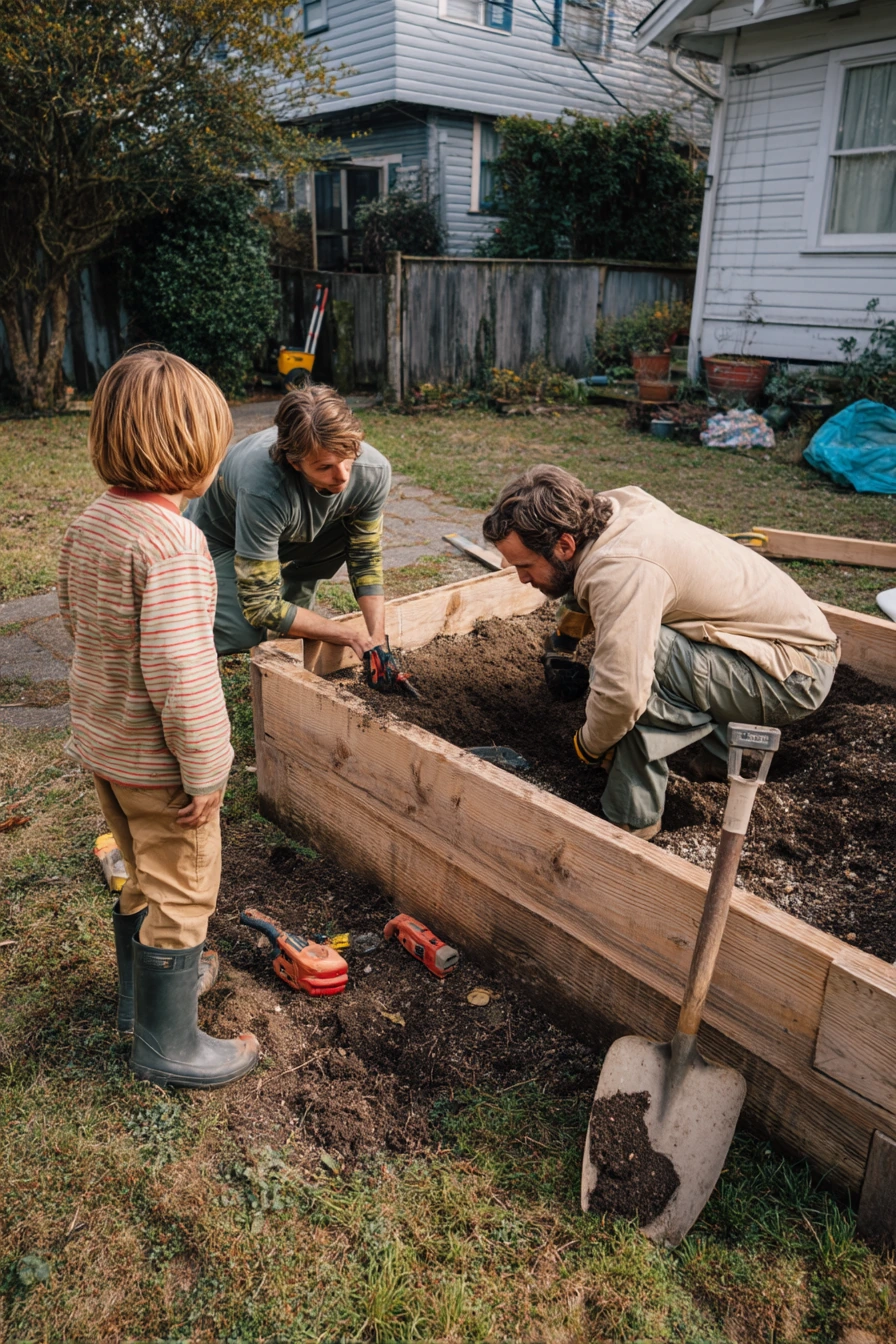
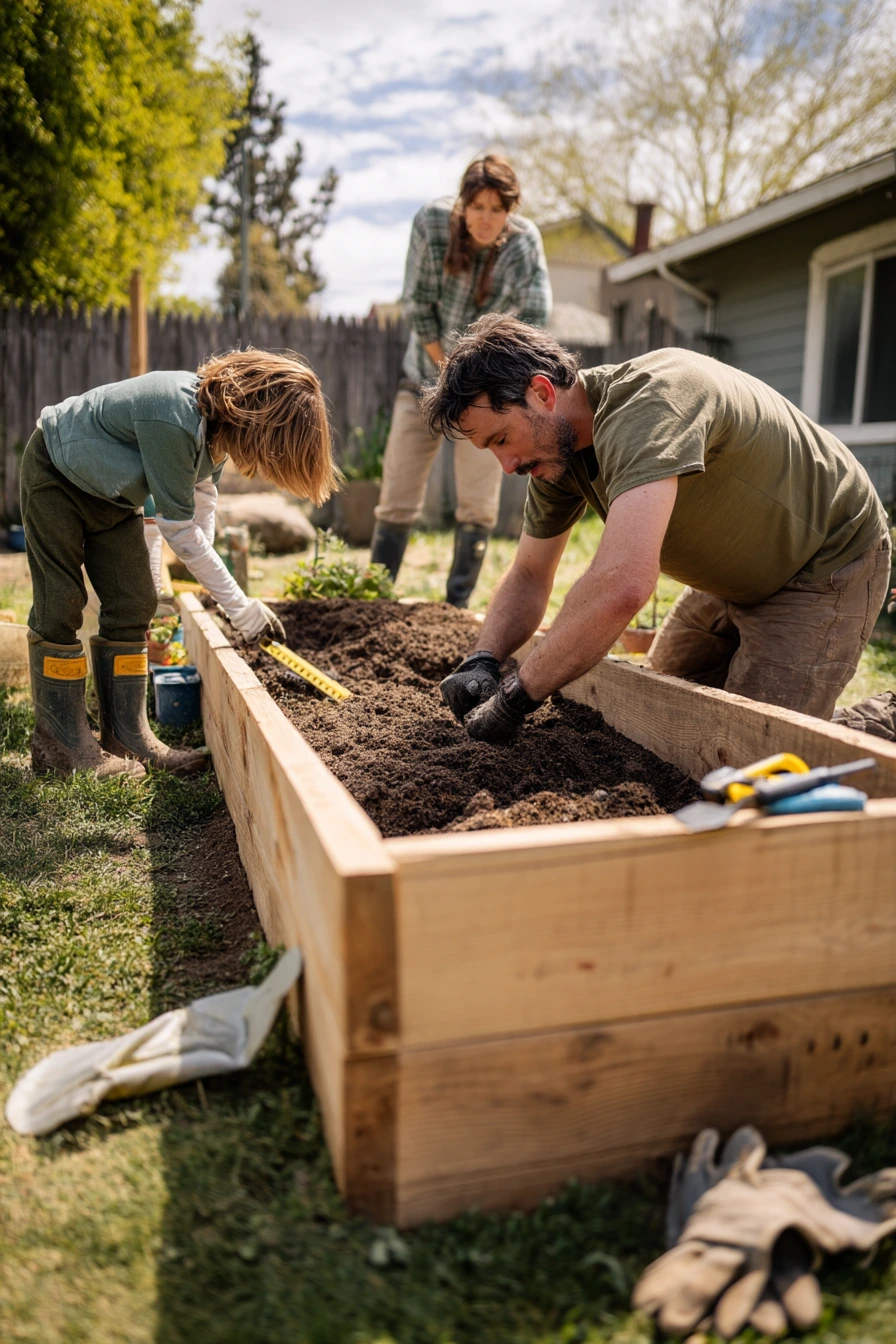
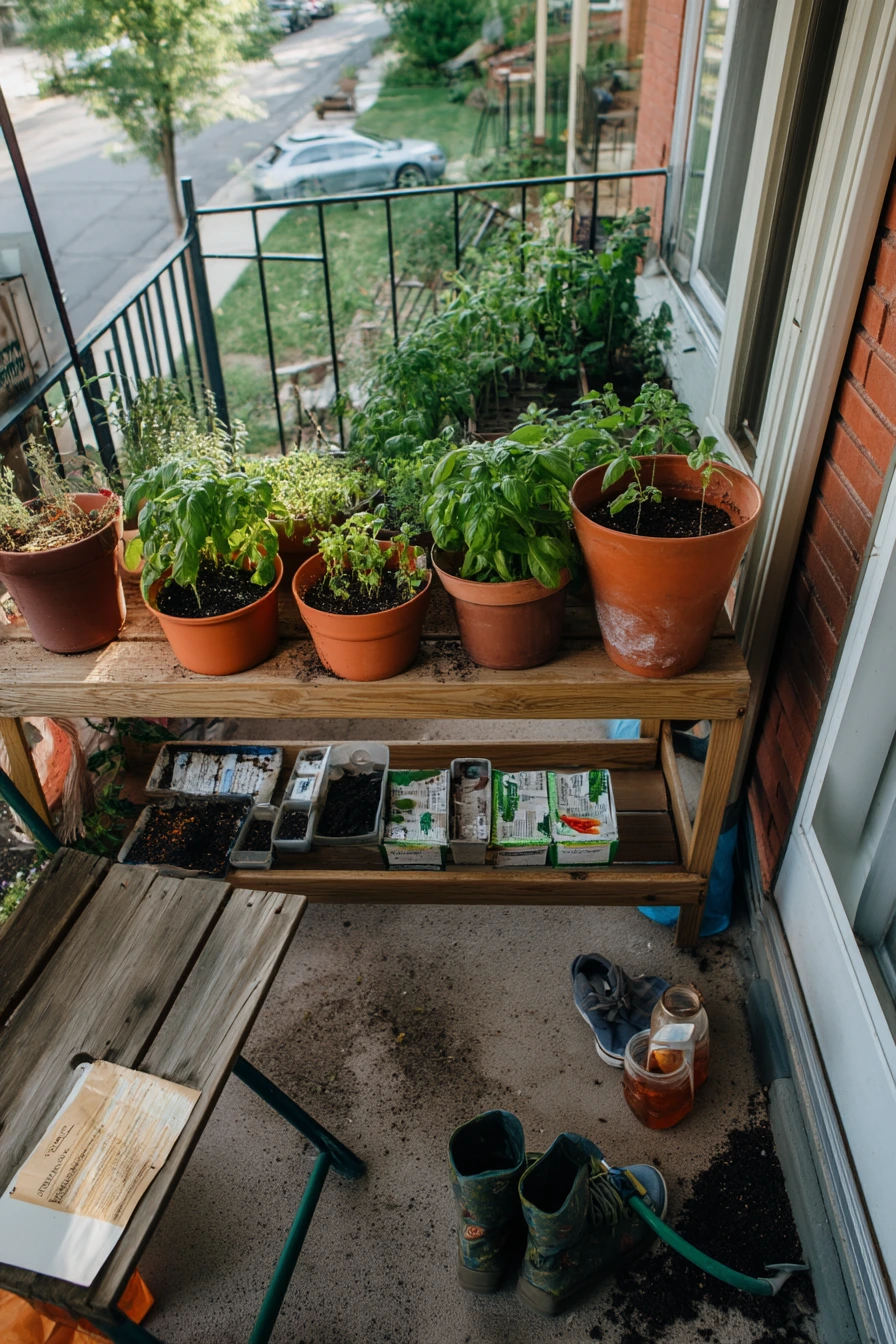
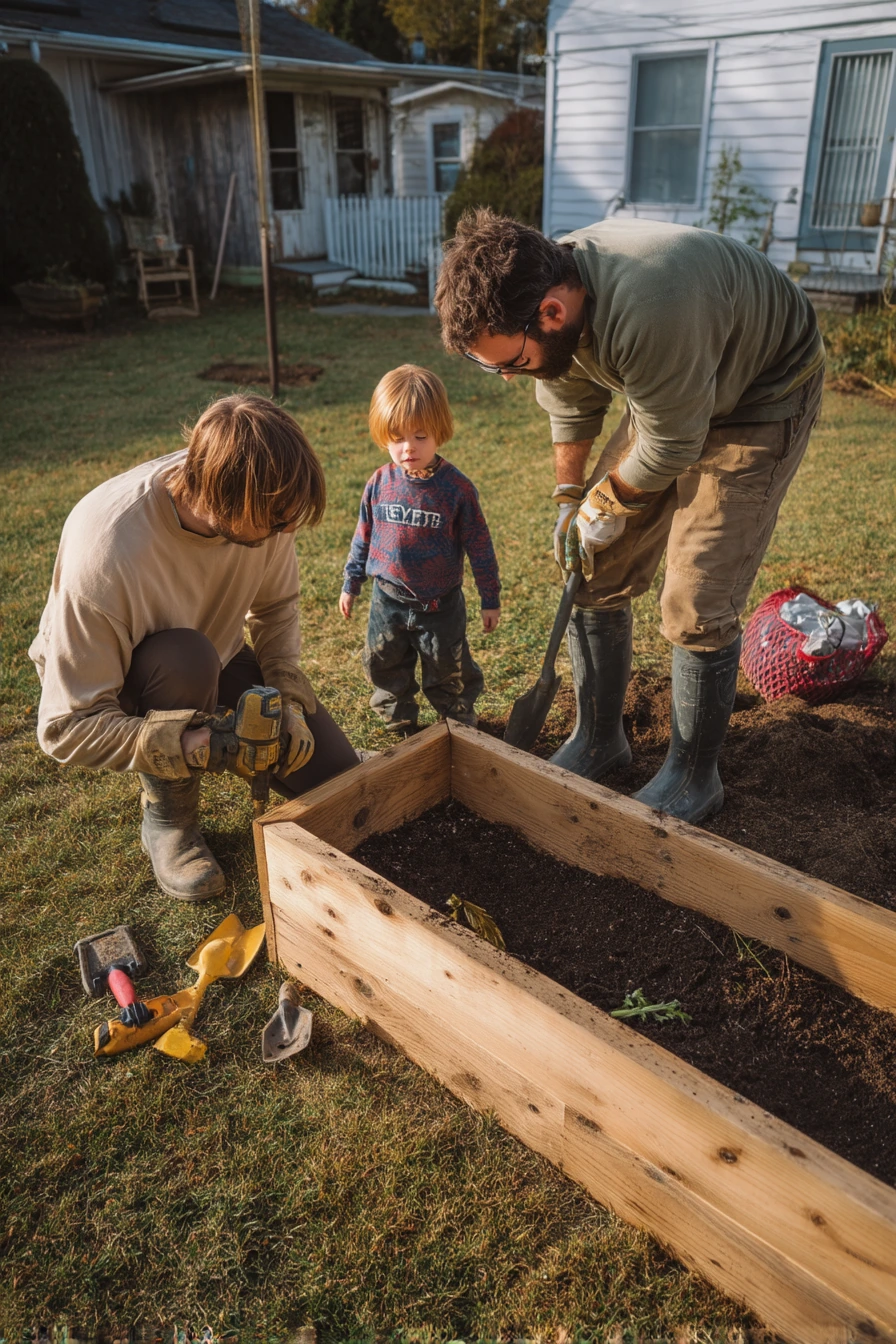
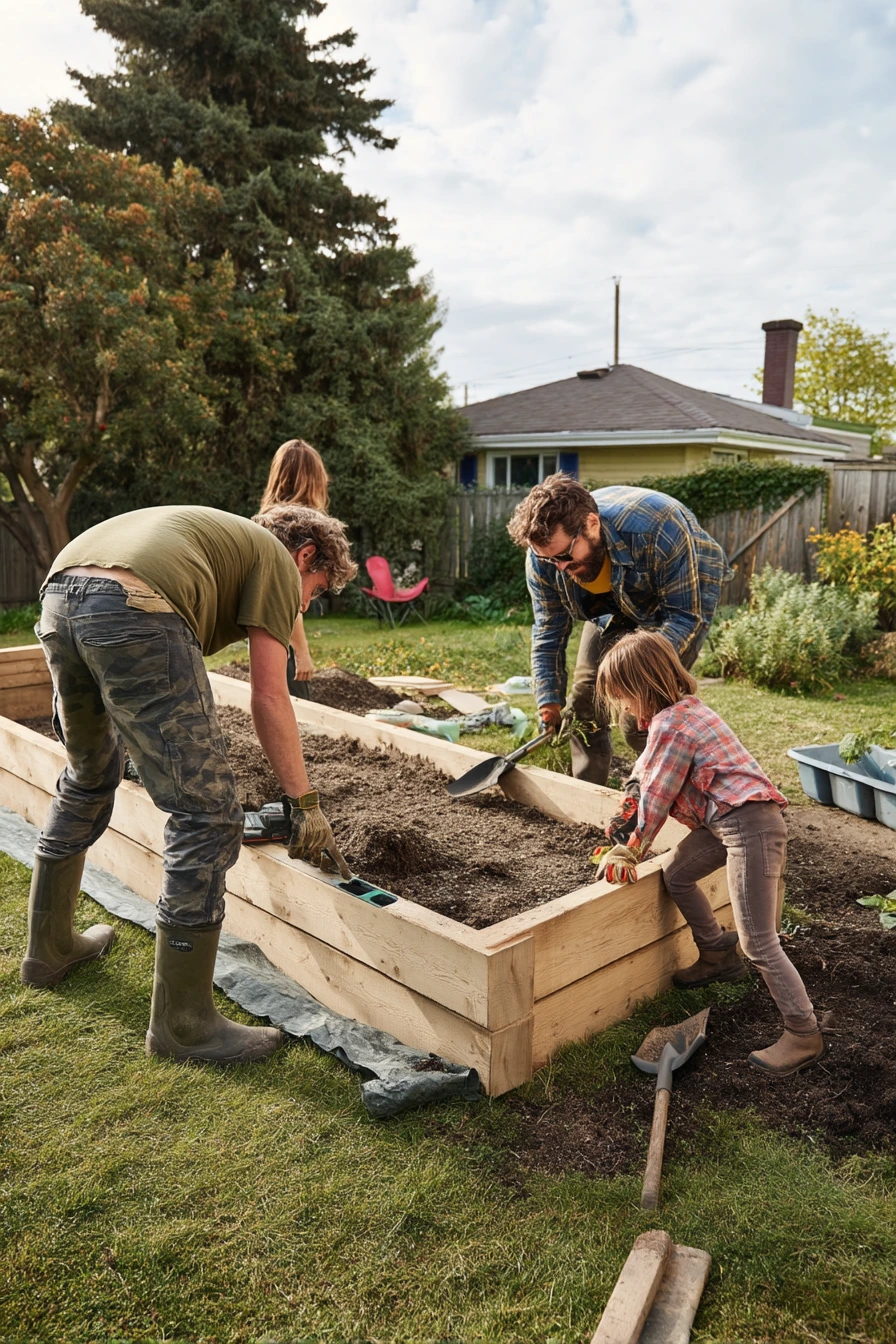
A DIY raised garden bed is great for a modest yard because it gives you clean soil, better drainage, and fewer weeds. Use raw pine boards for a simple build, and keep the bed size reachable from both sides. A level and a drill make the job faster, and a taped sketch on a clipboard helps everyone stay on the same plan.
Lay the boards on flat ground and check for square corners before you screw them in. Add a layer of cardboard under the bed to block grass. Then fill with bagged compost and a basic garden mix. If kids are helping, give them a kid’s toy shovel so they can work safely without getting in the way of the drill.
Once the bed is filled, plan planting by height. Put taller crops on the north side so they do not shade smaller plants. Add a narrow path around the bed so you can water and harvest without stepping on soil. Keep worn work gloves and sun-faded garden boots by the back door in a small bin so they stay ready for quick tasks.
- Build a bed no wider than 4 feet so you can reach the center.
- Use screws made for outdoor wood so corners stay tight.
- Fill in layers: cardboard, sticks, compost, then topsoil mix.
- Mark rows with string so planting looks neat and is easy to weed.
- Style the area with one simple border plant like marigolds for color.
Pro Design Tip: Align the bed parallel to the house or fence line so the yard looks more organized and the bed feels built-in.
Budget Considerations: Pine is affordable but can rot sooner; if funds are tight, seal the outside only, or use thicker boards so it lasts longer.
3. Renter-Friendly Kitchen Windowsill Herb Starters
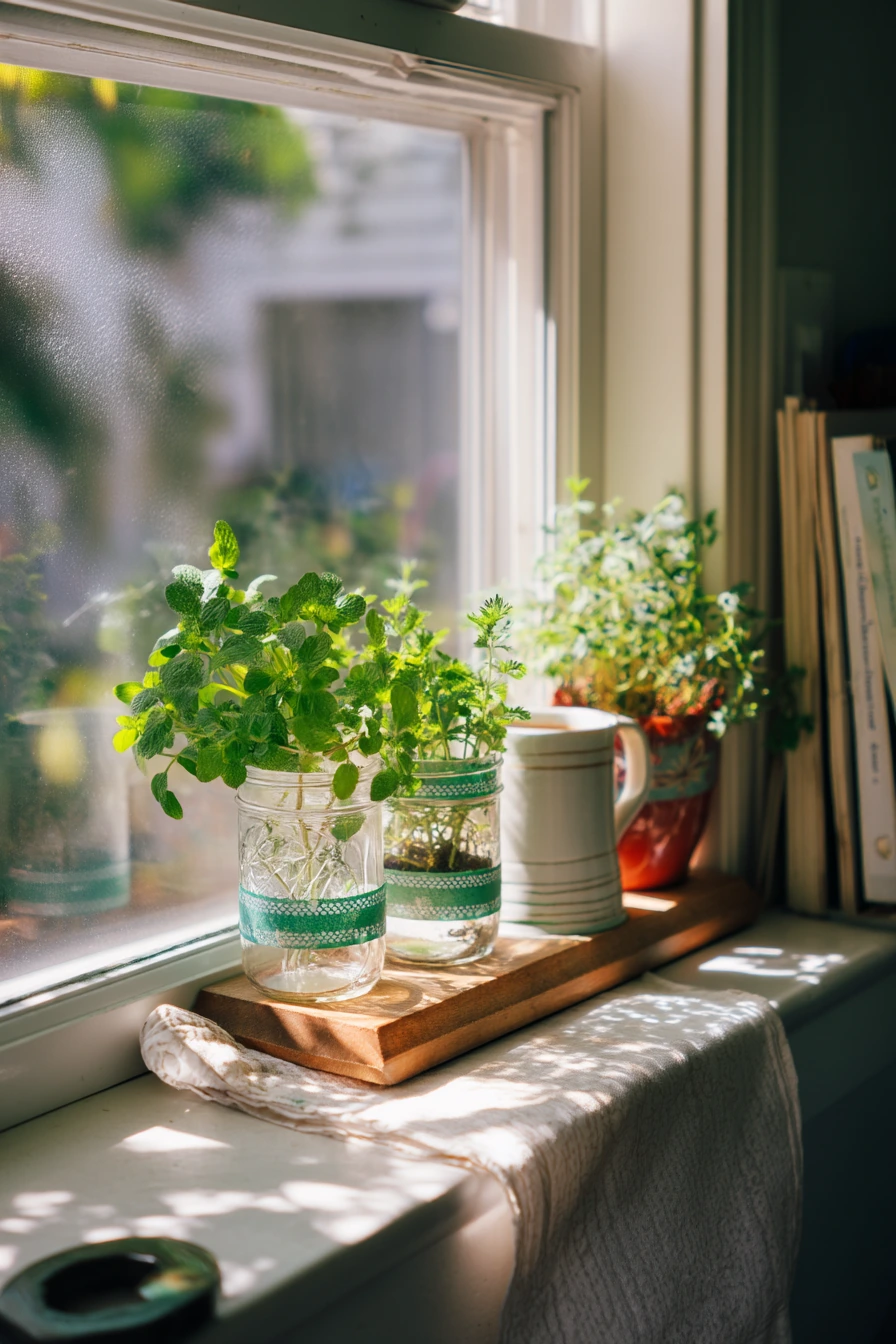
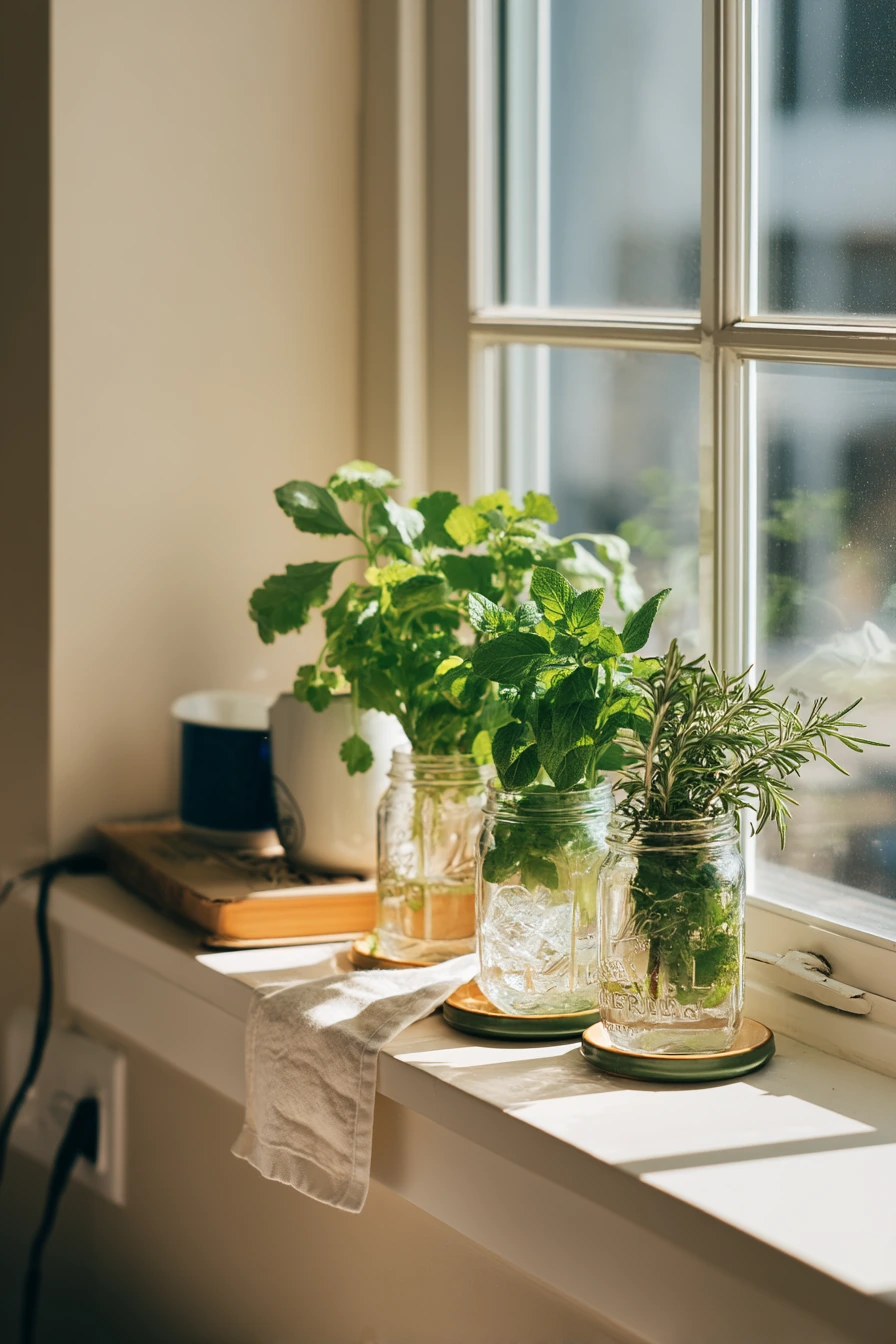
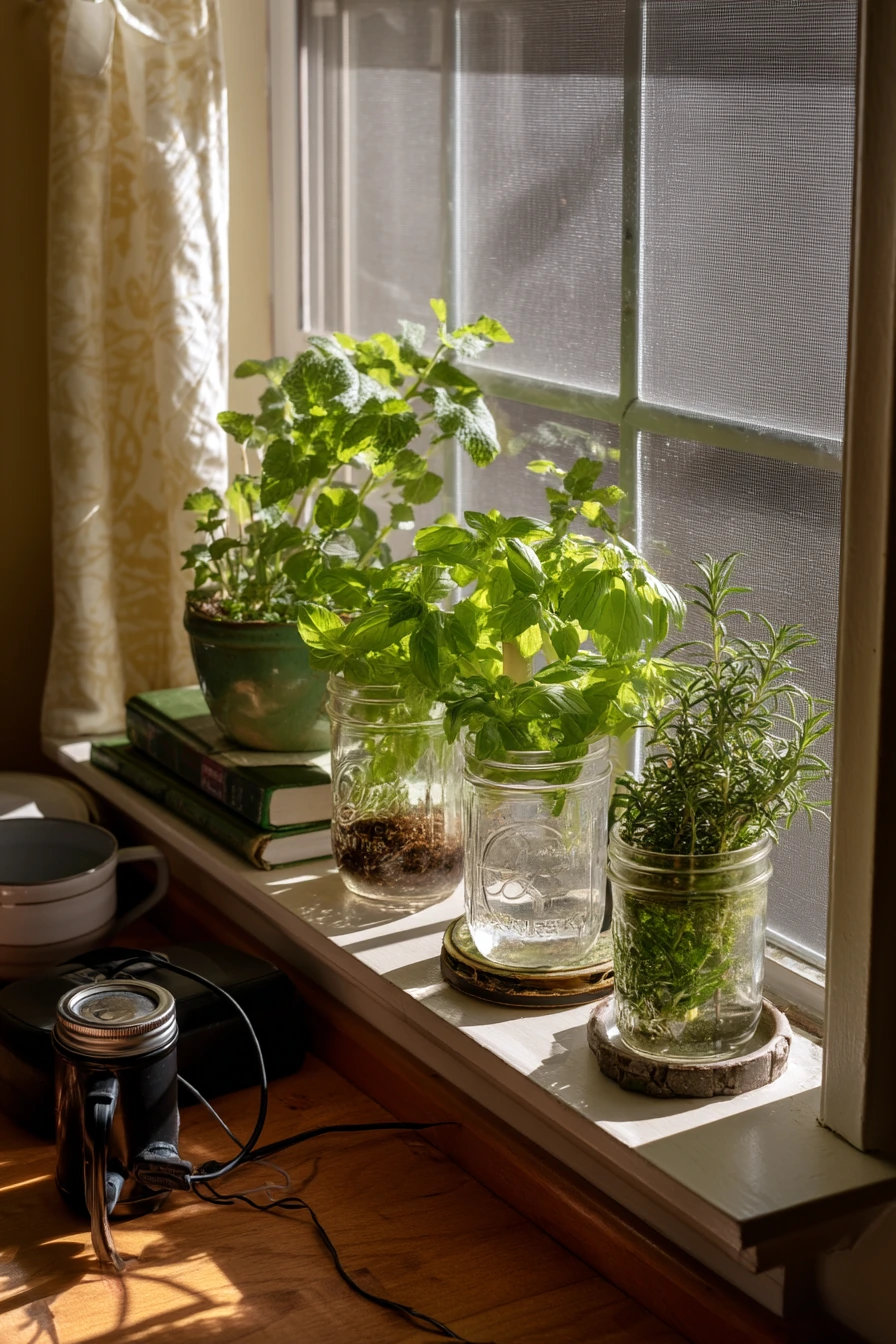
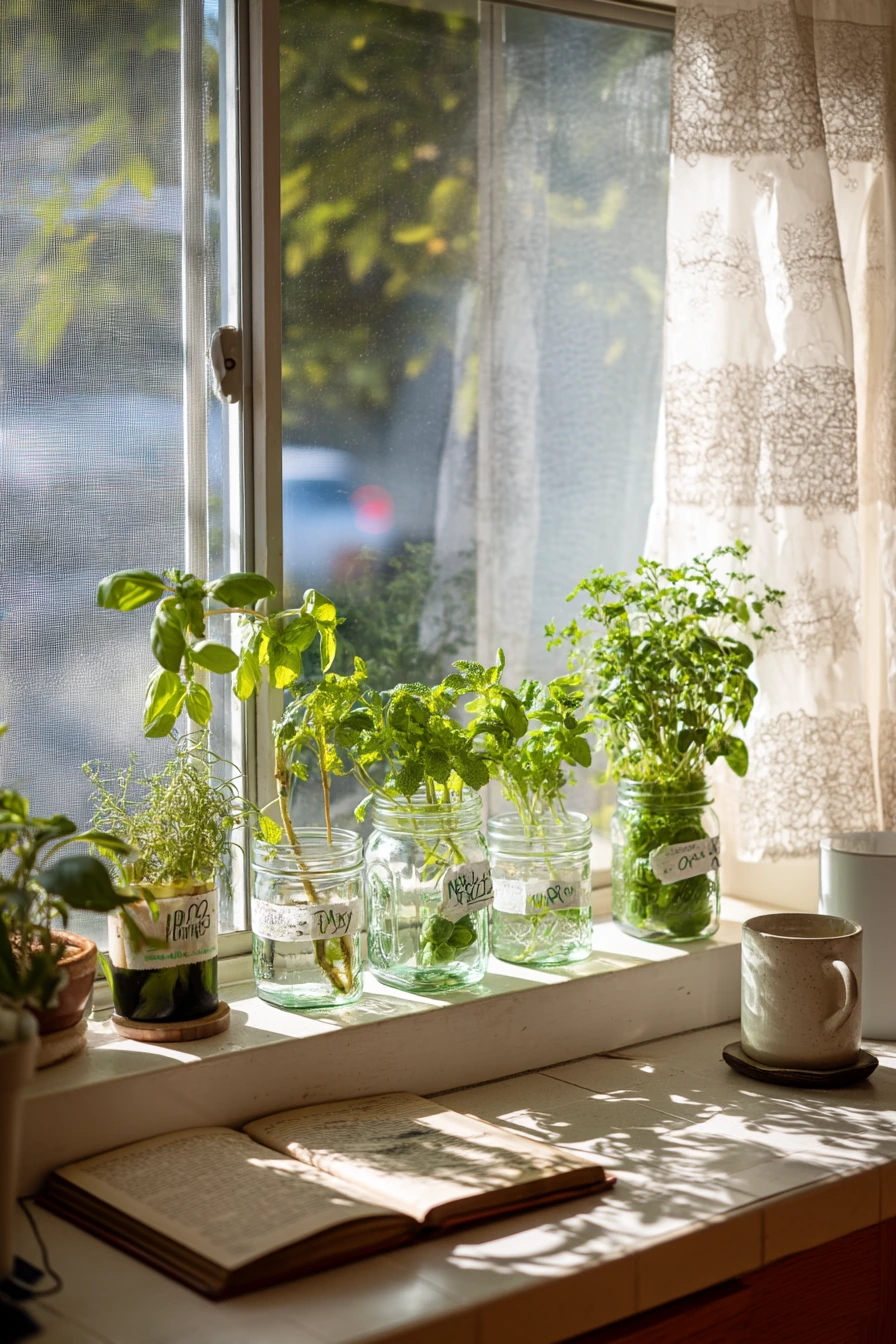
A renter-friendly windowsill garden is one of the easiest DIY garden ideas because it needs no yard and no drilling. Use recycled glass jars for herb starters like mint, cilantro, and rosemary. Clean the jars well, then add small stones at the bottom if you are using soil, or grow cuttings in water if you prefer.
Label each jar with masking tape so you remember what is what. Set the jars on saucer rings or small plates to catch drips and protect the sill. Keep the setup real and useful by placing a cookbook nearby, and a tea mug for your morning routine. Move charging cables away from water and place them on the far side of the counter.
Bright window light is key. Rotate jars every few days so stems grow straight and leaves get even light. Pinch herbs often to keep them full. If the window gets hot, pull the jars back a few inches at midday. A sun-warmed dish towel under the jars can add texture and keep the area tidy.
- Start with 3 herbs you cook with most often to avoid waste.
- Use a small spoon to top up soil and keep jar rims clean.
- Trim mint often so it does not take over the space.
- Keep rosemary on the driest side and do not overwater.
- Style with matching labels and one small tray to group everything.
Pro Design Tip: Use jars in one height range and line them up in a simple row so the leaf shadows look clean and calm.
Budget Considerations: Glass jars are usually free; if you need drainage, place nursery pots inside jars instead of buying special planters.
4. DIY Vertical Garden for a Small Apartment Balcony
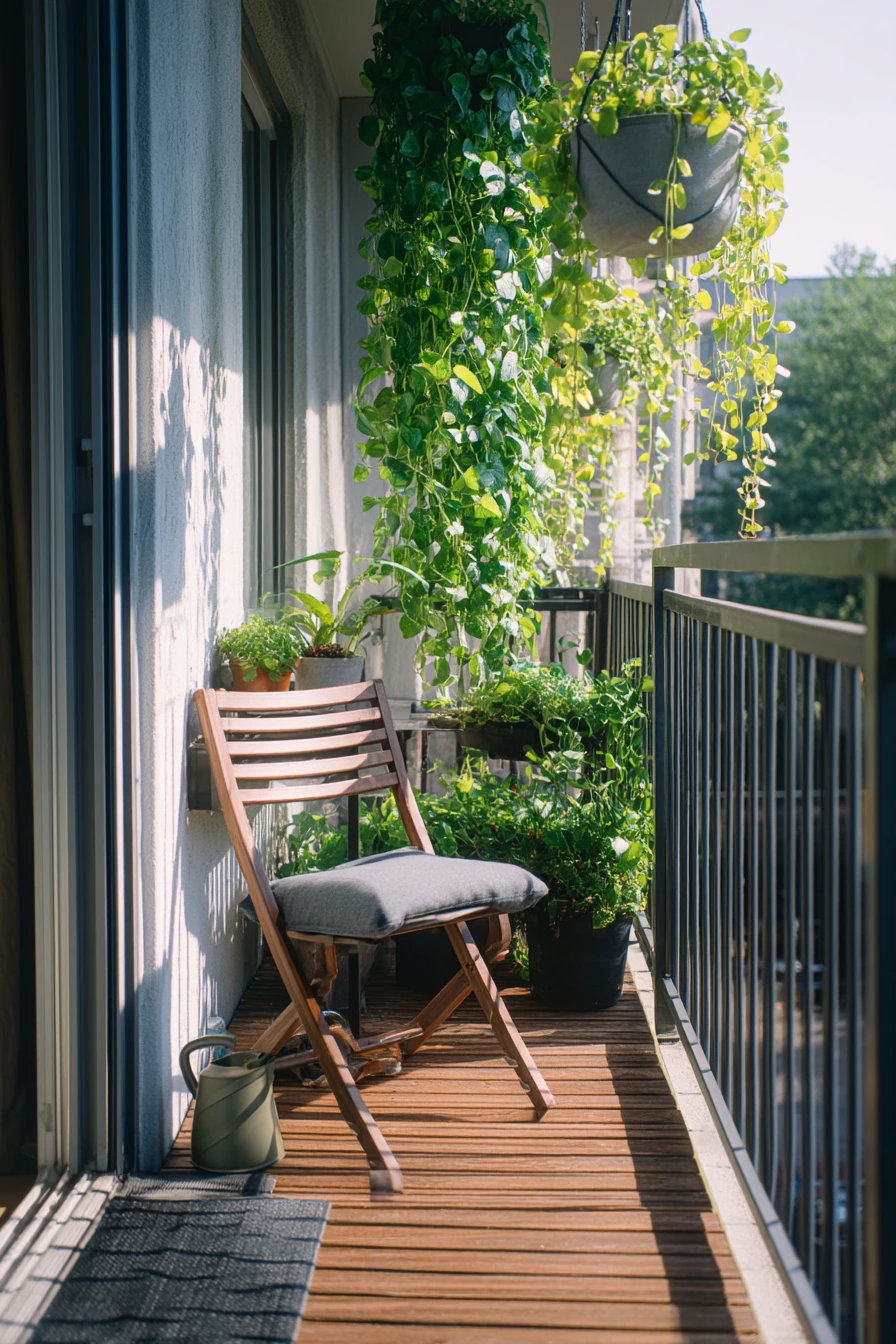
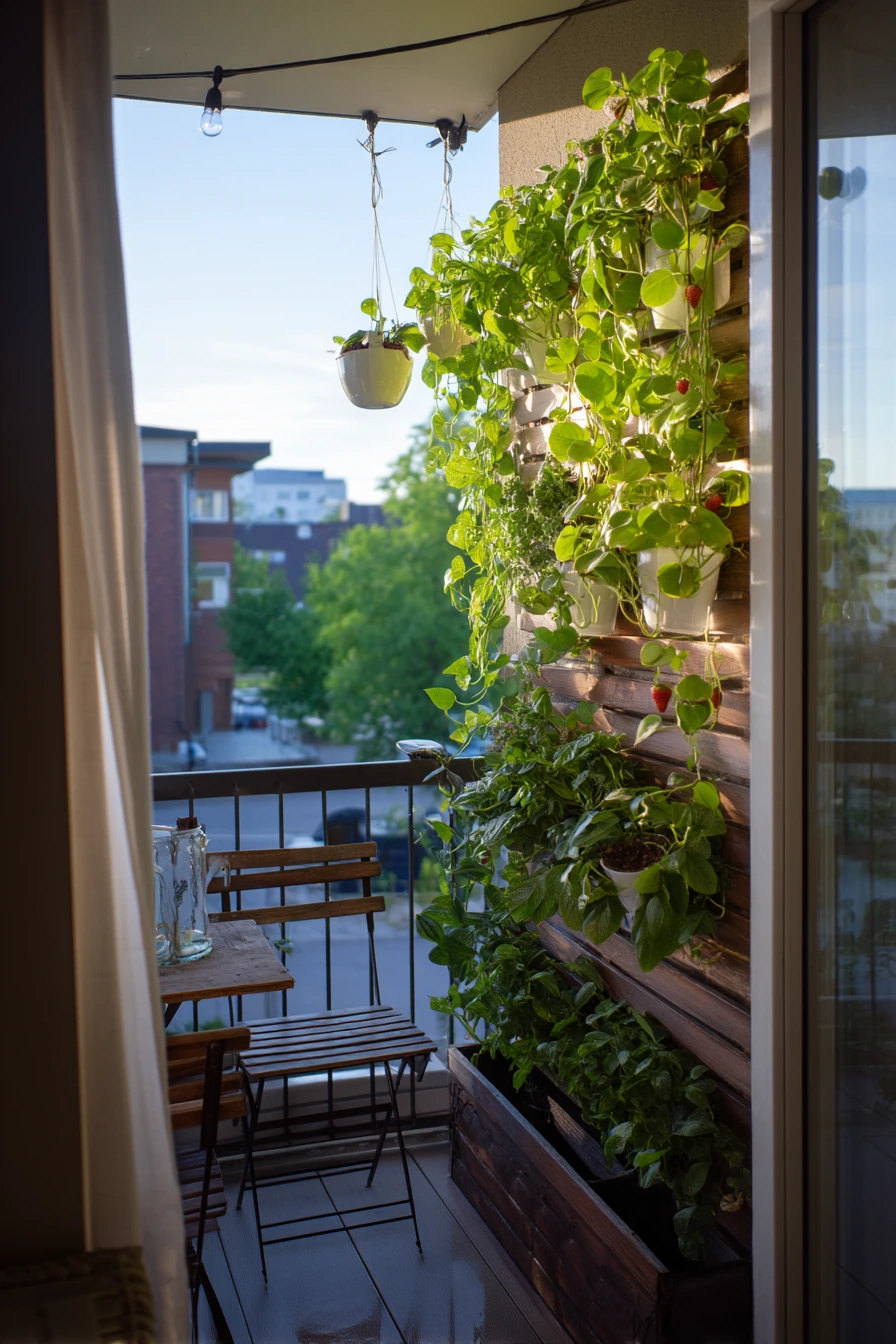
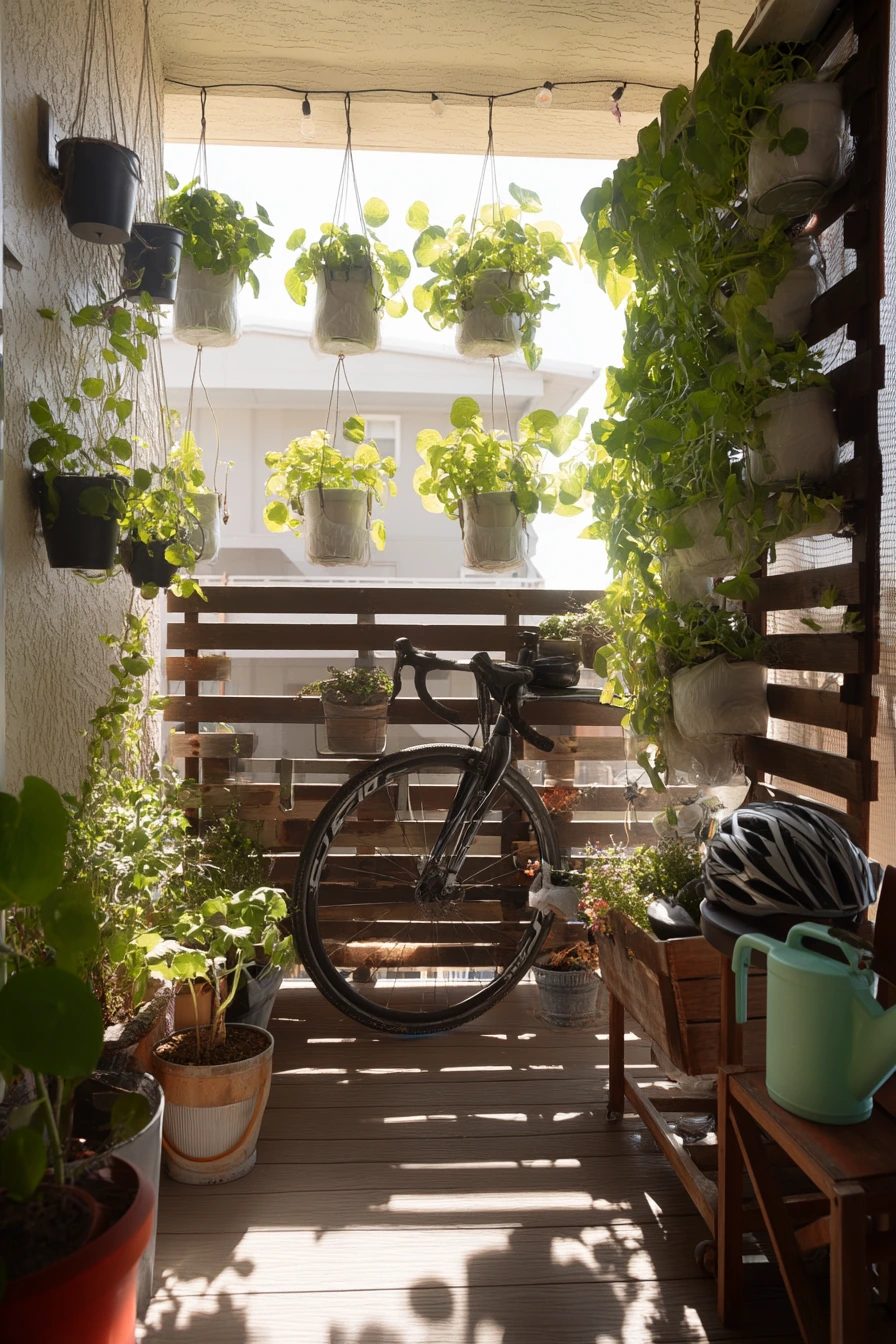
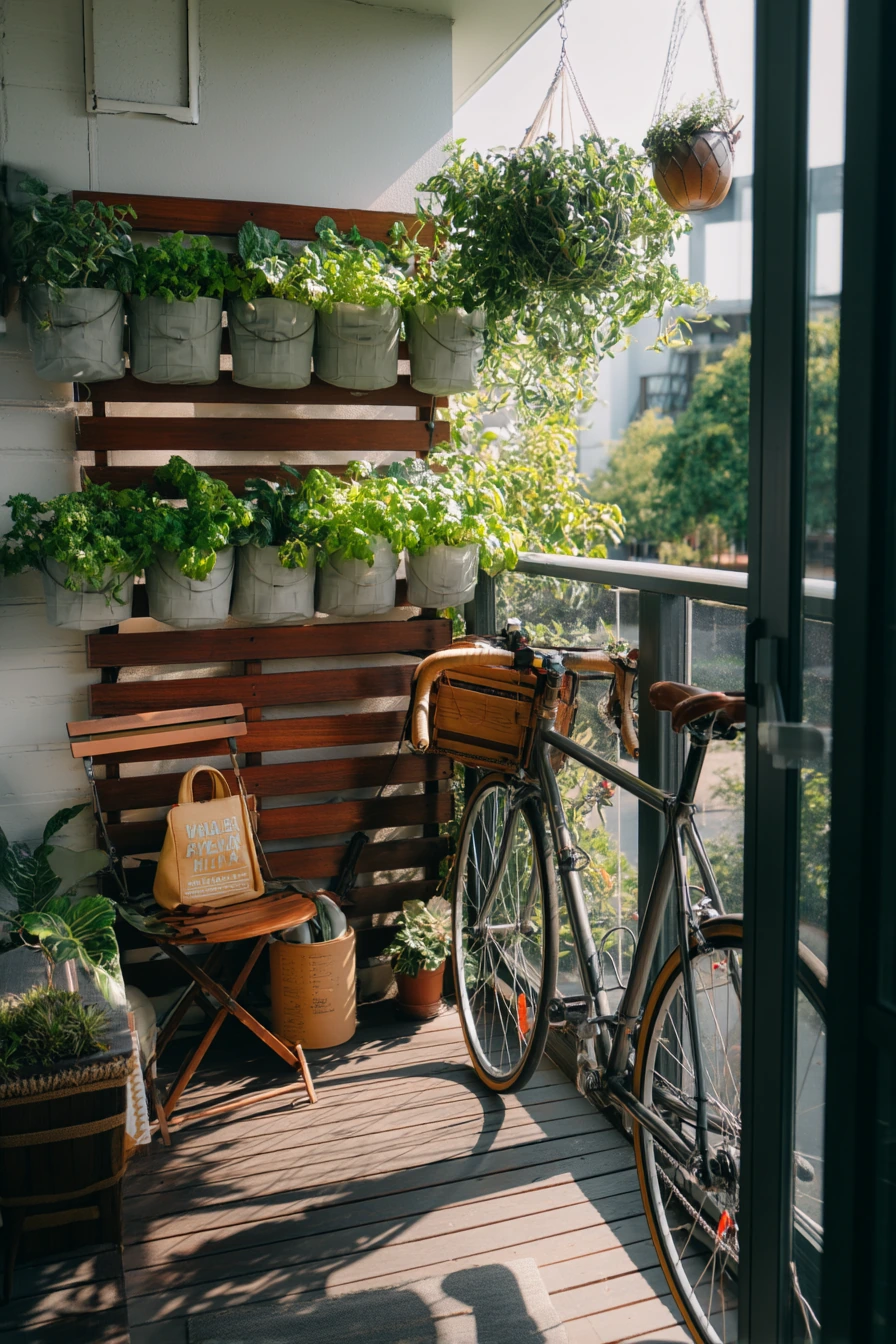
A DIY vertical garden can turn a small apartment balcony into a growing space without using much floor area. Start with a slatted wood panel or a simple trellis that can lean against a wall. Add hanging planters for trailing pothos, and place strawberries in fabric grow bags on the floor along the rail.
Think about daily use. Keep a folded chair for quick breaks and a watering jug that is easy to lift. Clip-on solar lights are helpful for early mornings and evenings, and they make the balcony feel safer. Keep small life items like a bicycle helmet and a mail stack in one basket by the door so the garden does not take over.
For plant health, check wind and sun. Balconies can dry out fast, so water in the morning when possible. Use a saucer or tray under pots to protect the surface. For styling, choose two planter colors and repeat them. Mix one leafy plant like pothos with one edible like strawberries to keep it both pretty and practical.
- Secure the slatted wood so it cannot tip in strong wind.
- Use fabric grow bags for strawberries to improve drainage.
- Place pothos higher so it can trail down and soften the wall.
- Group plants by light needs: sun lovers near the rail, shade lovers closer in.
- Style with solar lights along the top edge for a clean line.
Pro Design Tip: Build visual balance by keeping the heaviest items low and the lightest hanging planters high.
Budget Considerations: Vertical setups can cost more; use basic hooks and secondhand shelves, and start with a few planters before adding more.
5. DIY Pollinator Garden Corner in the Front Yard
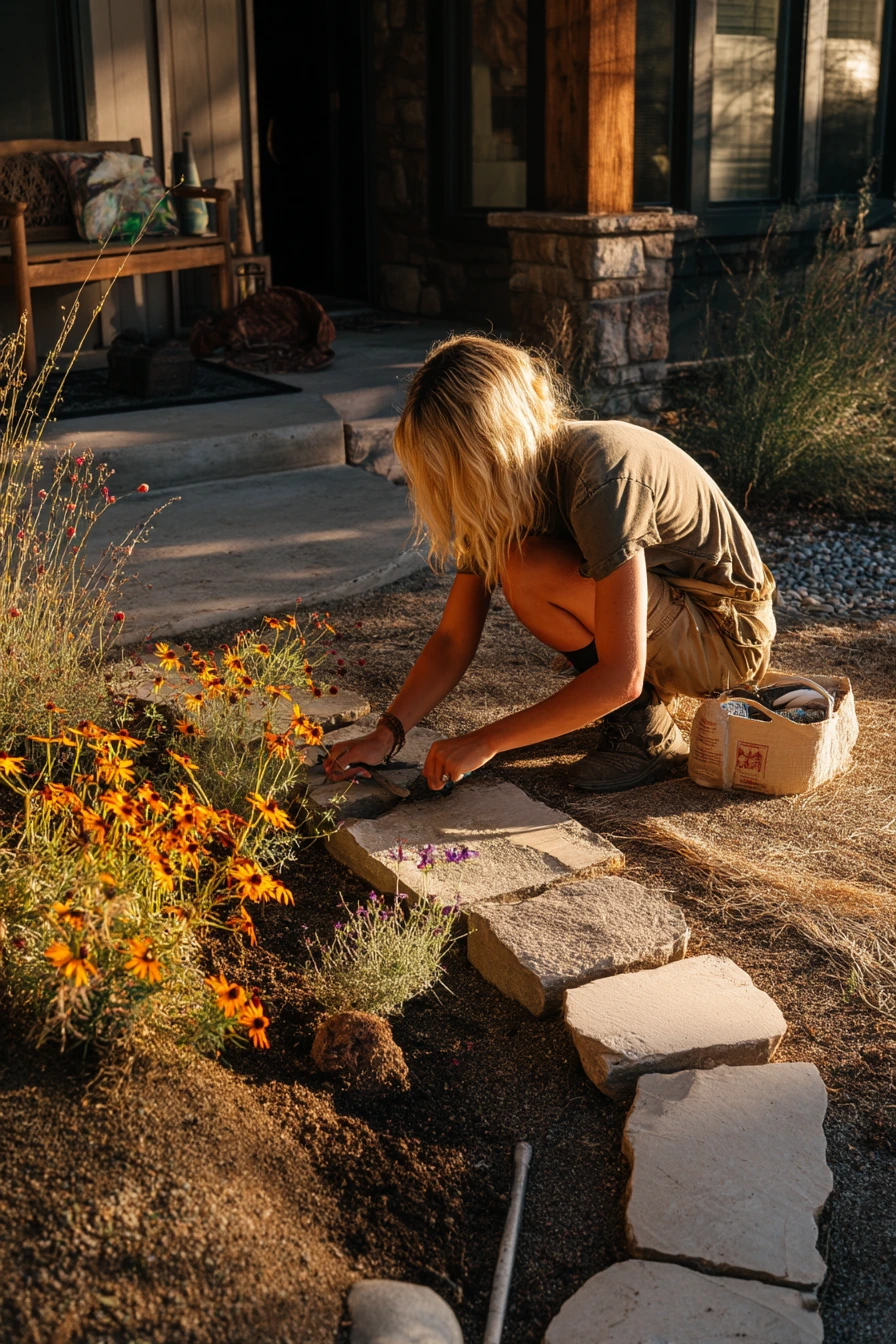
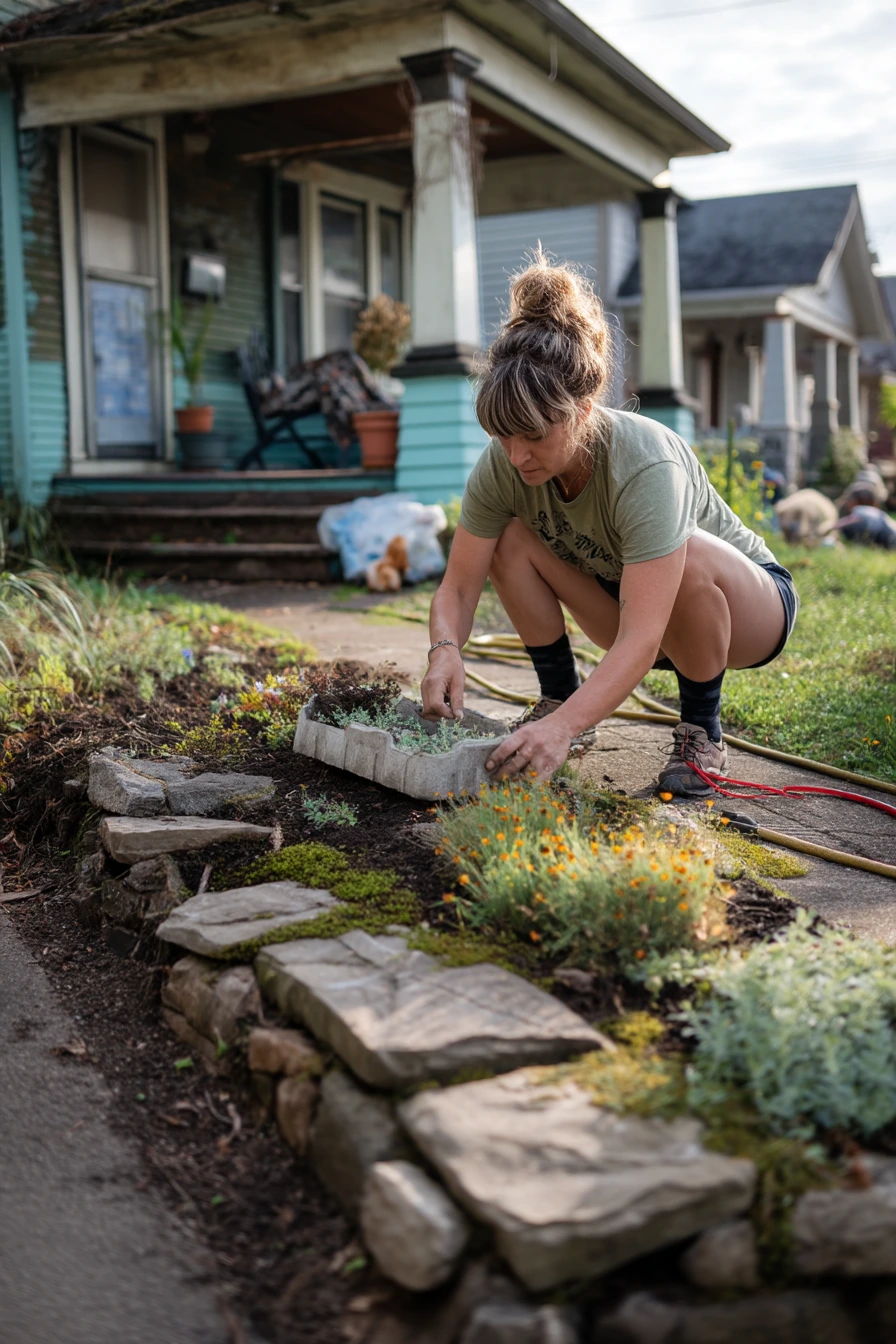
A DIY pollinator garden is a smart way to use a front-yard corner that feels empty. Choose native wildflowers that match your region so they need less water and help local bees and butterflies. Use stone edging to keep the shape tidy and to make mowing easier around the bed.
Add a simple bee bath, which is a shallow dish with clean water and small stones for landing spots. Keep a hand trowel and seed tray close so you can fill gaps as plants grow. A weathered kneeling pad makes weeding easier, and a hose can be draped across the path while you work, then stored on a hook when you are done.
To make it look like part of the neighborhood, keep the edge sharp and the center full. Mix flower heights so the bed looks layered. Leave space near steps or a porch package area so the bed does not block foot traffic. If you have pets, move dog toys away from seedlings so young plants do not get crushed.
- Pick 5 to 7 native plants with staggered bloom times for long season color.
- Place taller flowers at the back and low growers near the stone edge.
- Water new plants deeply the first two weeks, then taper off.
- Leave a small bare patch for ground bees that nest in soil.
- Style with one focal item like a bee bath near the front corner.
Pro Design Tip: Repeat one stone size for edging and keep the curve simple so the bed reads clean from the street.
Budget Considerations: Native plants can be cheaper as plugs; buy small starts and let them fill in over time instead of buying large pots.
6. DIY Kids’ Garden Nook by the Fence
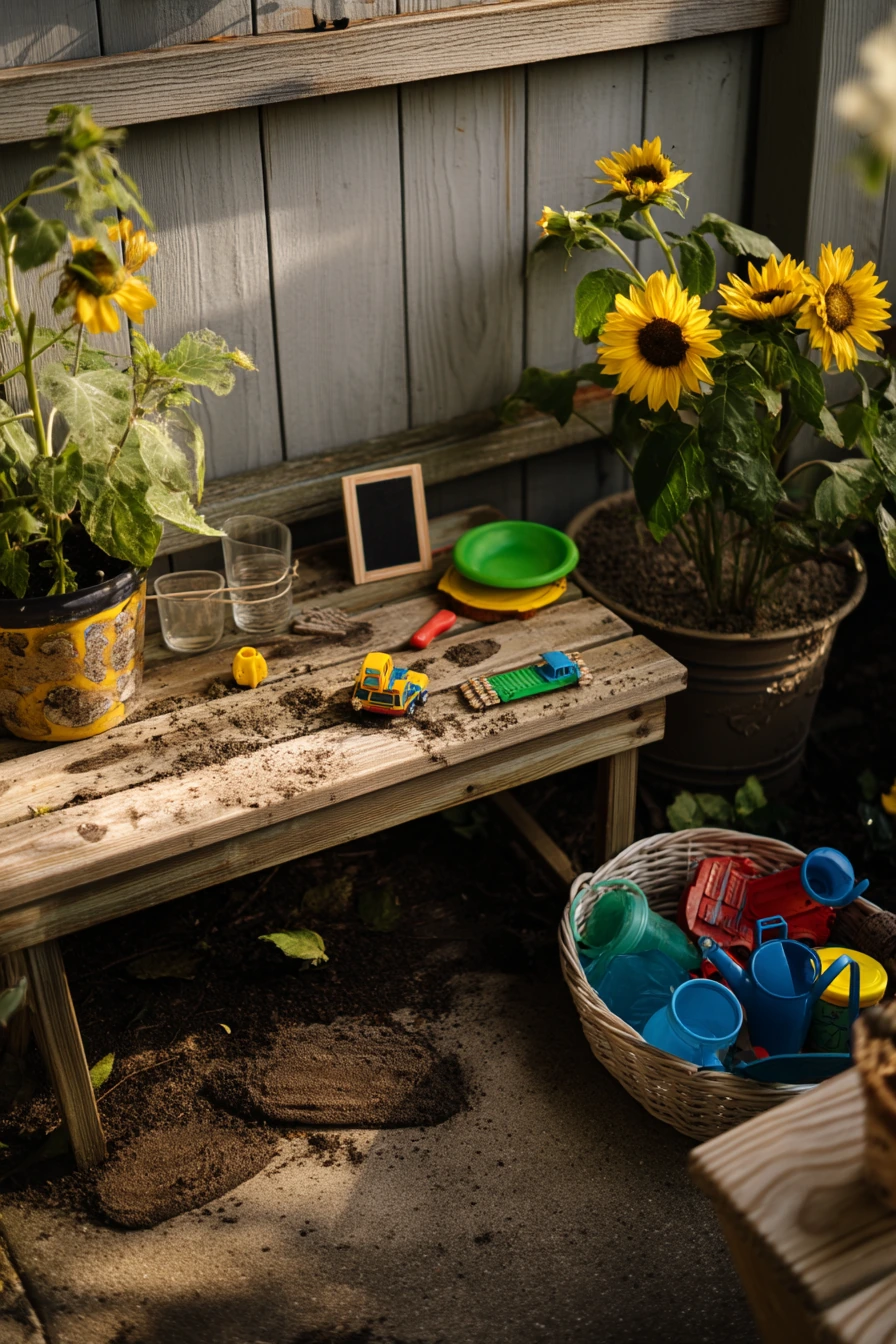
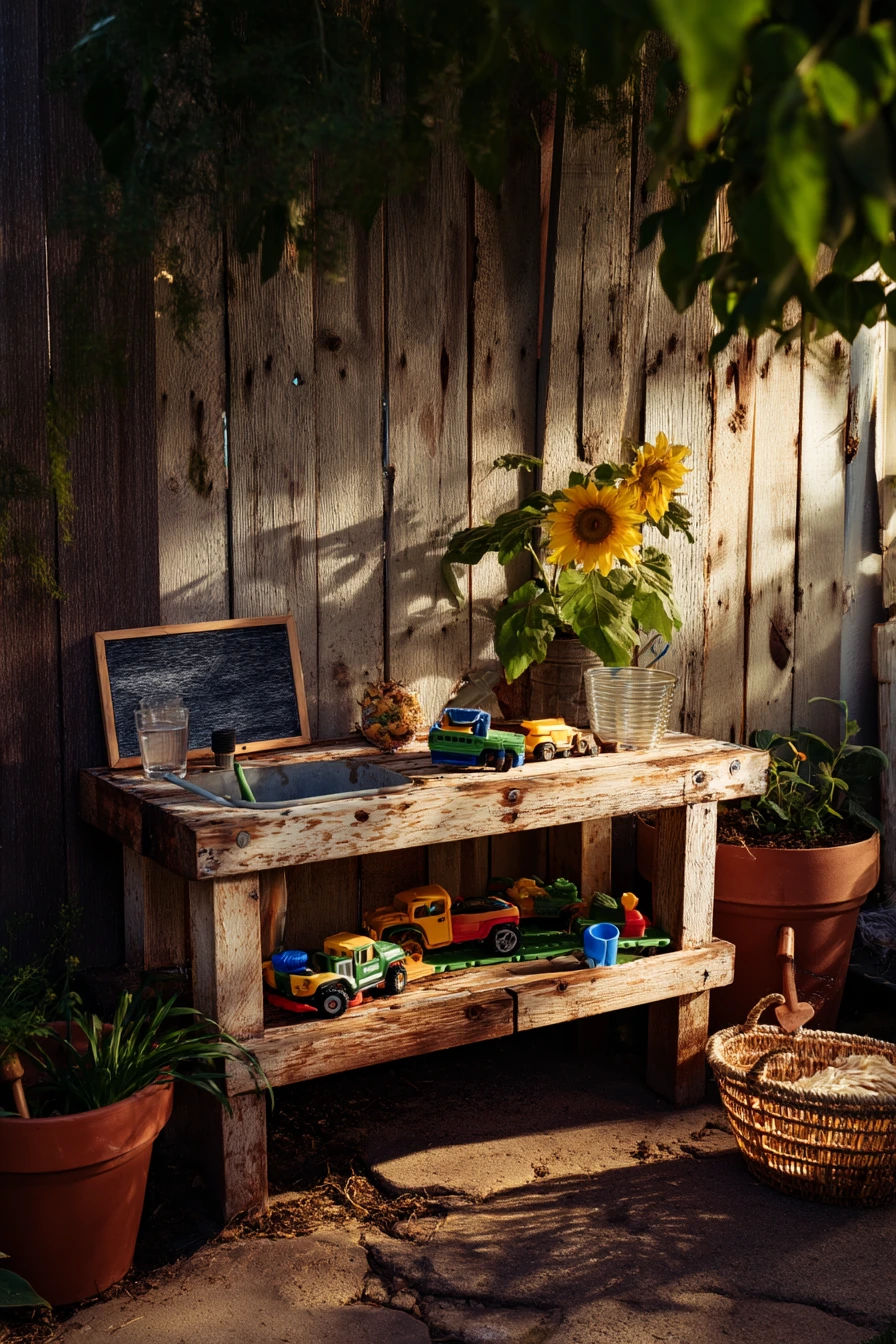
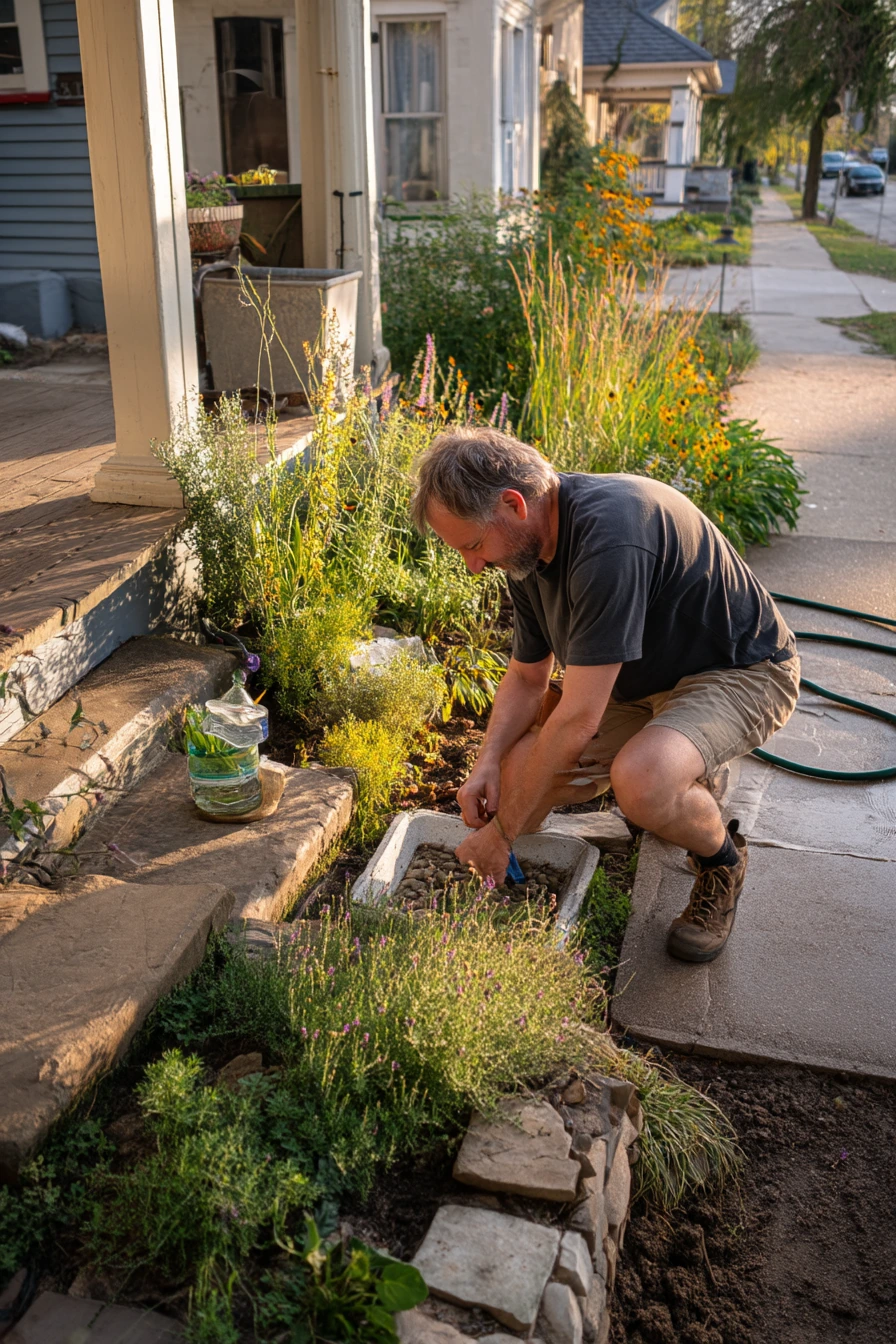
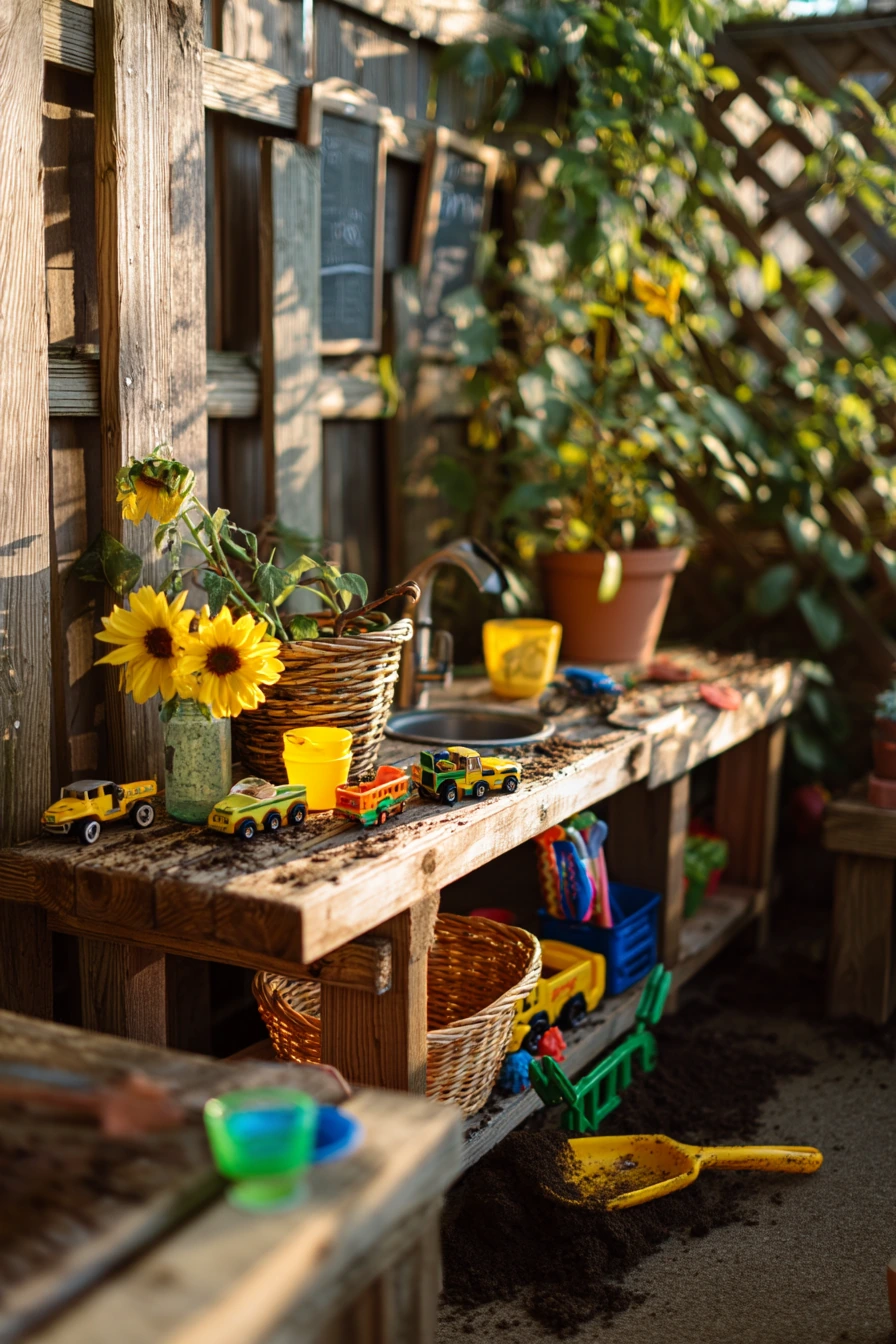
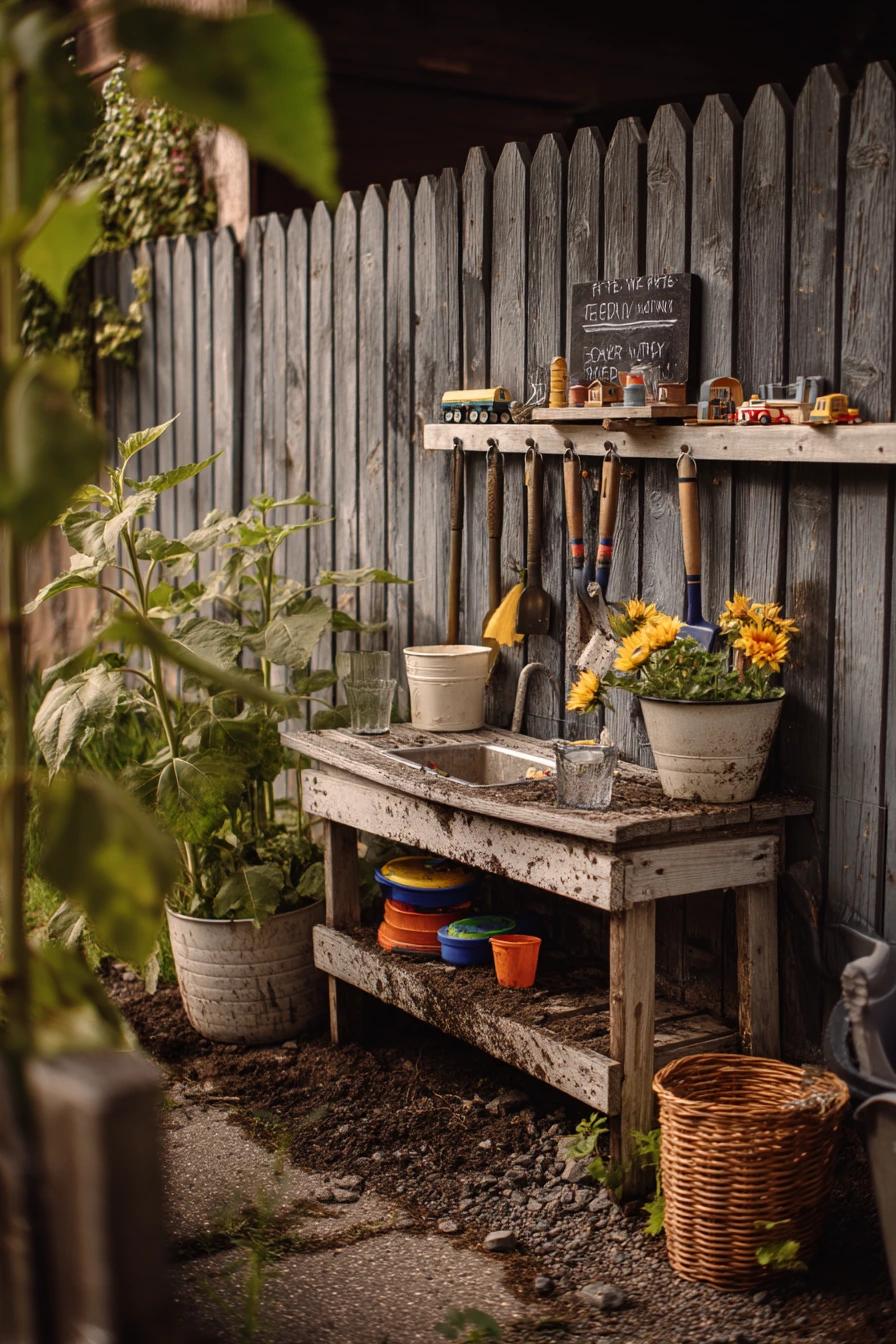
A DIY kids’ garden nook helps children feel ownership and keeps play in one spot. Set it beside a backyard fence where it can get some sun but is easy to watch. A mud kitchen made from reclaimed wood gives a place for mixing soil and water, and it can hold simple tools like a tiny rake and plastic cups.
Add potted sunflowers for fast growth and big results. Use chalkboard plant tags so kids can draw and label plants without worrying about perfect handwriting. Keep garden gloves in a low basket and add a bench for a water glass so breaks are easy. Damp footprints will happen, so place a small outdoor mat nearby for a quick wipe.
Make the space calm and safe. Store a basket of toy trucks under the bench so the area looks tidy when not in use. Water in the evening when the light is warm and the sun is not harsh. Let kids do small jobs like filling cups, sprinkling seeds, and brushing soil off the bench.
- Use sturdy reclaimed wood and sand rough edges to prevent splinters.
- Choose easy plants like sunflowers, peas, or nasturtiums for quick wins.
- Keep one bin for tools and one bin for toys to reduce clutter.
- Teach a simple rule: water first, then play, then clean up.
- Style with matching chalkboard tags and one bright pot color for fun.
Pro Design Tip: Give the nook a clear border, like a small mulch area or pavers, so it feels like its own room outdoors.
Budget Considerations: Reclaimed wood is often free; if you need to buy wood, build a smaller mud kitchen and add shelves later.
7. DIY Garden Path with River Stones and Thyme Edging
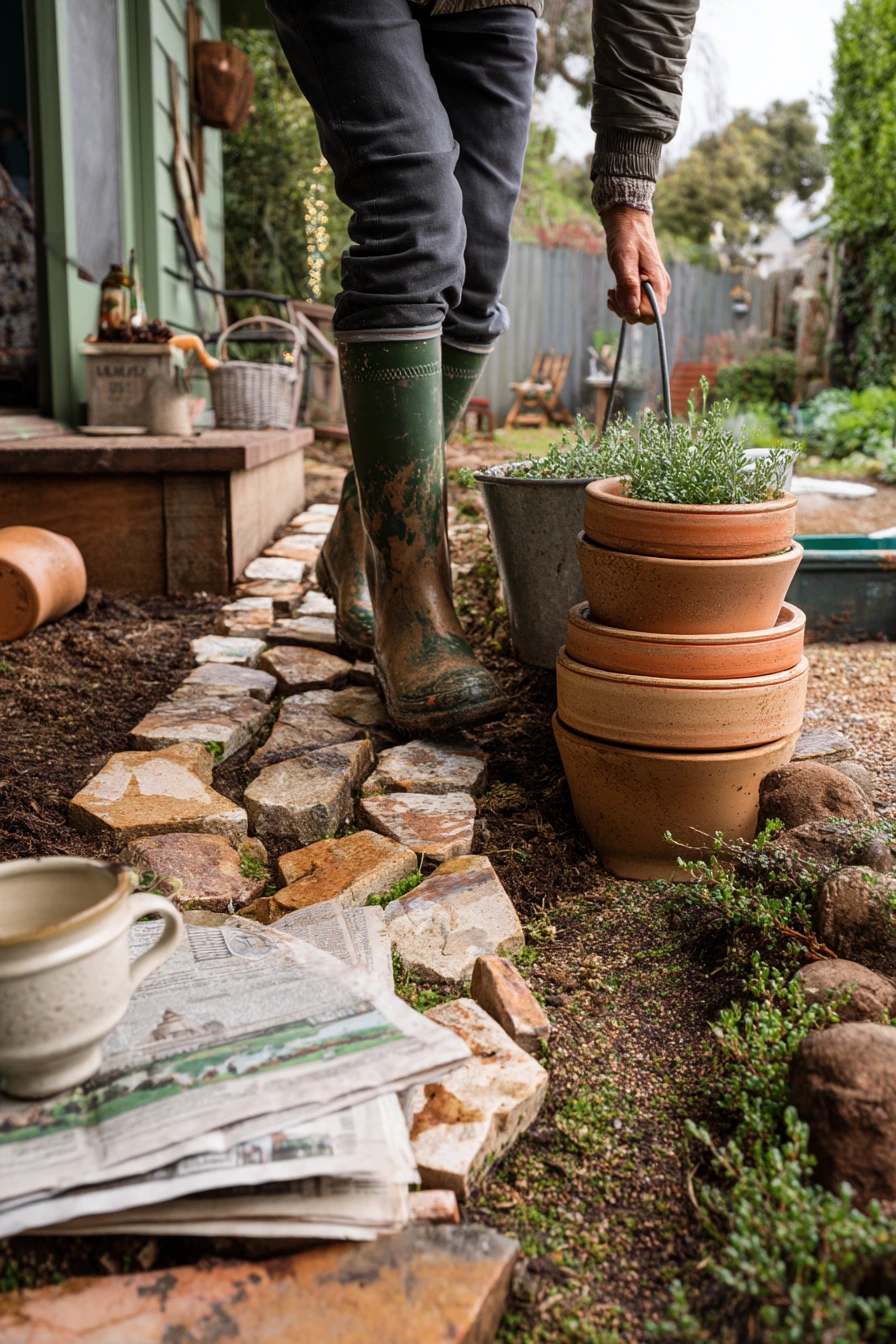
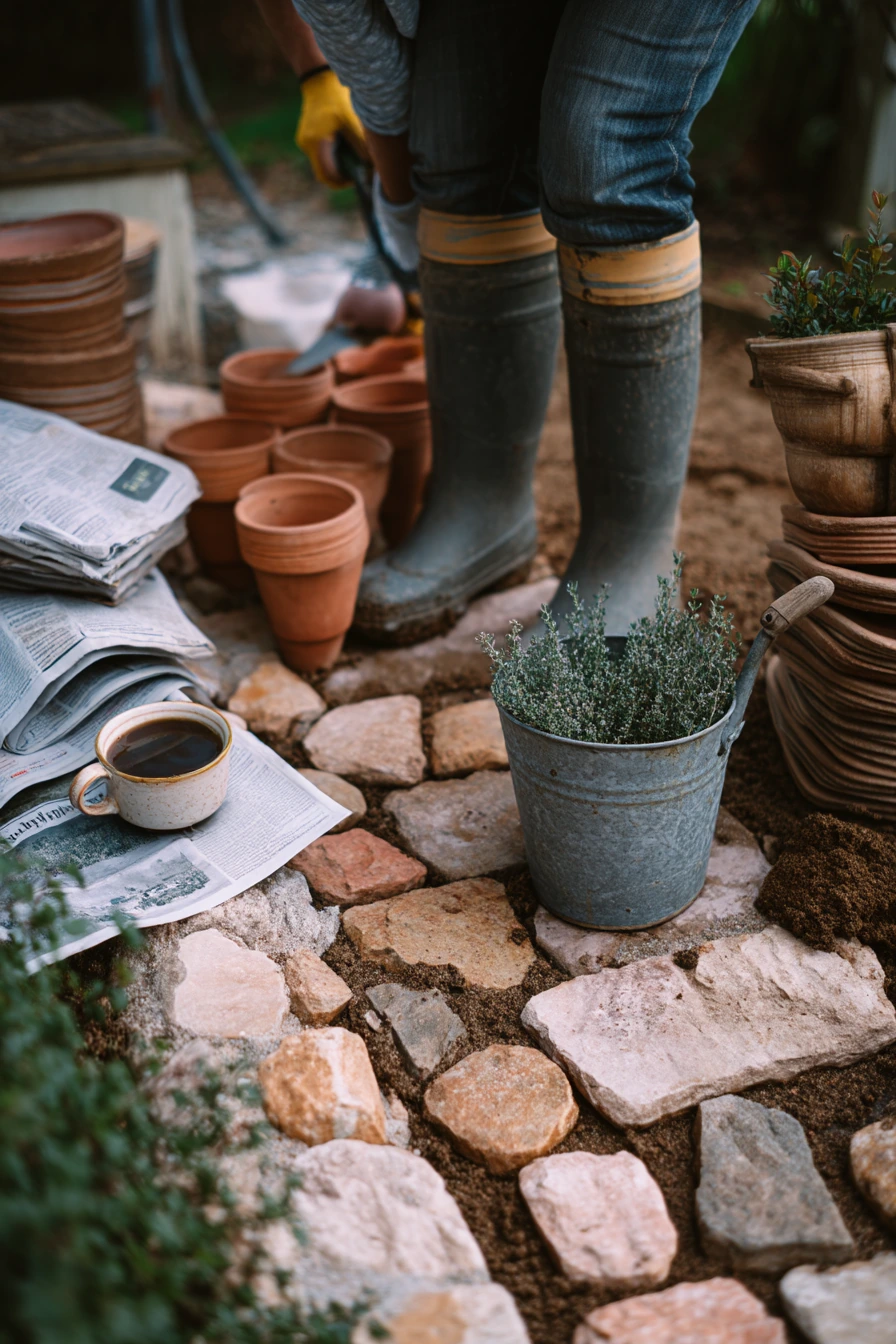
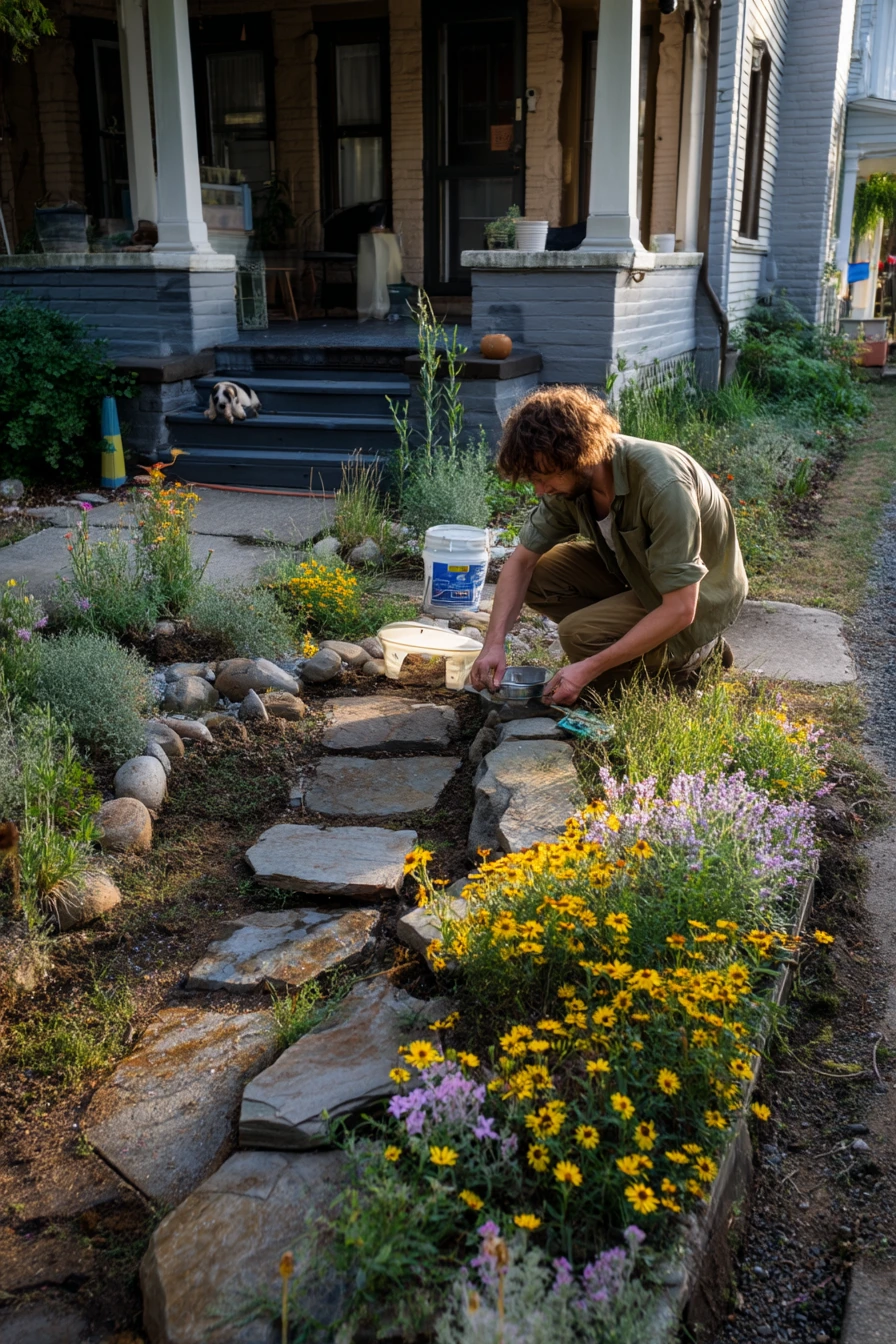
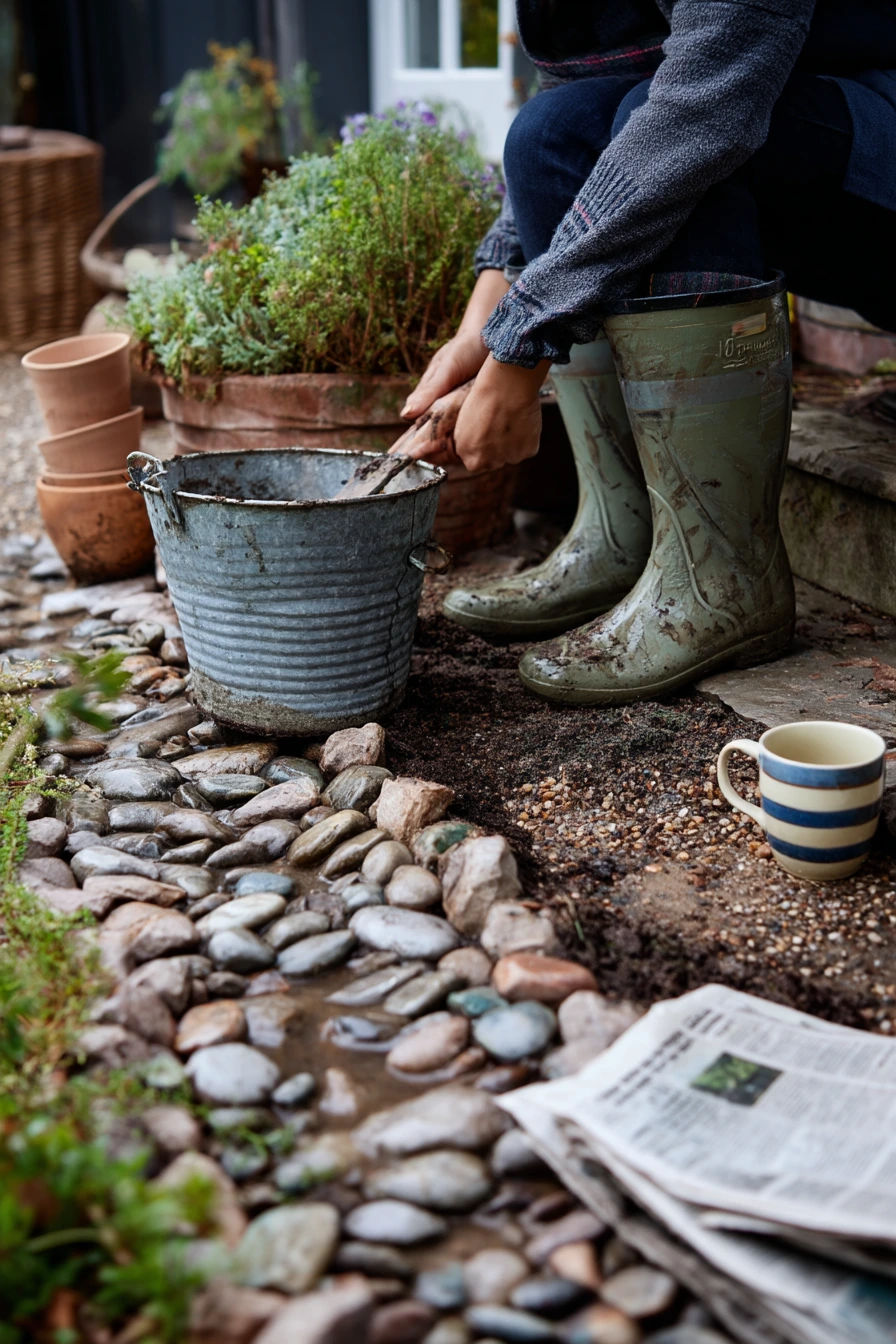
A DIY garden path makes a yard easier to use and helps keep shoes clean after rain. River stones create a natural look and drain well. Add thyme edging along the sides for a soft border that smells good when you step near it. Keep tools close, like a galvanized bucket for stones and hand pruners for trimming thyme.
Start by laying out the path shape with a hose or string, then remove grass and level the soil. Use newspaper under one knee to stay comfortable if you do not have a pad. Add a base layer of crushed rock or sand to reduce shifting. Place stones like a puzzle, using bigger ones for the main walking area and smaller ones to fill gaps.
Finish with details that make it feel real, not staged. Stack old bricks nearby for edging or future steps. Keep cracked terracotta pots in a corner for extra plants or thyme divisions. Take breaks with a tea cup on the step, then come back and check for wobble by walking the path slowly.
- Dig 2 to 4 inches down so stones sit more level with the ground.
- Add a compacted base to reduce weeds and sinking.
- Place flatter stones where you will step most often.
- Plant thyme in small clumps and water until it roots well.
- Style with a few bricks at the start of the path as a clear entry point.
Pro Design Tip: Keep the path width consistent so it looks intentional and feels easy to walk, even with a watering can.
Budget Considerations: River stones can be costly by the bag; mix in free local stones or use gravel for the center and stones only on the edges.
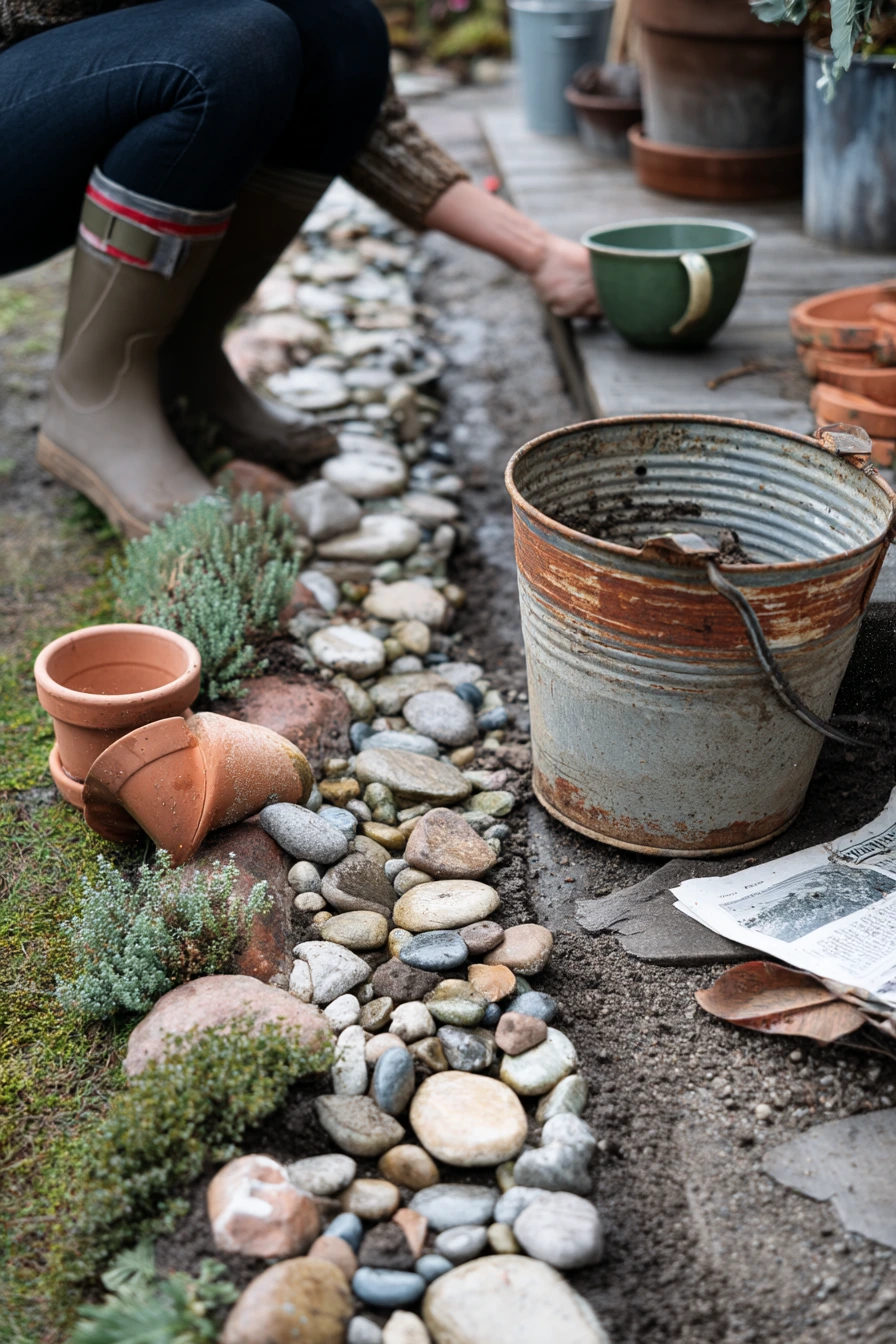
8. DIY Planter Wall with Repurposed Crates and Cans
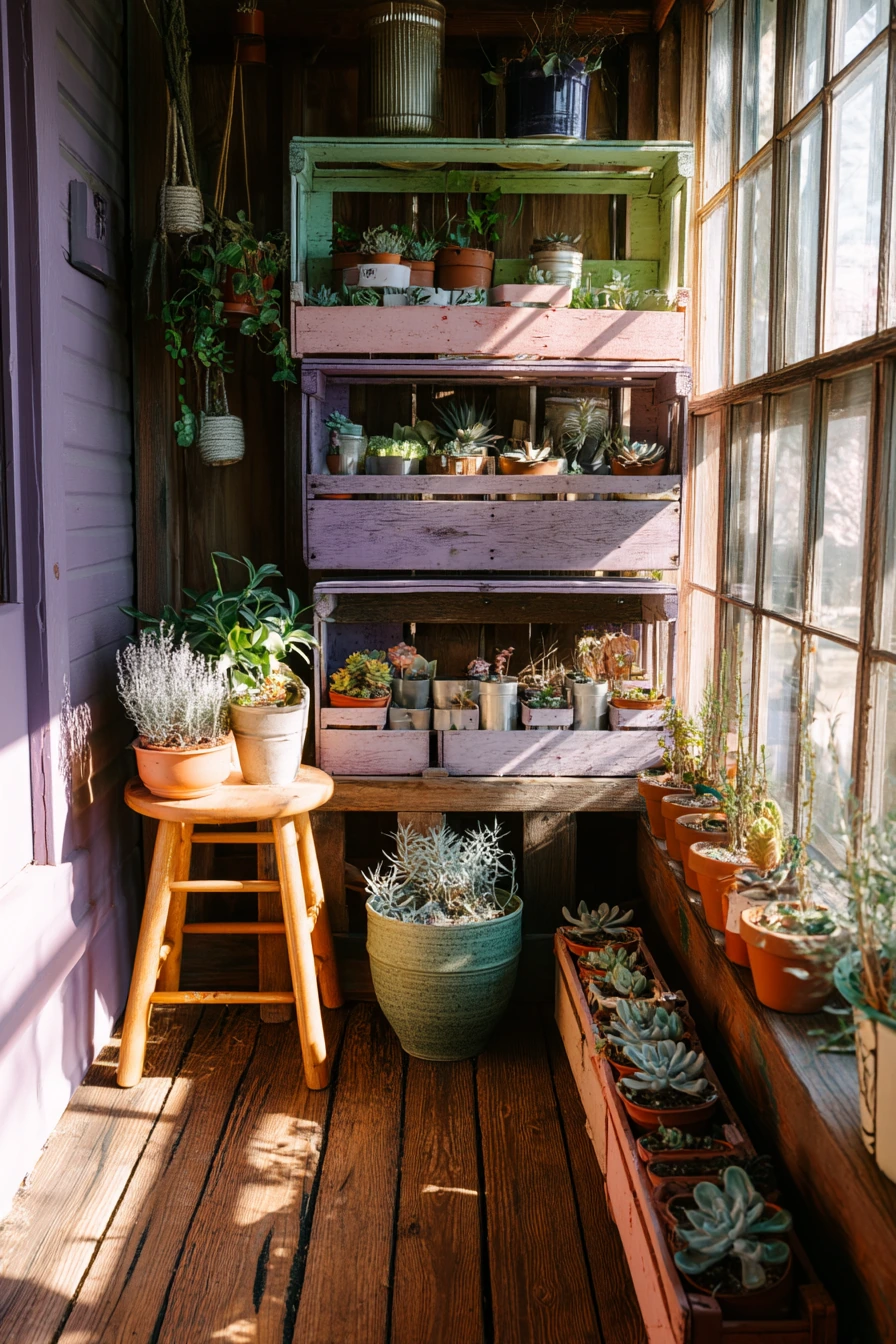
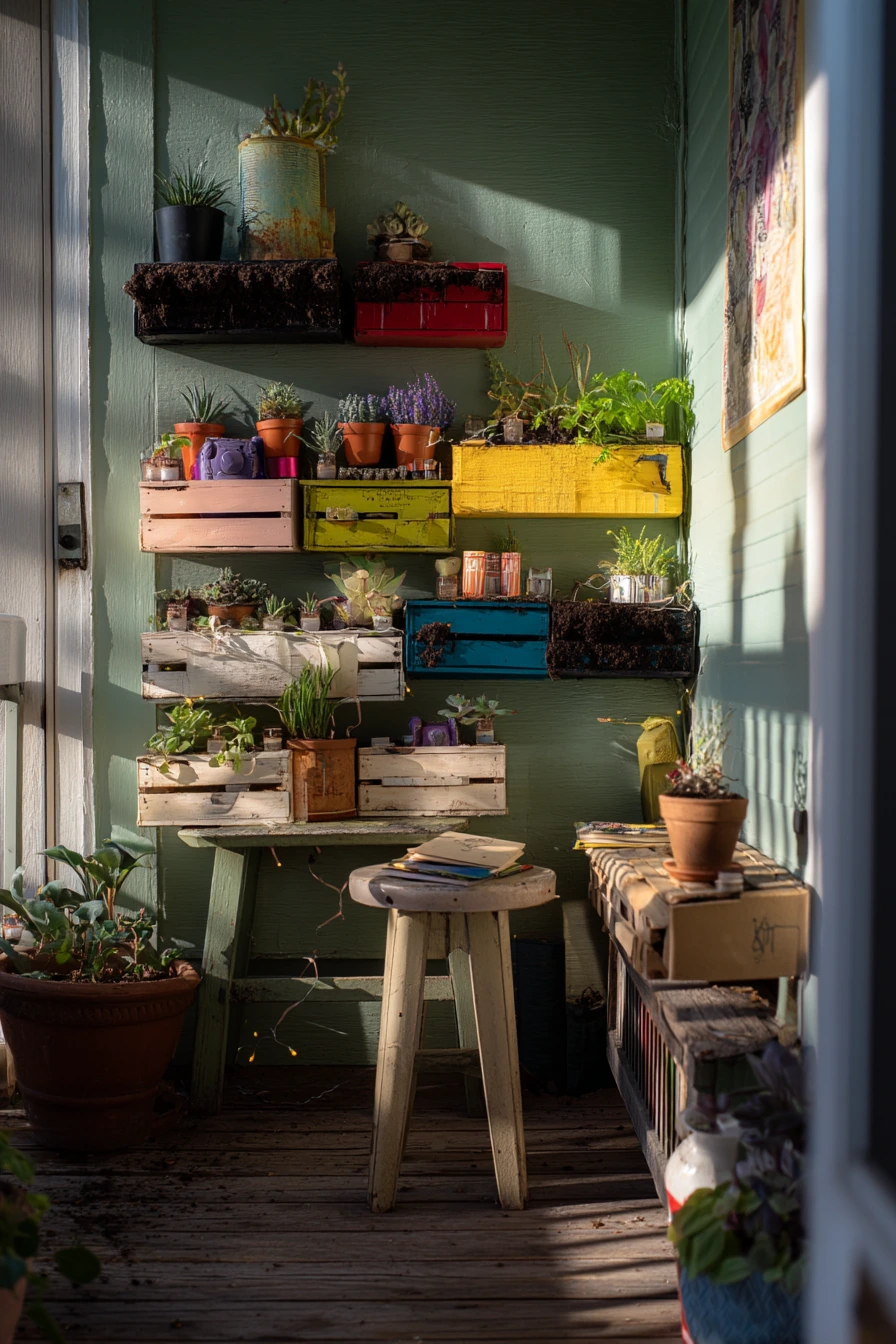
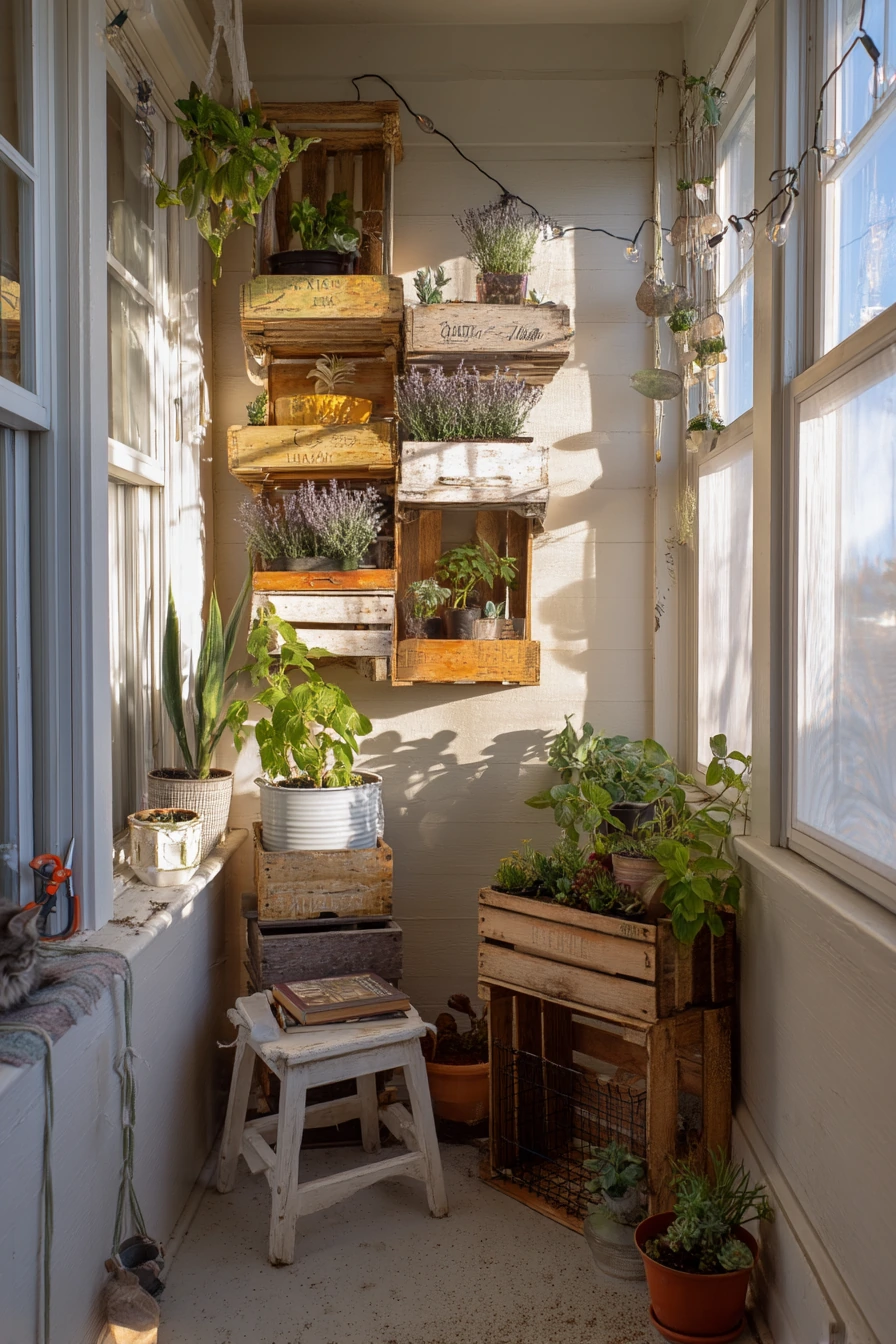
A back-porch DIY planter wall is a good way to add greenery without taking up much space. Repurposed crates can become shelves, and painted cans can act as small planters for succulents or lavender. Keep the look relaxed by letting some paint chips show and using chipped enamel trays to catch small spills.
Mount crates safely or stack them in a stable layout against the wall. Drill drainage holes in cans, or keep plants in small nursery pots inside the cans so water does not sit at the bottom. Add string lights for soft evening use and to make the wall feel like part of the porch, not just storage.
Make it easy to maintain. Keep garden shears in one spot and sweep potting soil dust often so the porch stays clean. A book left open on a stool can make the corner feel lived in, and if a stray cat visits, avoid plants that are unsafe for pets. Place lavender higher for scent and let succulents stay in the sunniest spot.
- Use one crate size for a cleaner grid look and easier stacking.
- Paint cans in two colors and repeat them for a simple pattern.
- Choose drought-tolerant plants for less daily watering.
- Group planters on trays to protect the porch floor.
- Style with one strand of lights across the top for a finished edge.
Pro Design Tip: Leave a little empty space on the wall so the plants stand out and the display does not feel crowded.
Budget Considerations: Crates and cans are often free; if buying new, limit it to strong hooks and outdoor screws since those matter for safety.
9. DIY Autumn Garden Refresh for a Front Stoop
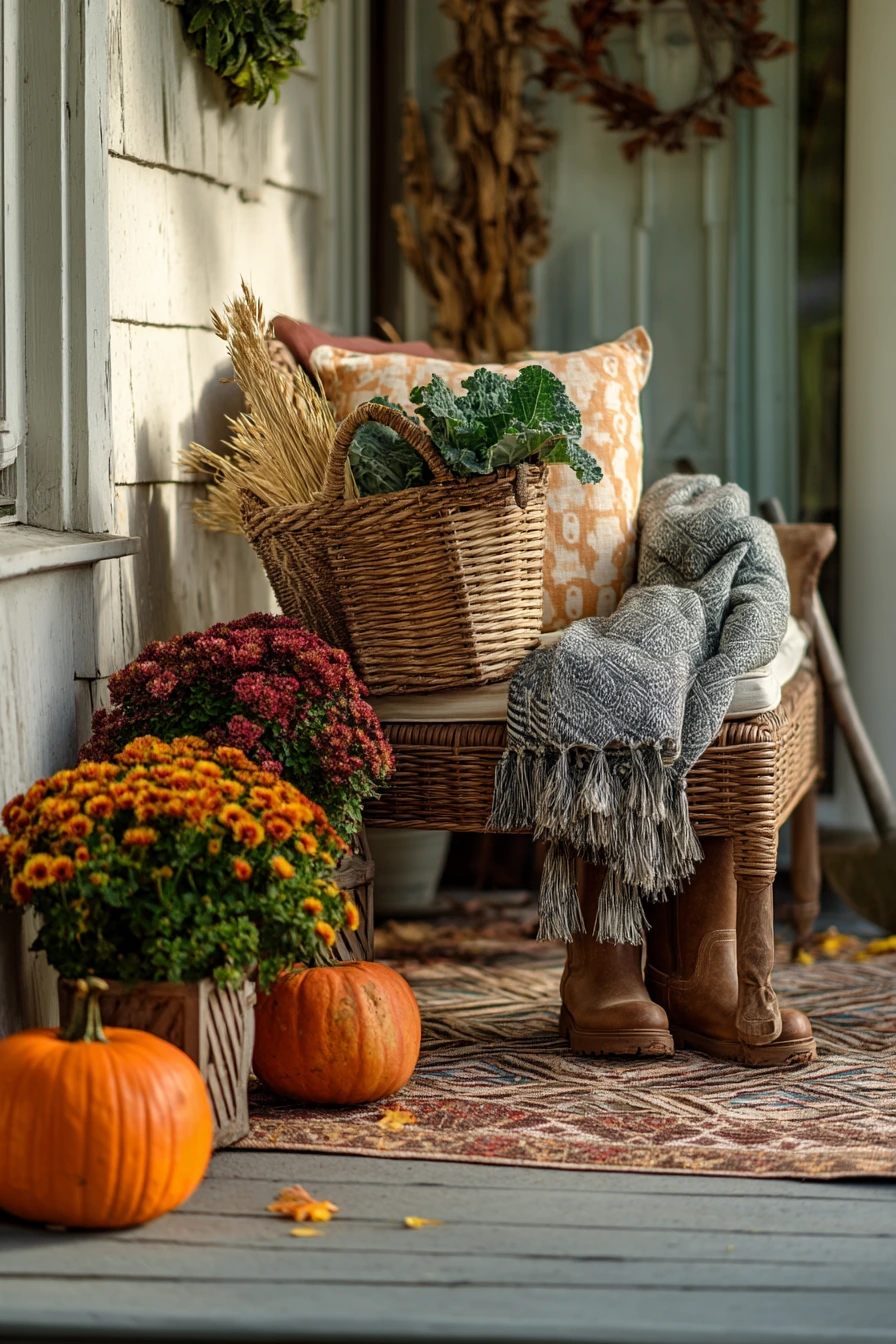
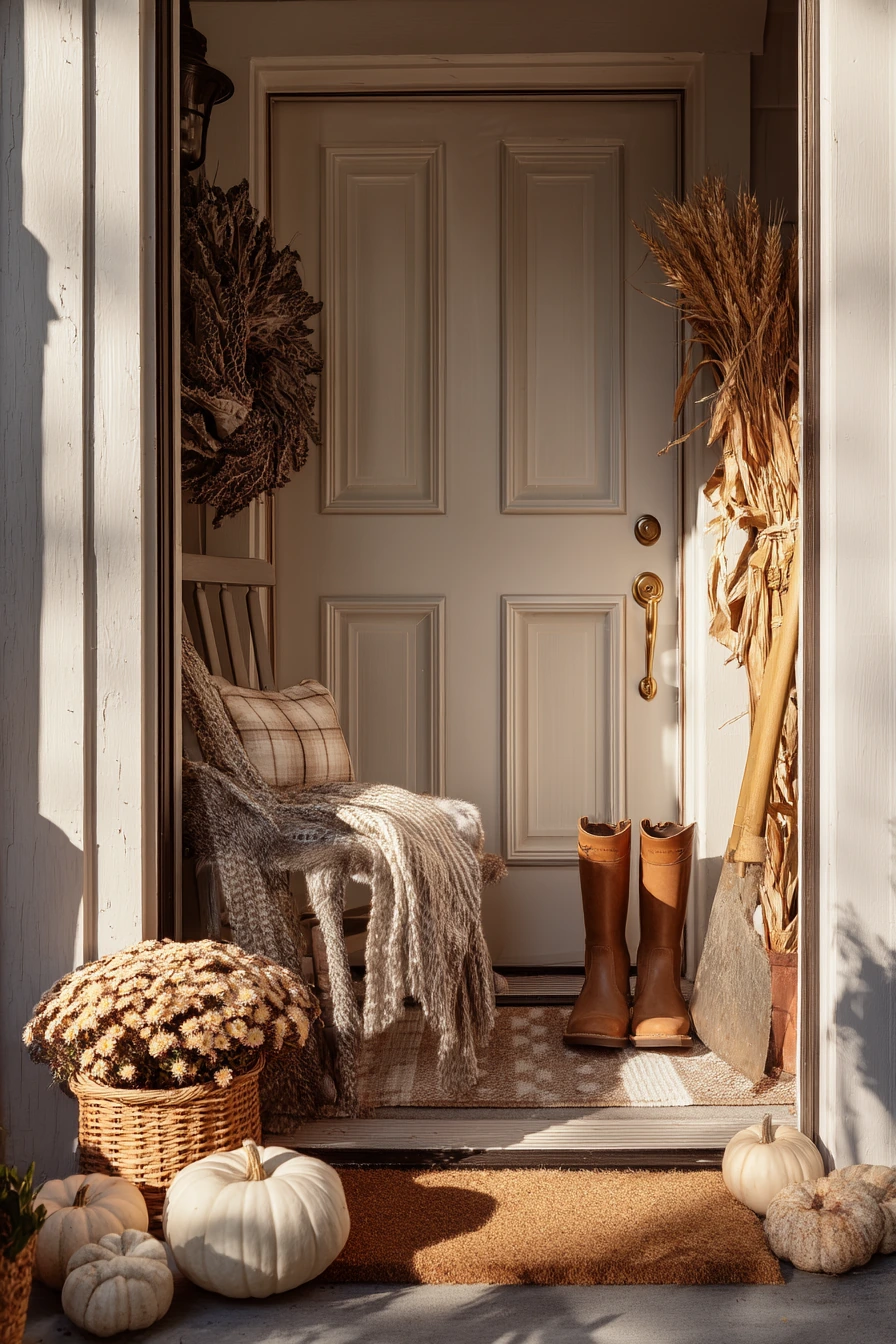
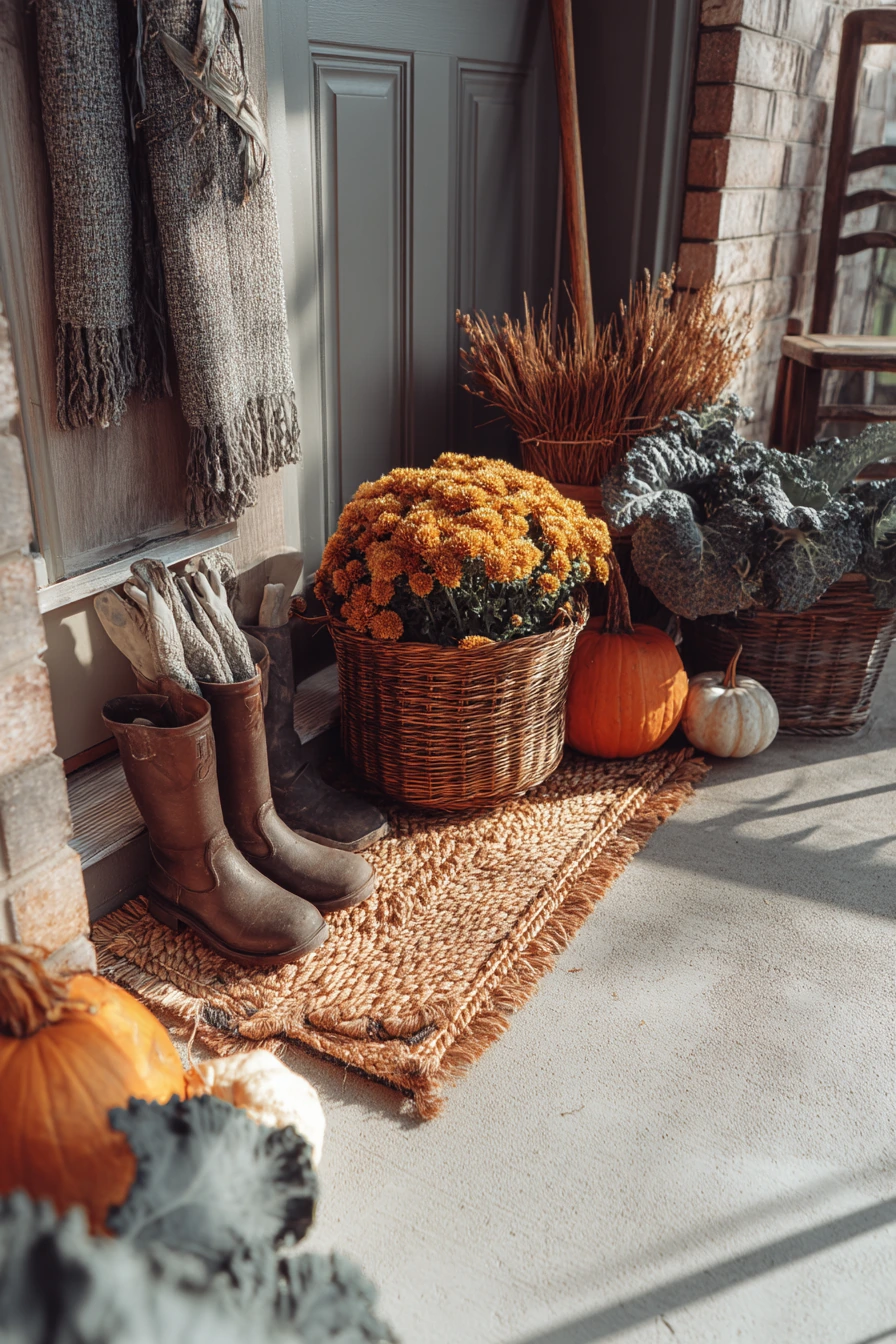
A DIY autumn garden refresh makes your entry feel warm and cared for with simple seasonal items. Use mums, ornamental kale, and mini pumpkins in a few sizes. Group them in threes, and keep the colors tight, like white, rust, and deep green, so it looks neat without trying too hard.
Start with a clean base. Sweep the stoop and move summer pots aside. Place taller mums near the wall, then kale and pumpkins closer to the edge. Add wheat bundles for height and texture, and keep a basket of gloves nearby so it still feels like a real home. A rake leaned against the wall can stay if it is part of your normal routine.
Keep it practical for daily life. Leave room for opening the door and for packages. Put boots by the mat on a tray so dirt stays contained. If a scarf ends up tossed over a chair, it can still fit the cozy look. Water mums when the top inch of soil is dry, and remove spent blooms to keep them looking fresh longer.
- Choose 2 pot sizes and repeat them for a tidy look.
- Use kale as a filler plant to make pots look full.
- Place pumpkins on a tray so they do not stain the stoop.
- Add one small lantern or candle holder for soft evening light.
- Style with one chair and one basket so the entry stays open.
Pro Design Tip: Anchor the arrangement on one side of the door so the entry looks balanced and the walkway stays clear.
Budget Considerations: Buy fewer large mums and fill gaps with small pumpkins and wheat, which often cost less per item.
10. DIY Potting Station for a Compact Patio
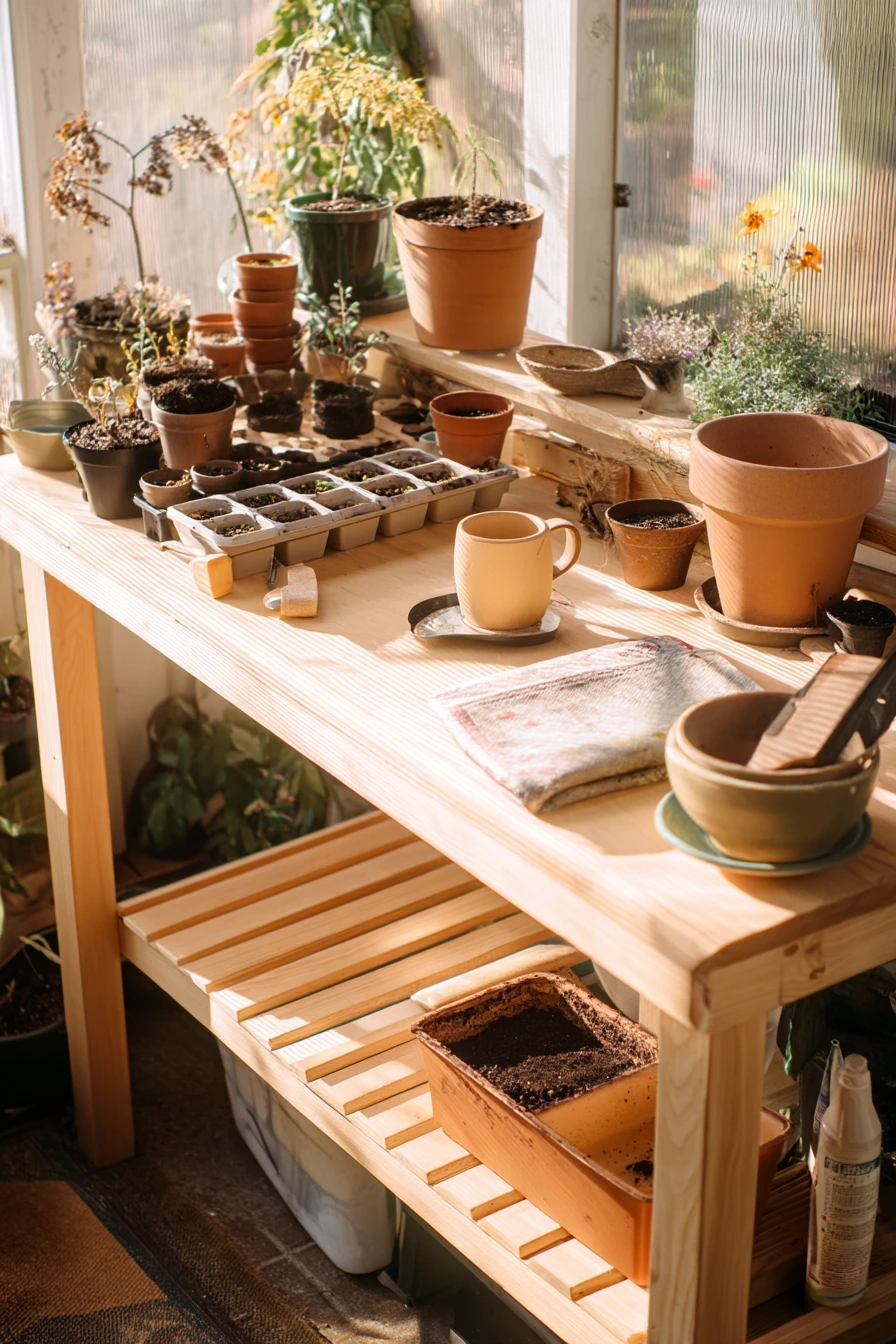
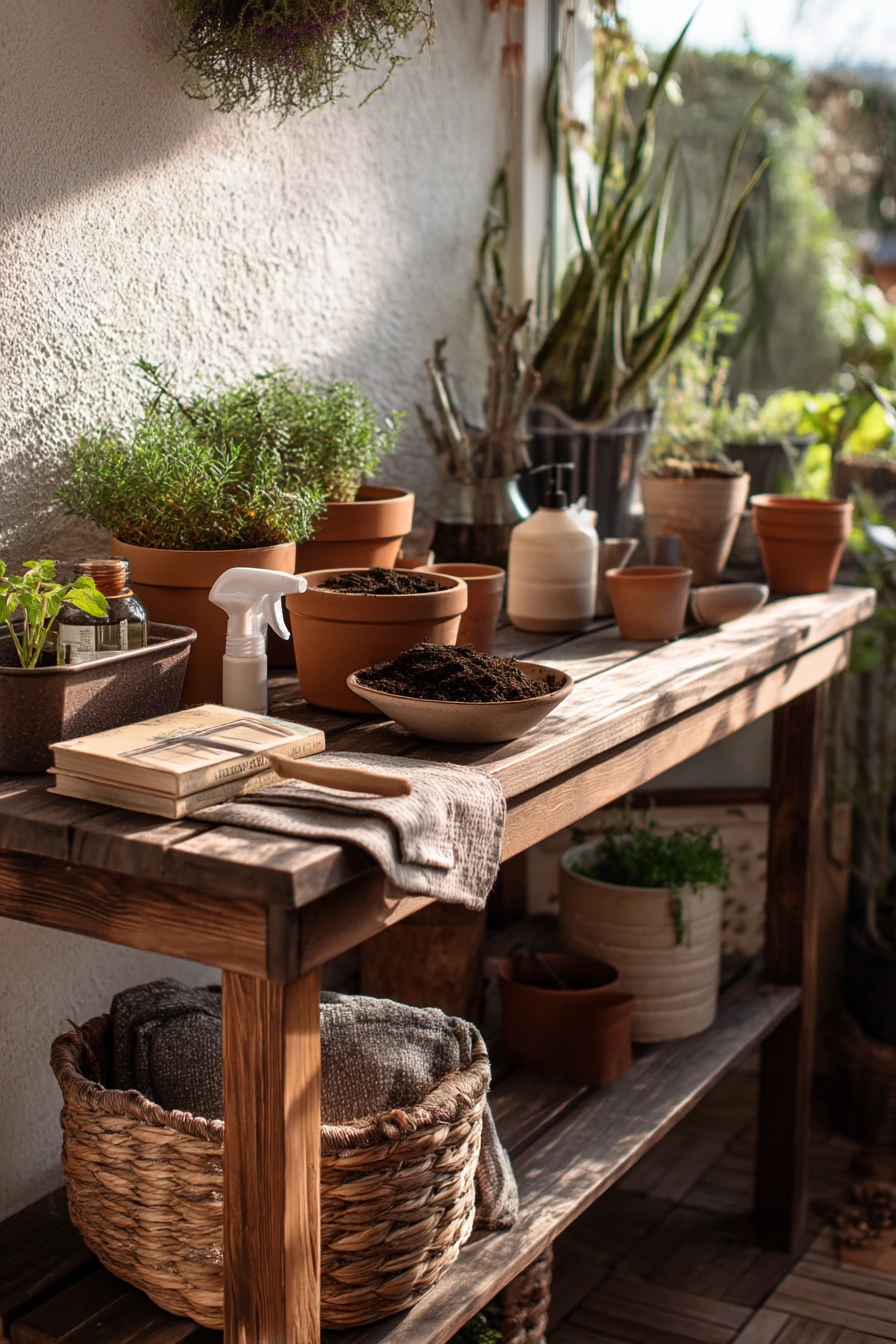
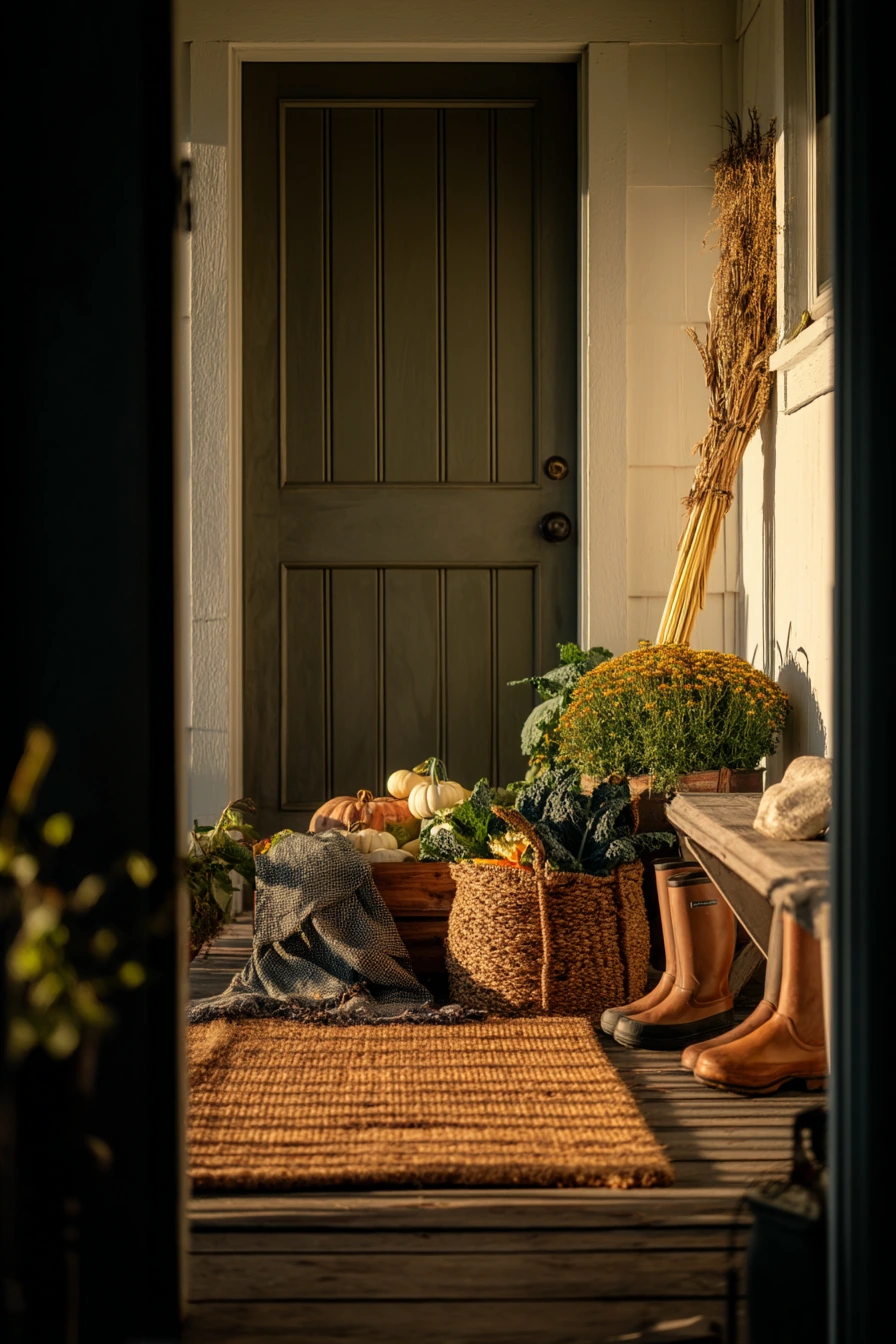
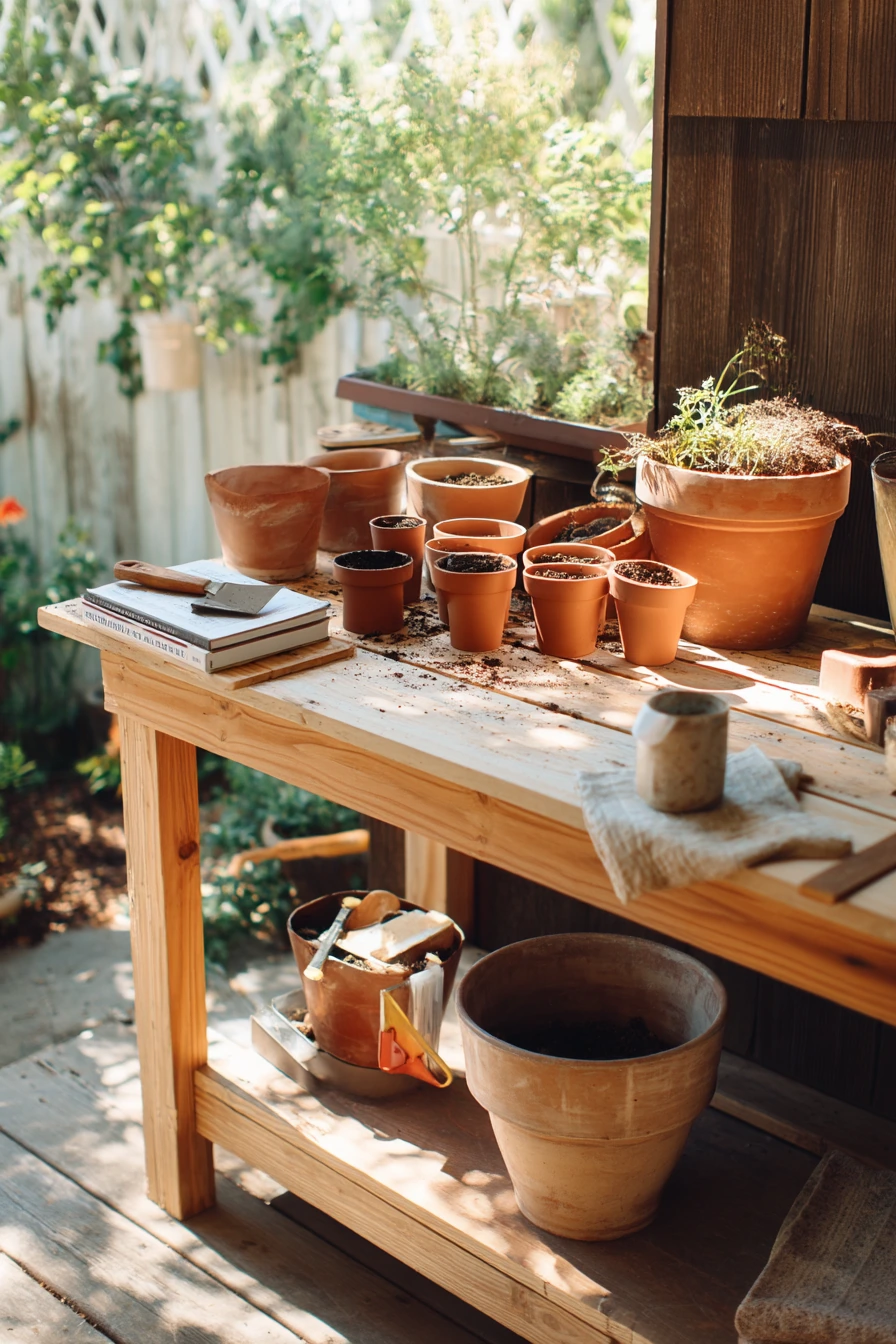
A DIY potting station helps you stay consistent with planting because everything has a home. On a compact patio, use a potting bench that fits the wall and leaves walking space. Keep clay pots, seed trays, and a spray bottle on the top shelf for quick access, and place a compost bin below to reduce mess.
Set up the surface for real use. Dirt smudges will happen, so add a folded towel for wiping hands and a small mat under the bench to catch soil. Keep a measuring scoop for mixing potting soil and compost in the same ratio each time. A mug ring on the tabletop is fine, but keep drinks on a side stool so they do not spill into seed trays.
Make the station calm and good looking. Store tools in a cup or small bucket, and keep a gardening book on a shelf for notes and timing. Use morning light if possible, since it is easier to see labels and soil moisture. When you finish, sweep the area so the patio stays pleasant for sitting, not just work.
- Hang hand tools on hooks to keep the tabletop open.
- Label seed trays and store extra labels in a small jar.
- Use a lidded bin for potting soil so it stays dry and bug free.
- Keep a small watering can at the station for indoor starts and small pots.
- Style with matching containers so the utility area looks neat.
Pro Design Tip: Use a simple color plan, like black bins and natural wood, so the station feels clean even when it is in use.
Budget Considerations: A potting bench can be made from a reused table and wall hooks; spend money on a good compost bin and basic storage instead.

These DIY garden ideas work in real spaces, from a townhouse patio to a small balcony and a front-yard corner. Pick one project that matches your light and time, then build a simple routine for watering and cleanup.
If you want faster results, start with herbs and containers, then move up to a raised bed or a pollinator patch. Small changes add up when they are easy to maintain.
FAQ
1. What is the easiest DIY garden project to start with? A windowsill herb starter setup in recycled glass jars is the simplest. It needs little space and low cost.
2. How do I keep container plants from drying out so fast? Use larger pots, add mulch on top of the soil, and water in the morning. Group pots together to reduce wind drying.
3. Can renters build a vertical garden without drilling? Yes. Use a freestanding slatted panel that leans against the wall, or use railing planters and hooks made for balcony rails.
4. What wood is best for a raised garden bed? Cedar lasts longer, but pine is cheaper and works well if you accept that it may need replacing sooner.
5. How do I choose plants for a pollinator garden? Pick native wildflowers with different bloom times and avoid heavy pesticide use. Add a shallow bee bath for water.
6. What should I include in a basic potting station? A potting surface, a lidded soil bin, a small compost bin, hand tools, labels, and a way to sweep up soil quickly.
7. How do I make my garden look styled but still practical? Repeat a few materials, like terracotta and wood, use trays to group items, and keep one storage bin for the daily clutter.