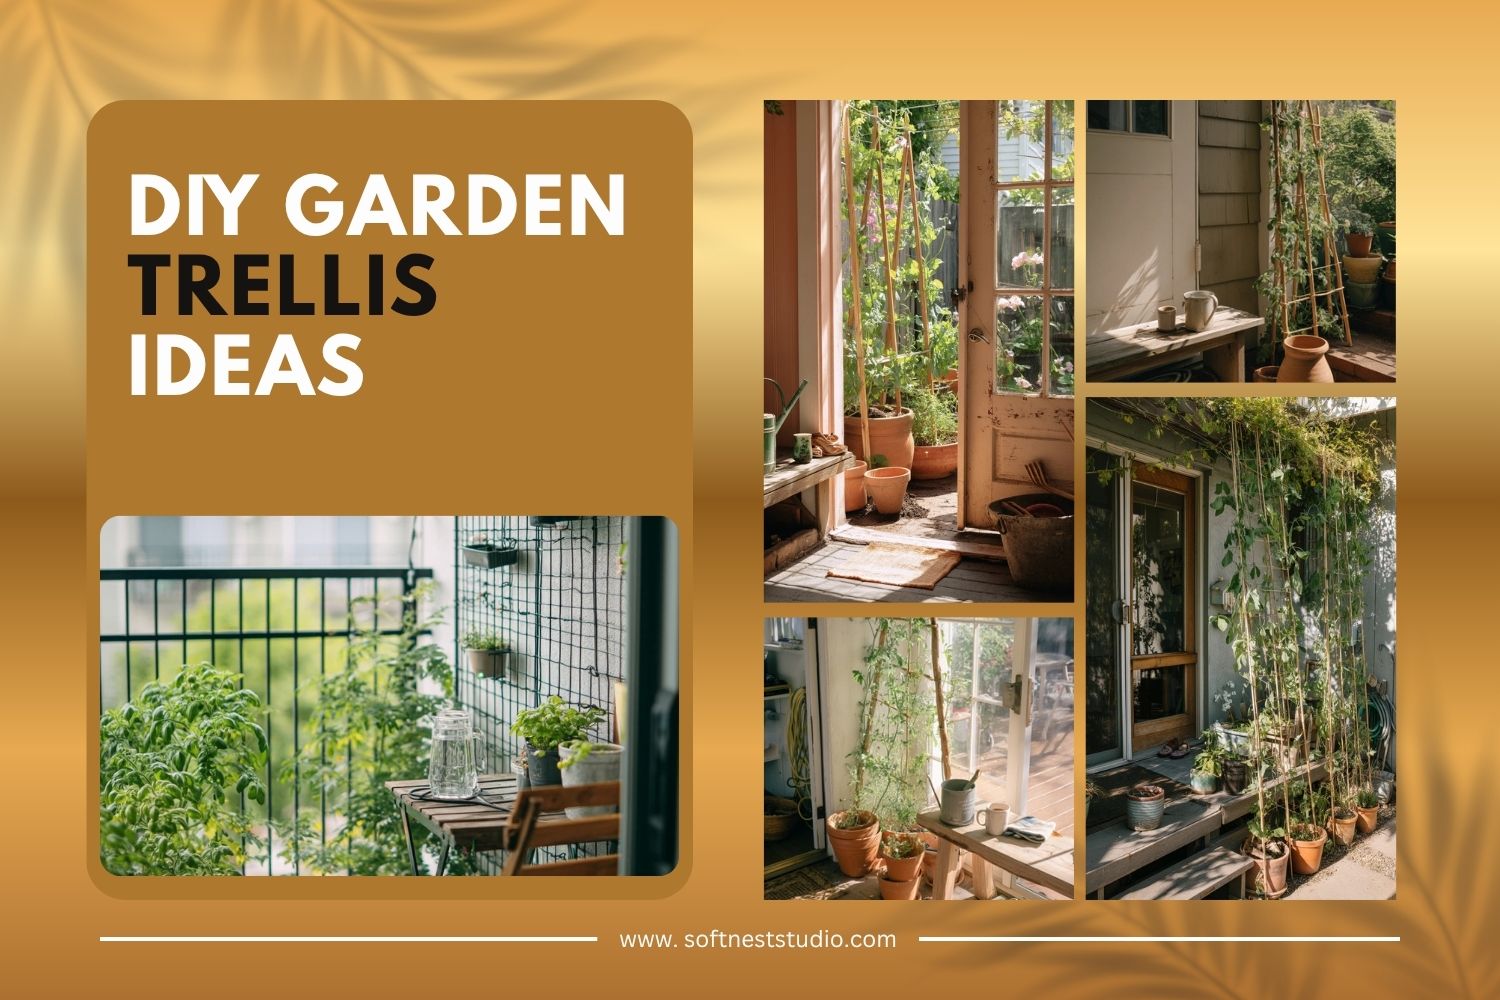
DIY garden trellis ideas can help you grow more in less space. A good support keeps vines off the ground, makes picking easier, and improves airflow.
This post shares 10 trellis styles you can copy at home, from a slim pea trellis by a patio door to a strong cattle panel arch for cucumbers and beans. Each one is simple, practical, and easy to style so it looks good in a real, lived-in yard or balcony.
You will also get quick material lists, setup tips, and small styling ideas that work with everyday items like terracotta pots, a coiled hose, a watering can, and even a foldable chair on a balcony.
Use these trellises for sweet peas, morning glories, tomatoes, clematis, jasmine, runner beans, and squash. Pick one that fits your space, budget, and whether you own or rent.
1. Slim Cedar Stake and Twine Pea Trellis
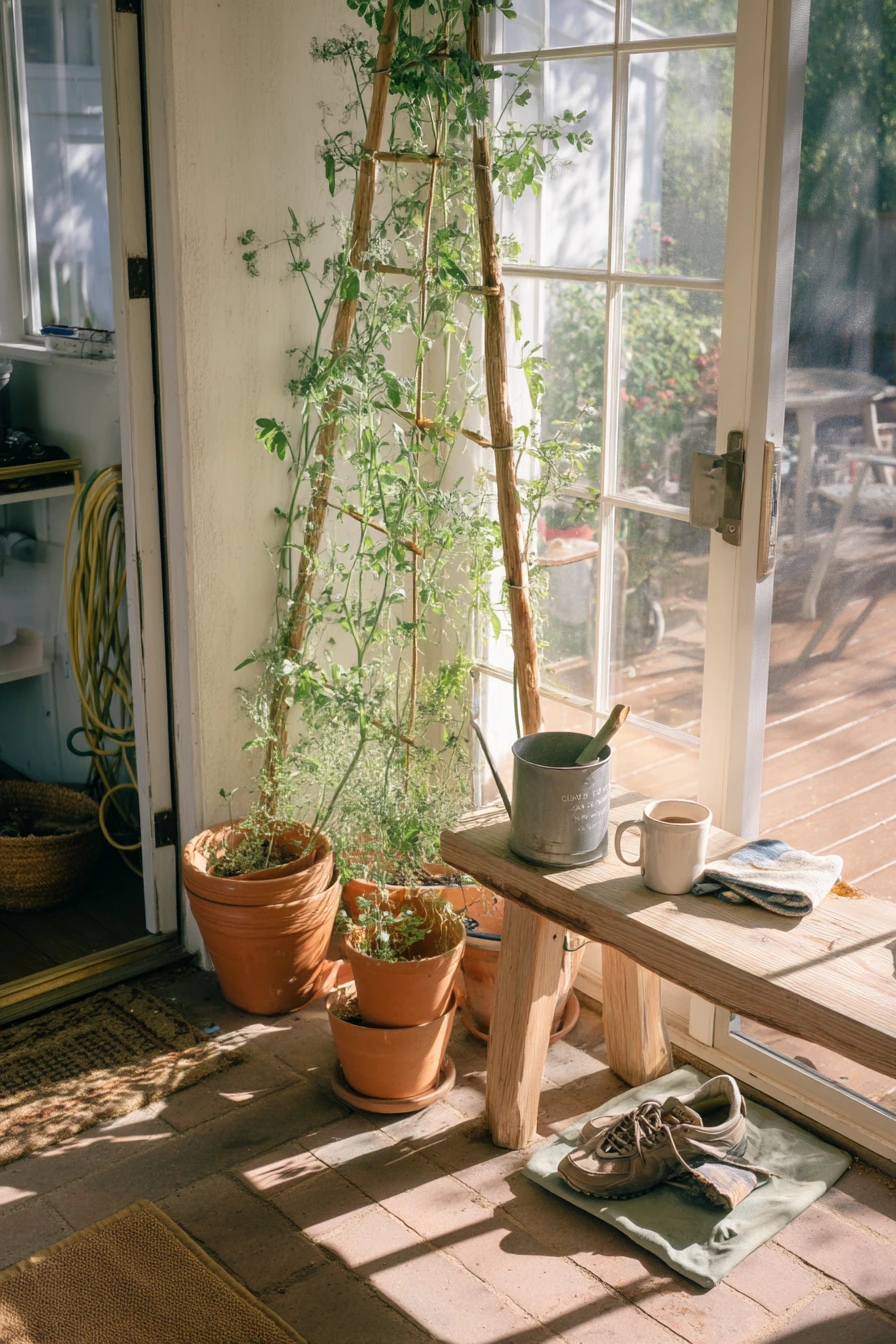

A slim pea trellis made from cedar stakes and garden twine is one of the easiest DIY garden trellis ideas for a family backyard. It fits beside a weathered patio door and does not block light. Sweet peas climb fast, and the thin profile keeps pathways clear near terracotta pots, a coiled hose, and a chipped watering can.
To build it, push two or three cedar stakes into the soil in a straight line, then add horizontal rows of twine. Tie tight knots so the string does not sag when the vines get heavy. Keep the lowest row about 6 inches from the soil so you can water and mulch without soaking the twine. If kids run through the yard, place it a foot inside the bed so it is not in the walking zone.
How to style it: group two terracotta pots at the base and leave a small “work spot” nearby, like a bench with garden gloves. A mug on the step looks natural and also reminds you to check the sweet peas each morning. Add a small hook for the watering can so tools stay off the ground.
- Use 6 to 7 foot cedar stakes for a tall, slim look.
- Choose jute or cotton twine for better grip on pea tendrils.
- Space twine rows 6 to 8 inches apart for easy training.
- Plant sweet peas 4 to 6 inches apart along the line.
- Check knots weekly and tighten if the twine loosens.
Pro Design Tip: Line up the trellis with a door or window frame so it looks intentional, like a vertical garden panel.
Budget Considerations: Cedar costs more than pine, but it lasts longer outdoors. If you need to save, use untreated hardwood stakes and replace them every season.


2. Apartment Balcony Tomato Trellis with Metal Grid and Zip Ties


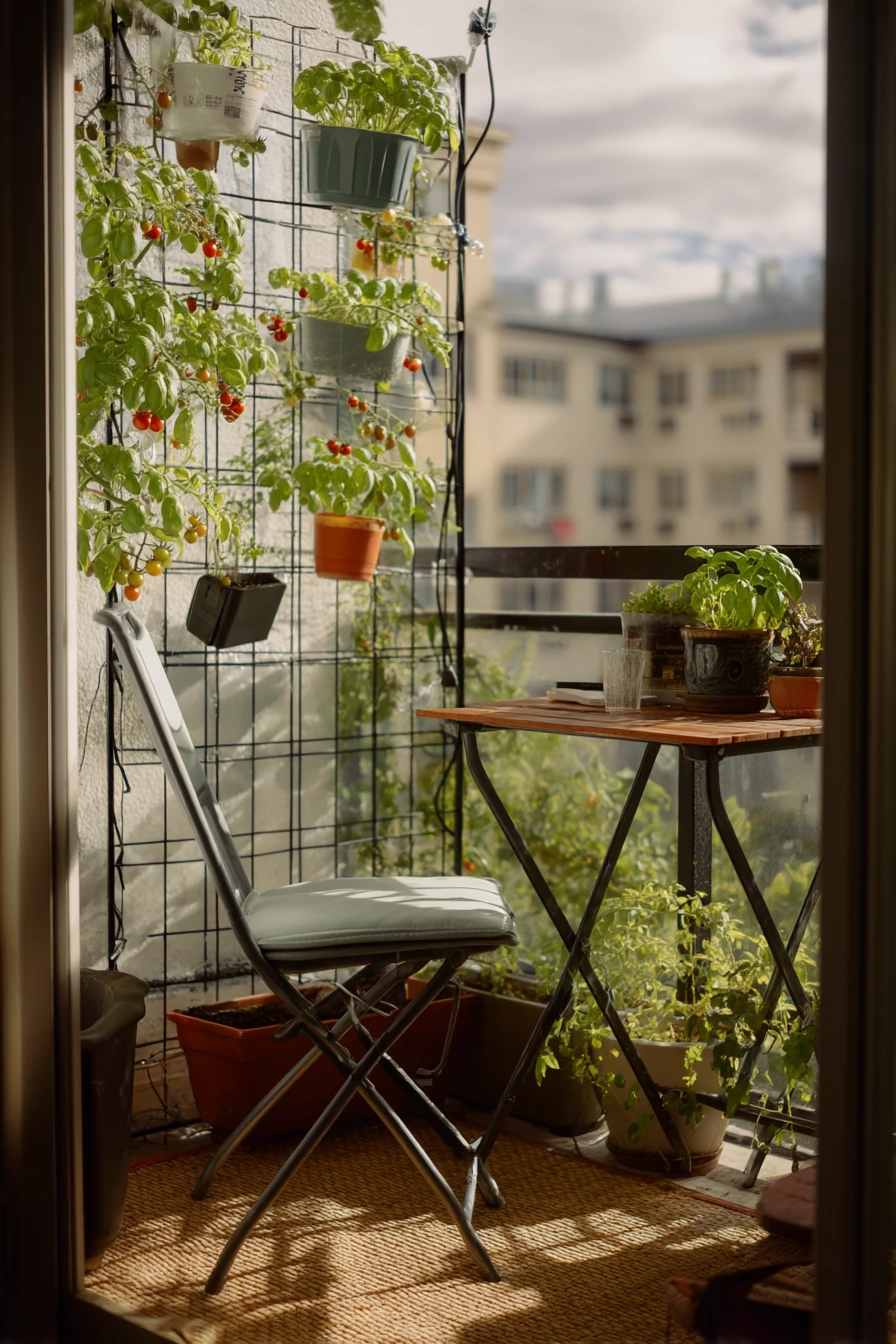
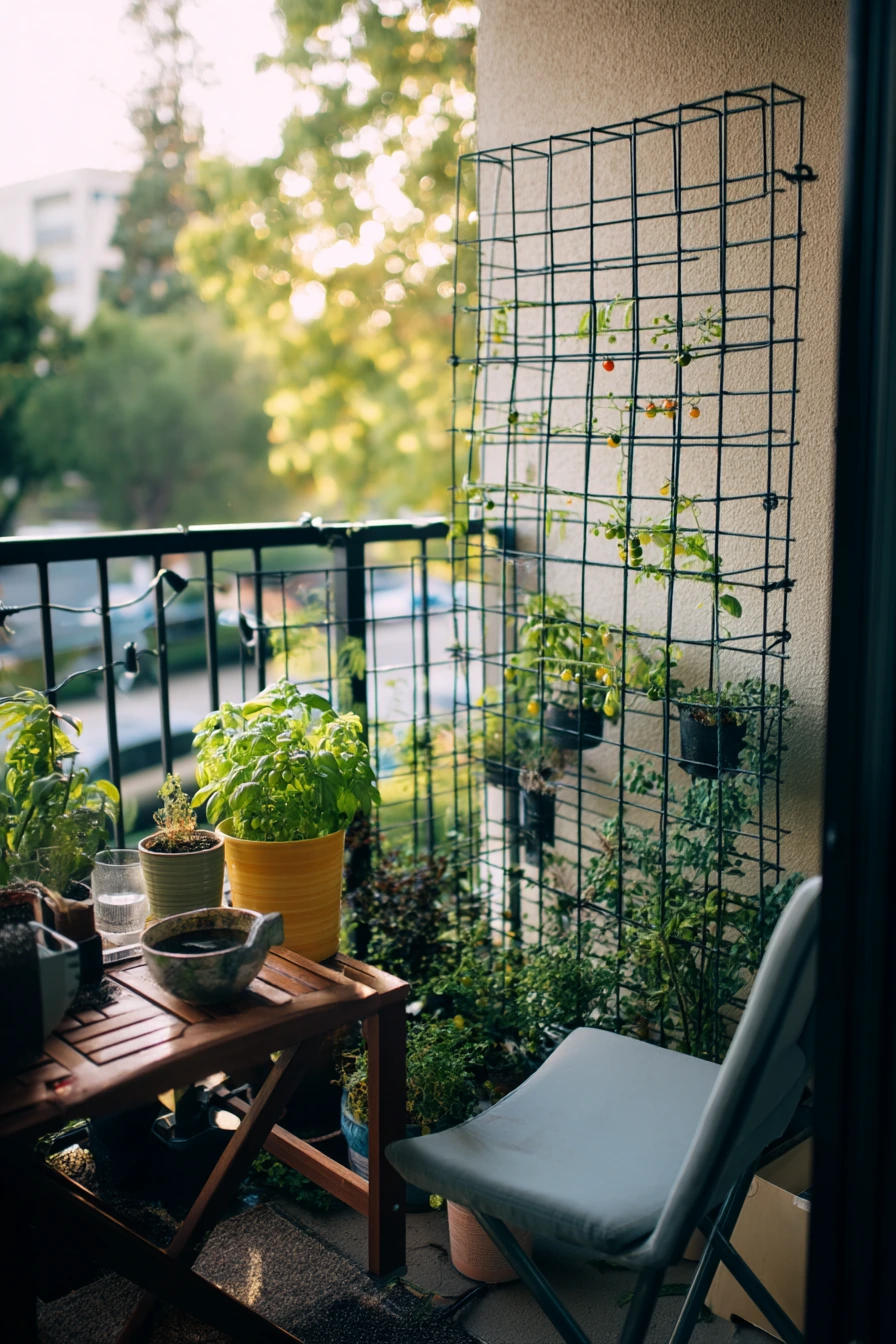
On a compact apartment balcony, a black metal grid trellis held with zip ties is a clean, sturdy way to support cherry tomatoes. It works well behind planters and keeps vines upright so you can still use a foldable chair. This is a smart option when you have string lights, a side table, and small items like a watering glass and a paperback in the same tight space.
Start with a metal grid panel sized to your railing or wall. Attach it with heavy zip ties, leaving a small gap behind the grid so stems can tuck through. For tomatoes, add soft plant ties and guide the main stem upward as it grows. Keep basil and other herbs in mismatched pots under the trellis to shade the soil and cut down on drying out in late-afternoon light.
How to style it: keep the black grid as the “frame” and let the greenery be the color. Use matching black planters if you like a modern look, or mix in one terracotta pot for warmth. Hide the charging cable in a small basket on the side table, and leave string lights unlit during the day to keep the balcony feeling calm.
- Pick a grid with 2 to 4 inch openings for easy tying.
- Use UV-rated zip ties so they do not snap in sun.
- Add a drip tray to protect the balcony floor.
- Prune tomato suckers to reduce tangles on the grid.
- Rotate planters weekly so plants grow evenly.
Pro Design Tip: Paint the grid matte black to make leaves and red tomatoes stand out in photos and in real life.
Budget Considerations: A small grid panel is often cheaper than a full trellis kit. If you already have a wire shelf, you can repurpose it and only buy zip ties.
3. Renter-Friendly Fence Trellis with Tension Rods and Removable Hooks

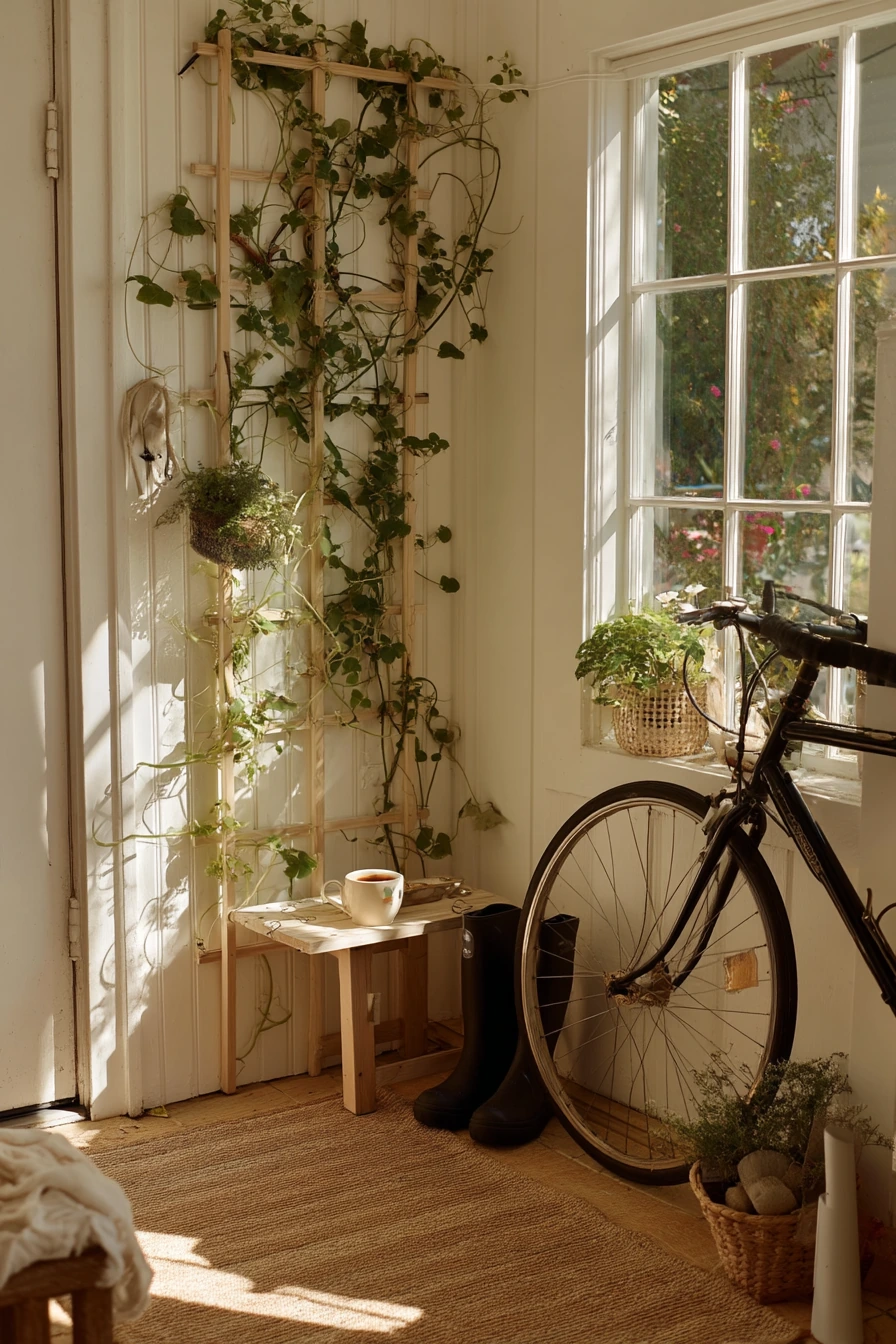
If you rent, a fence trellis that uses tension rods and removable hooks is a strong choice that does not damage the fence. Morning glories can climb in a loose, handmade pattern, and you can take the whole setup down when you move. It also fits a casual backyard with a cheap outdoor rug, stackable stools, and a laundry basket near the back door.
Set two removable hooks on the fence posts, then place a tension rod between them. Add a second rod lower down if you want more support. Tie garden string in a simple crisscross from top rod to bottom rod. Keep the pattern open so light and air can pass through, which helps prevent mildew. Train morning glories by wrapping young vines gently around the string, and guide them weekly.
How to style it: put a small stool nearby for tying and pruning, and lean a bicycle to one side to keep the space feeling lived-in. A tea cup on the sill and one garden boot half-on are real-life details, but you can also make it tidy by using a small bin for tools. Choose a rug color that matches the flower color, like soft blue for blue blooms.
- Use outdoor-rated removable hooks with high weight limits.
- Choose spring-loaded tension rods that resist rust.
- Space strings 6 inches apart for quick coverage.
- Keep vines off the fence for better airflow.
- Remove spent blooms to reduce reseeding where unwanted.
Pro Design Tip: Make the string pattern slightly uneven on purpose so it looks hand-built, not like a store-bought panel.
Budget Considerations: Tension rods and hooks cost less than building a wood frame. Watch for multipacks of hooks to lower the per-piece price.
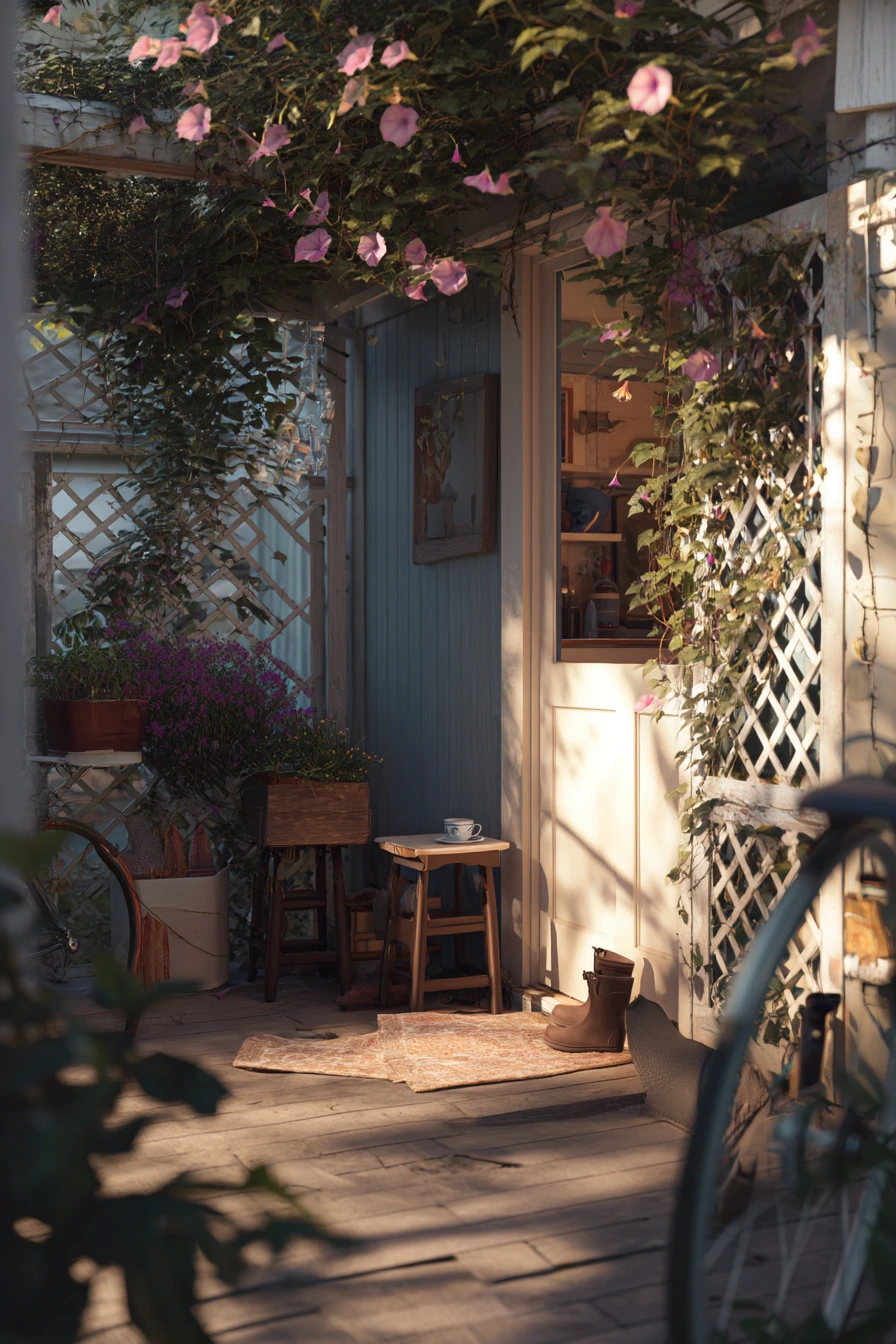
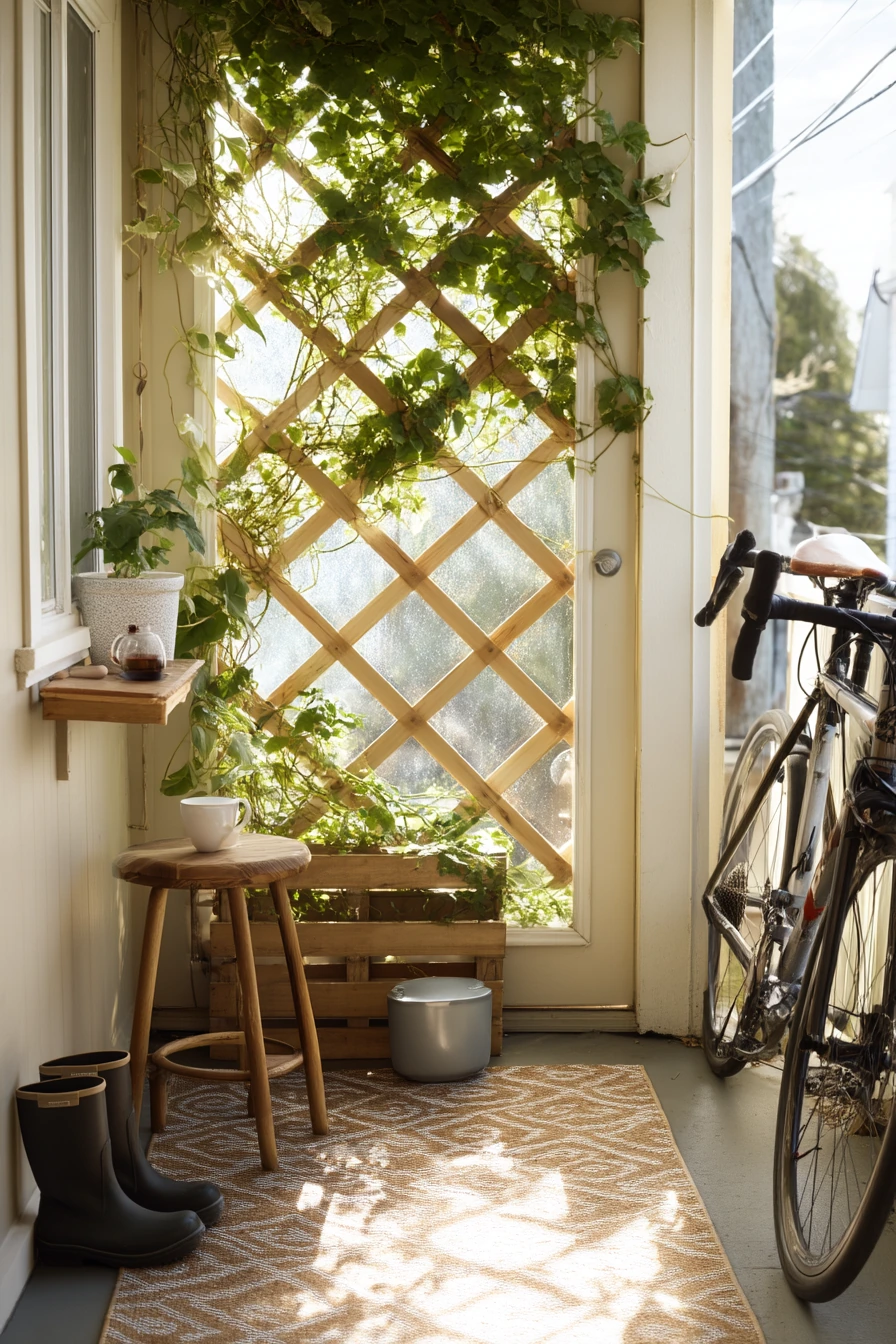
4. Cattle Panel Arch Trellis for Cucumbers and Beans


A cattle panel trellis arch is one of the most functional DIY garden trellis ideas for a vegetable patch. It creates a tunnel over cucumbers and beans, using vertical space and making harvest easy. In raised beds edged with rough timber, the arch also becomes a clear path marker and a strong focal point.
To build it, bend a cattle panel into an arch and secure both sides to sturdy posts. Use galvanized clips or heavy-duty wire to lock it in place. Leave enough width to walk under it, and position it so midday light hits both sides. As vines climb, guide tendrils upward and tuck stray stems back onto the panel. Keep a bucket of compost and a trowel nearby so you can top-dress and weed while you check growth.
How to style it: place a crate at the end of the bed for seed packets, a folded sunhat, and a water bottle. The “work zone” look makes the garden feel active and real. Add a simple mulch path under the arch to keep shoes clean and reduce weeds. If you want a softer look, plant a small row of lavender near the entry to the tunnel, away from the vegetable roots.
- Use a 16 foot cattle panel for a tall, walk-through arch.
- Set posts deep so the arch stays stable in wind.
- Plant cucumbers on one side and beans on the other.
- Check clips monthly and tighten if needed.
- Harvest from the outside edges to avoid stepping in beds.
Pro Design Tip: Build the arch at the start of the season, then plant at the base so vines cover it evenly from bottom to top.
Budget Considerations: Panels are not expensive, but transport can add cost. Ask a local farm store about delivery days, or split a panel purchase with a neighbor.


5. Vertical Trellis Planter for a Narrow Front Porch

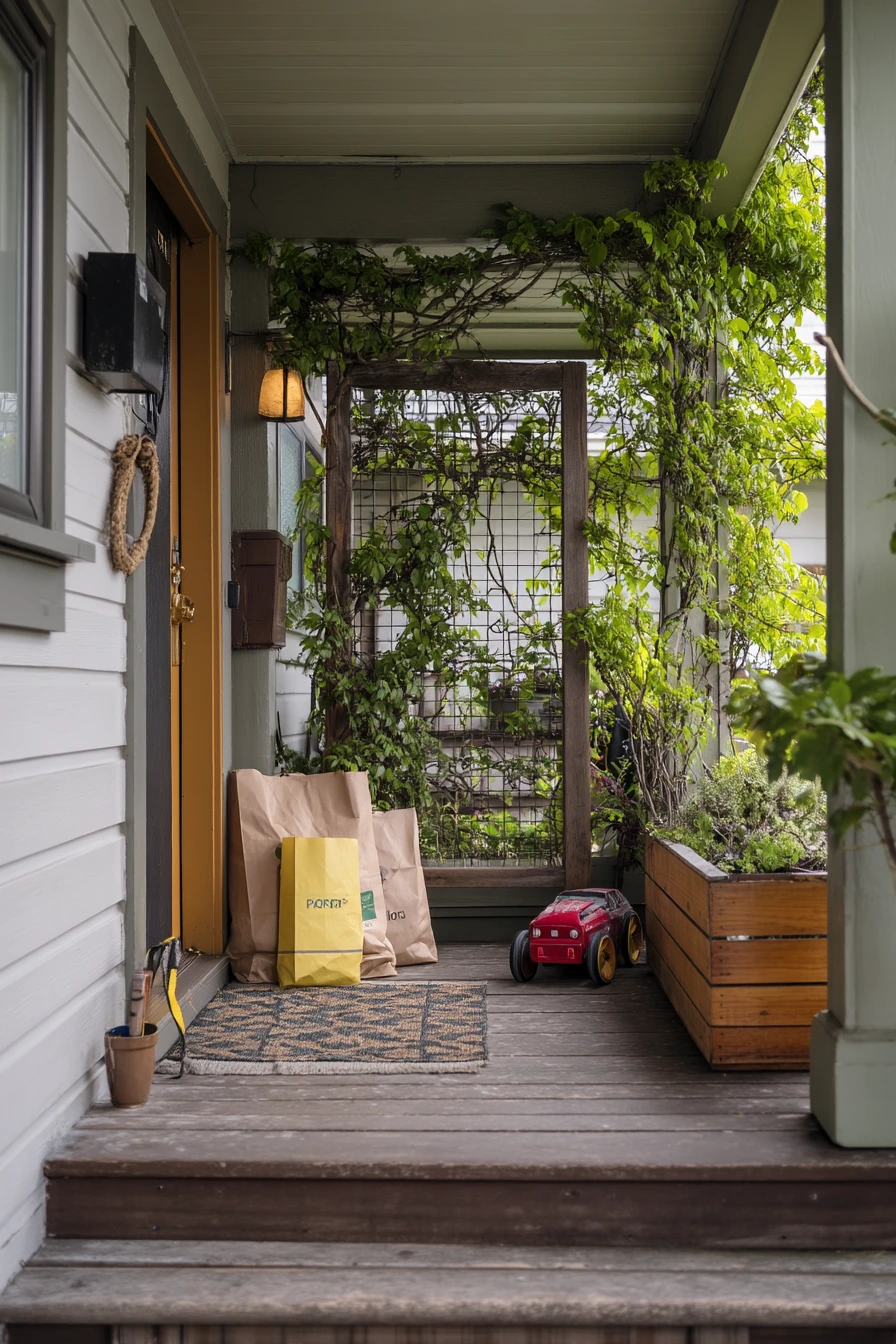
A vertical trellis planter is a tidy way to add climbing flowers to a narrow front porch. A long cedar box with a built-in frame can support clematis while keeping the walkway open near a faded doormat, an umbrella stand, and a small mail stack. It also creates privacy by the door without turning the entry into a jungle.
Build a long planter from cedar boards, then attach a simple vertical lattice or slat frame at the back. Make sure there are drainage holes and a saucer or tray if the porch surface needs protection. Plant clematis with the crown slightly below soil level, and provide steady moisture. Tie new growth loosely to the frame until it starts twining on its own. Keep grocery bags, a dog leash, and kid items like a toy truck off to the side so the entry still works for daily life.
How to style it: match the wood tone to the door trim for a calm look. Add one small pot at the base for seasonal color, but keep it simple so the clematis remains the main feature. If your porch is shaded, choose a clematis variety that handles part shade and use a light-colored mulch to brighten the planter.
- Make the planter at least 10 to 12 inches deep for roots.
- Use a trellis height of 4 to 6 feet for good coverage.
- Add a thin layer of gravel in the bottom for drainage.
- Water deeply, then let the top inch dry slightly.
- Clip vines back from the door path as needed.
Pro Design Tip: Leave a 1 to 2 inch gap between the trellis and the wall for airflow and to protect paint.
Budget Considerations: Cedar costs more, but it handles moisture better on porches. For a lower cost build, use a plastic planter box and attach a lightweight trellis panel.


6. Upcycled Wooden Ladder Trellis for Runner Beans
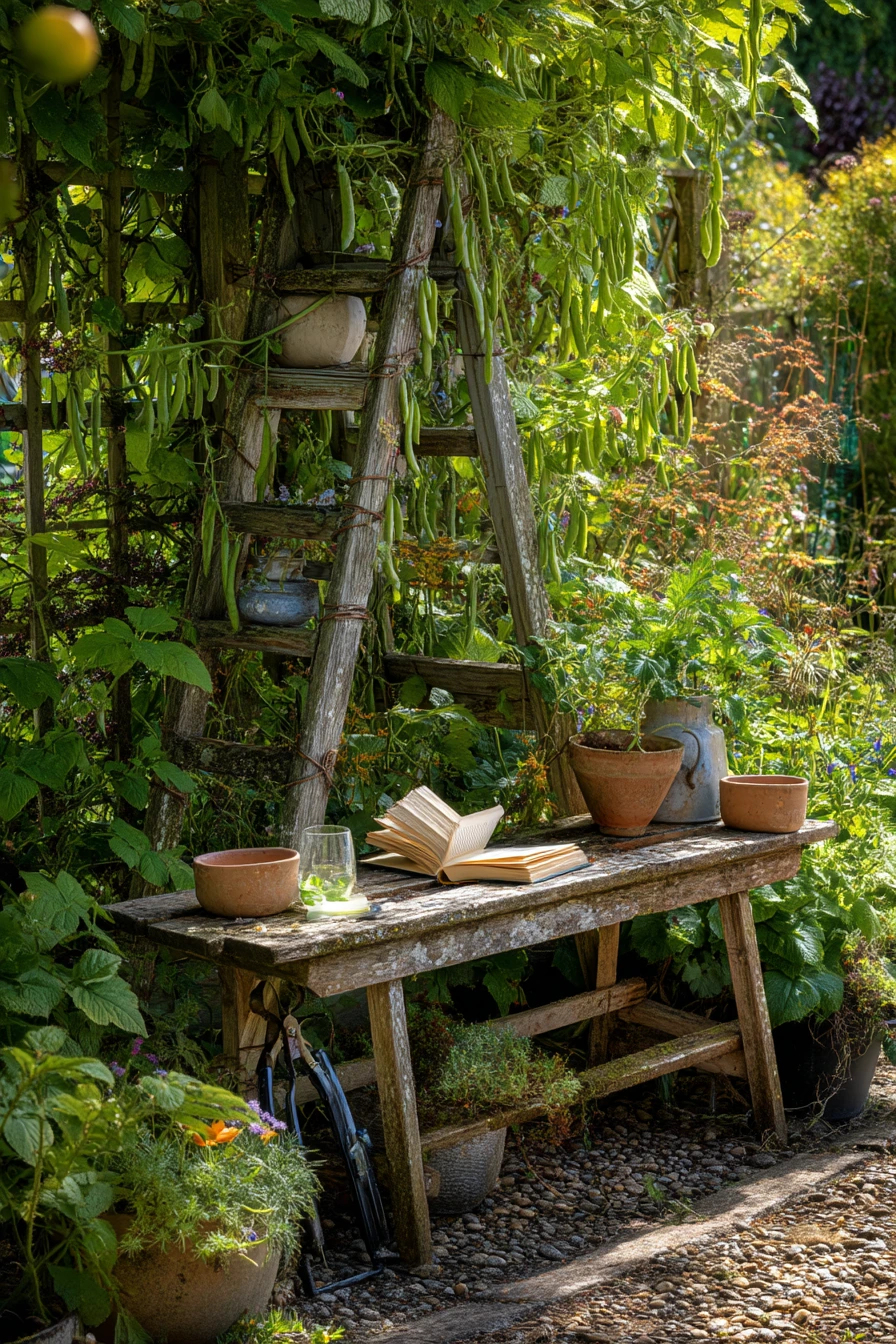
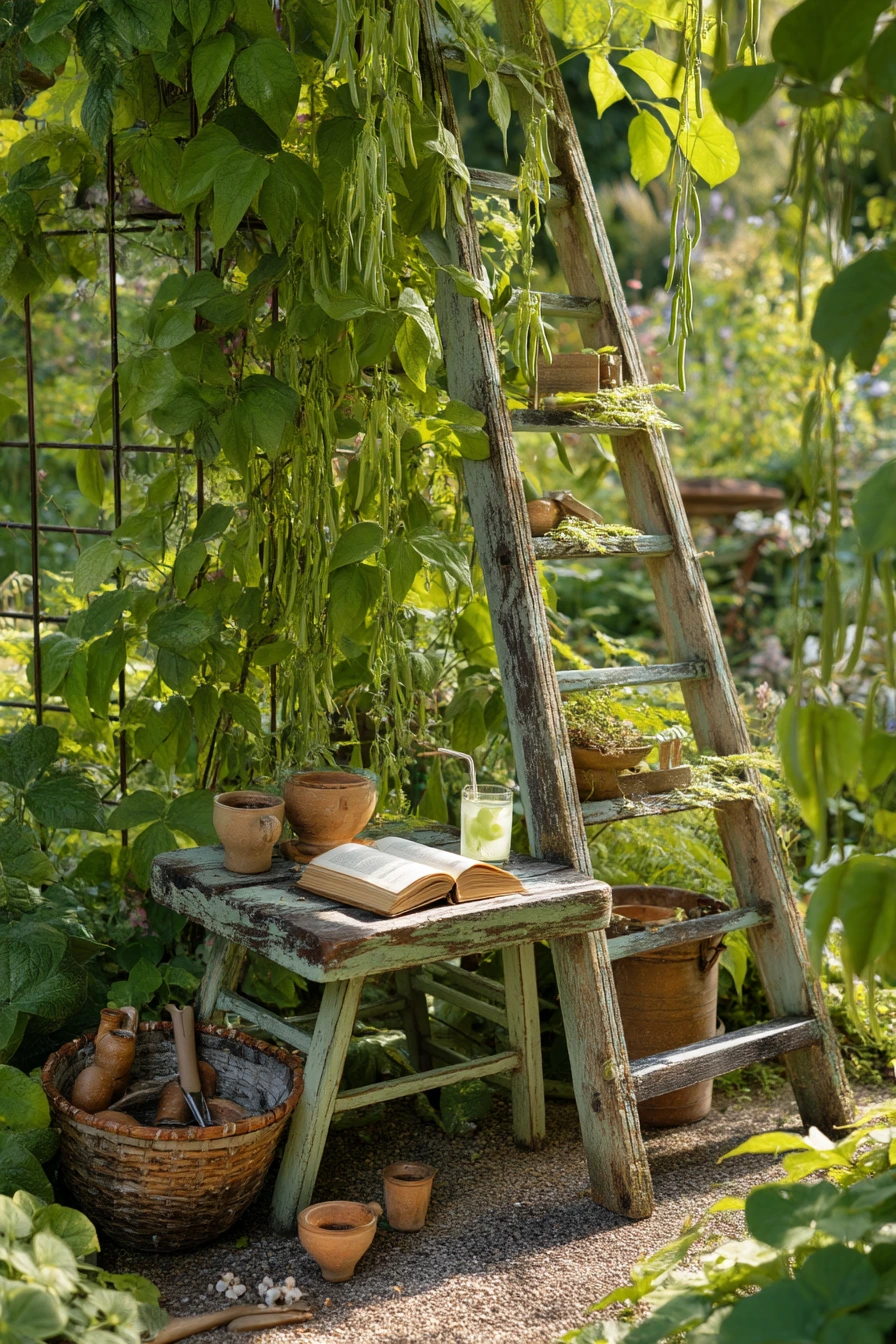
An upcycled wooden ladder makes a charming trellis for runner beans in a cottage garden. Uneven paint and clipped twine give it a relaxed look, and the rungs create natural tie points. This is a good way to reuse something old while adding height for beans that like to climb.
Set the ladder at a slight angle and stake the feet so it will not tip in wind. If the ladder is weak, add a cross brace at the back. Plant runner beans at the base and guide the shoots toward the rungs. Use short lengths of twine to connect rungs and create extra climbing paths. Keep clay pots nearby for extra seedlings, and place pruning shears on a bench so you can pinch off tangled growth as the season goes on.
How to style it: place an open garden book on the bench and a half-finished lemonade glass to make the space feel like a spot you use every day. For a cleaner look, gather small pots into one cluster, then repeat that cluster on the other side of the ladder. Late-day sun makes the ladder texture stand out, so try placing it where it catches warm light.
- Sand rough spots so hands and plant ties do not snag.
- Use exterior paint or sealant if the ladder is bare wood.
- Plant beans 4 to 6 inches apart for strong stems.
- Add twine diagonals if you want fuller coverage.
- Harvest often to keep beans producing.
Pro Design Tip: Choose a ladder with wide rungs so the bean vines have more places to grab and spread.
Budget Considerations: An old ladder is often free from a shed or thrift store. If you need to buy one, look for a sturdy piece and skip “antique” pricing by shopping local listings.

7. Painted Lattice Herb Trellis by a Kitchen Window

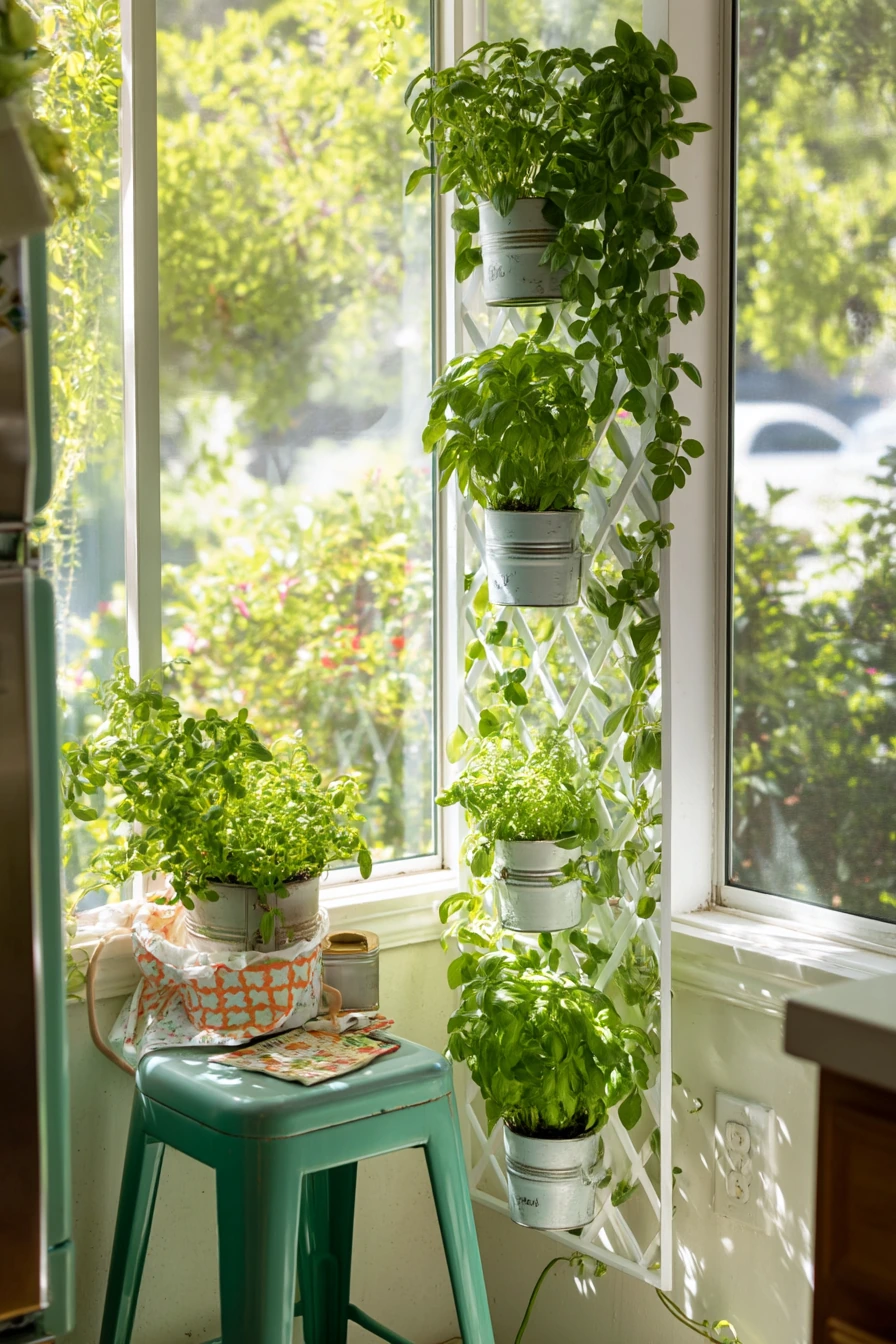
A painted lattice trellis outside a kitchen window is perfect for herbs and light climbers. Trailing jasmine can cover the top while basil and parsley grow in tin containers below. Because it sits near where you cook, you will harvest more often, and plants stay healthier from regular trimming.
Mount a small lattice panel on posts or a wall bracket, keeping it a few inches away from the siding. Paint it a light color for a clean look, or match your trim for a built-in feel. Hang tin containers or small planters on hooks, and make sure they drain well. Train jasmine along the lattice, and pinch basil tips weekly so it stays bushy. If you can see a dish rack through the glass, keep the outdoor setup tidy so the view looks calm from inside.
How to style it: add a stool under the trellis to hold recipe cards, a tea towel, and the phone charging cable you use while cooking. Keep cords off the ground by using a small clip or hook. If you want a simple scent layer, add a pot of mint nearby, but keep it in its own container so it does not spread into the bed.
- Use outdoor paint so the lattice stays easy to wipe clean.
- Pick hooks rated for wet conditions to prevent rust.
- Group herbs by water needs to avoid root rot.
- Cut herbs in the morning for best flavor.
- Rotate tins so all plants get even light.
Pro Design Tip: Keep the trellis height at arm level so harvesting feels easy, like reaching for spices.
Budget Considerations: Lattice panels are low cost and widely available. Tin containers can be reused food cans with holes punched in the bottom.


8. Budget String Trellis for Beans in a Raised Bed


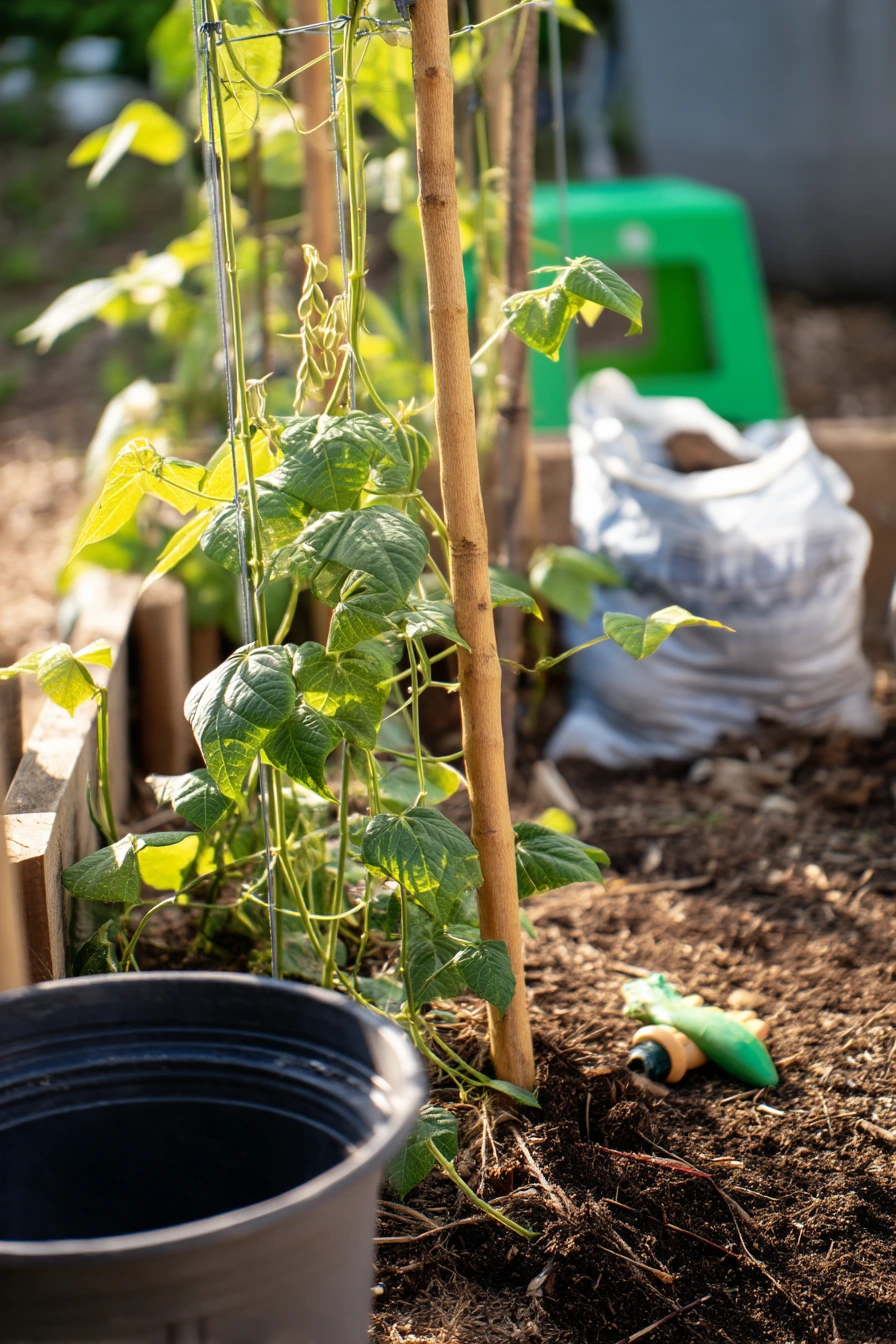
A simple string trellis tied to wooden stakes is a budget-friendly way to grow bean vines in a raised bed. You can see the knots, adjust tension fast, and expand the trellis as plants grow. It works well in a working garden with reused pots, a bag of mulch, a hand spade in the soil, and gloves nearby.
Place sturdy stakes at each end of the bed and add one or two in the middle for support. Run string from the top down to the base, then tie off near the soil line. Make sure the string is tight so it does not droop after rain. Plant beans at the base of each string, then wrap young vines gently around it. A plastic step stool helps you reach the top ties without stepping in the bed, and a tipped-over spray bottle reminds you to check for pests under leaves.
How to style it: keep the look neat by using the same type of string and aligning the stakes. Reuse pots, but group them by color so the bed area looks less busy. If your bed edge is wood, match the stake wood tone for a simple, uniform look. Add mulch after planting to keep moisture steady and reduce weeds around the strings.
- Use thicker garden twine so it holds weight.
- Double-knot the top tie points to prevent slipping.
- Space strings 6 to 8 inches apart for climbing room.
- Water at the base to keep foliage drier.
- Replace string mid-season if it frays.
Pro Design Tip: Angle the top line slightly forward so vines climb toward the sun and fill the trellis evenly.
Budget Considerations: This build can be made with scrap stakes and twine. If you must buy materials, spend on sturdy stakes first, since the string is easy to replace.

9. Slatted Screen Trellis for Climbing Roses


A slatted screen trellis adds structure in a contemporary backyard and gives climbing roses a strong place to grow. It works beside a lounge chair and side table, and it can create privacy without closing off the space. Warm evening light from indoors makes the slats and rose leaves look soft and textured.
Build the screen from evenly spaced wood slats on a simple frame. Anchor it well, since roses get heavy over time. Plant the rose about 12 inches from the base so roots have room and water can soak in. Train canes horizontally across the slats, because that encourages more blooms along the stem. Keep a garden stool nearby so you can tie new growth and remove spent flowers. Add a planter of lavender close by to soften the look and bring in pollinators.
How to style it: choose one outdoor fabric color for your chair throw and keep it repeated in one small planter to make the area feel planned. A book with a bent spine and a water glass on the table look real, but you can also store extras in a small box to reduce clutter. If the screen sits near a path, leave a few inches behind it so you can trim and clean.
- Space slats 1 to 2 inches apart for airflow.
- Use exterior screws and weatherproof stain or paint.
- Tie rose canes with soft ties to avoid damage.
- Mulch well to keep rose roots cool.
- Prune lightly to keep canes off seating areas.
Pro Design Tip: Train roses in a fan shape across the screen so the bloom coverage looks balanced, not top-heavy.
Budget Considerations: A slatted screen uses more lumber than string styles. To lower cost, reduce the width or use fence pickets instead of premium boards.


10. Simple Wooden Frame Trellis for Squash, Built in Progress
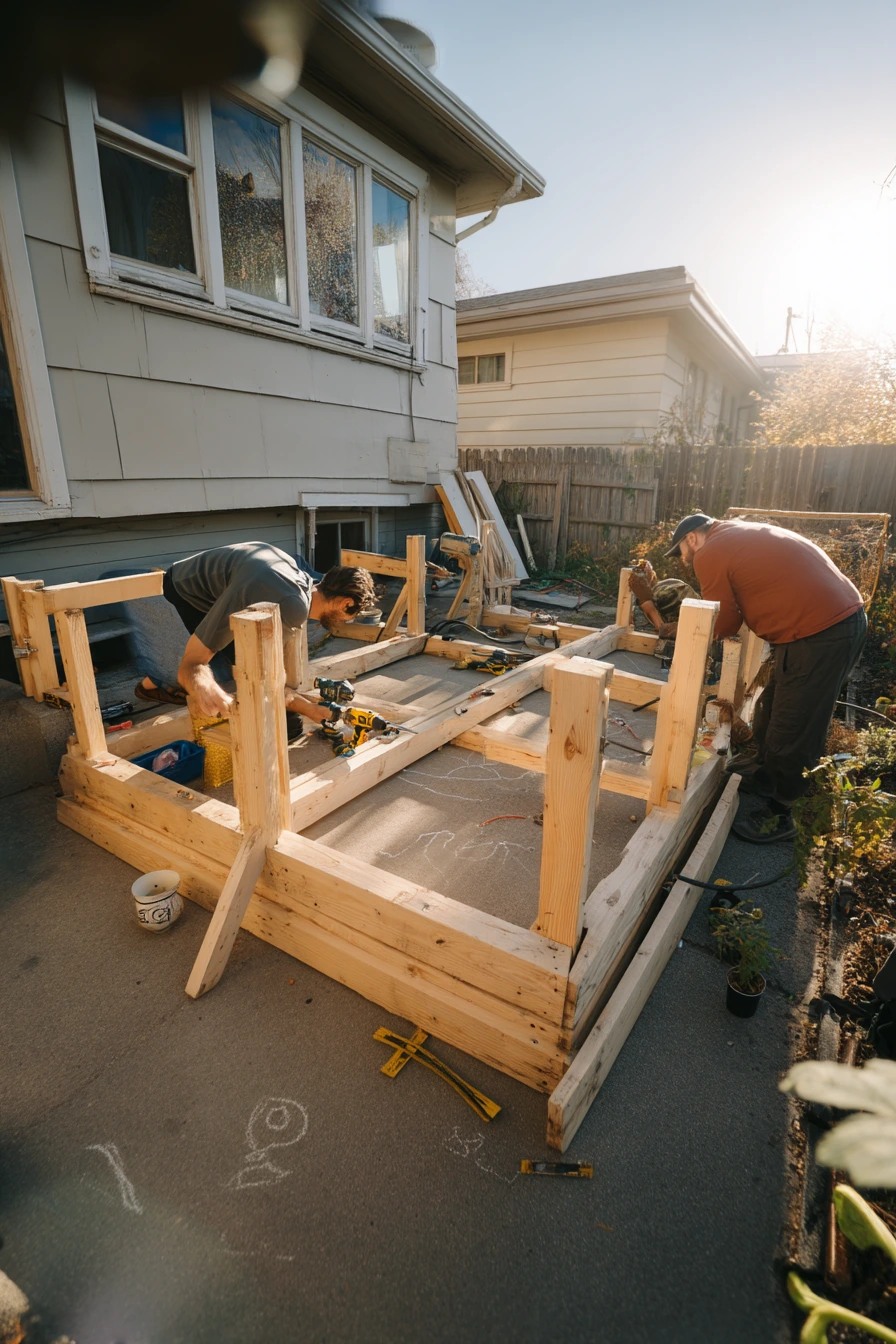
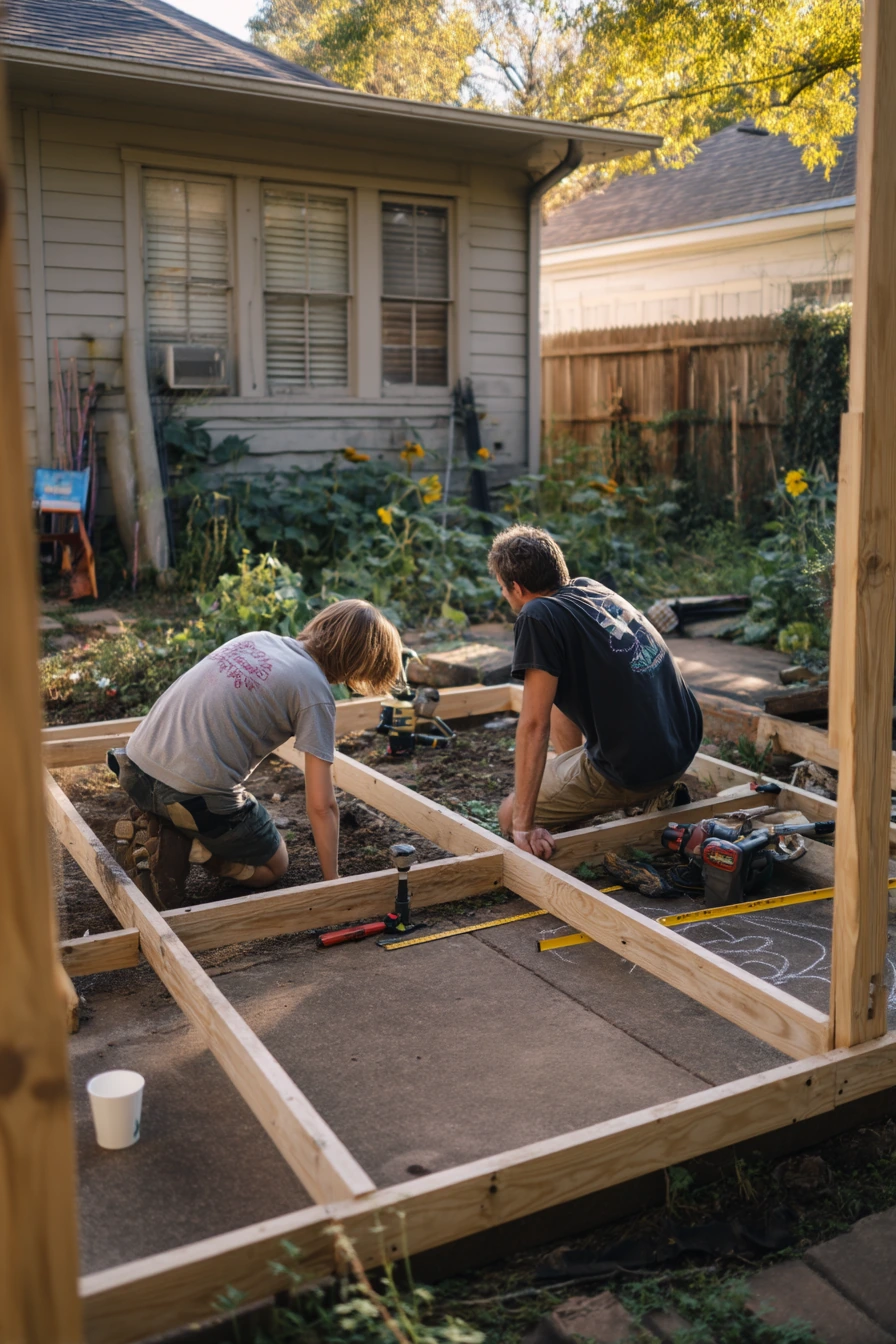
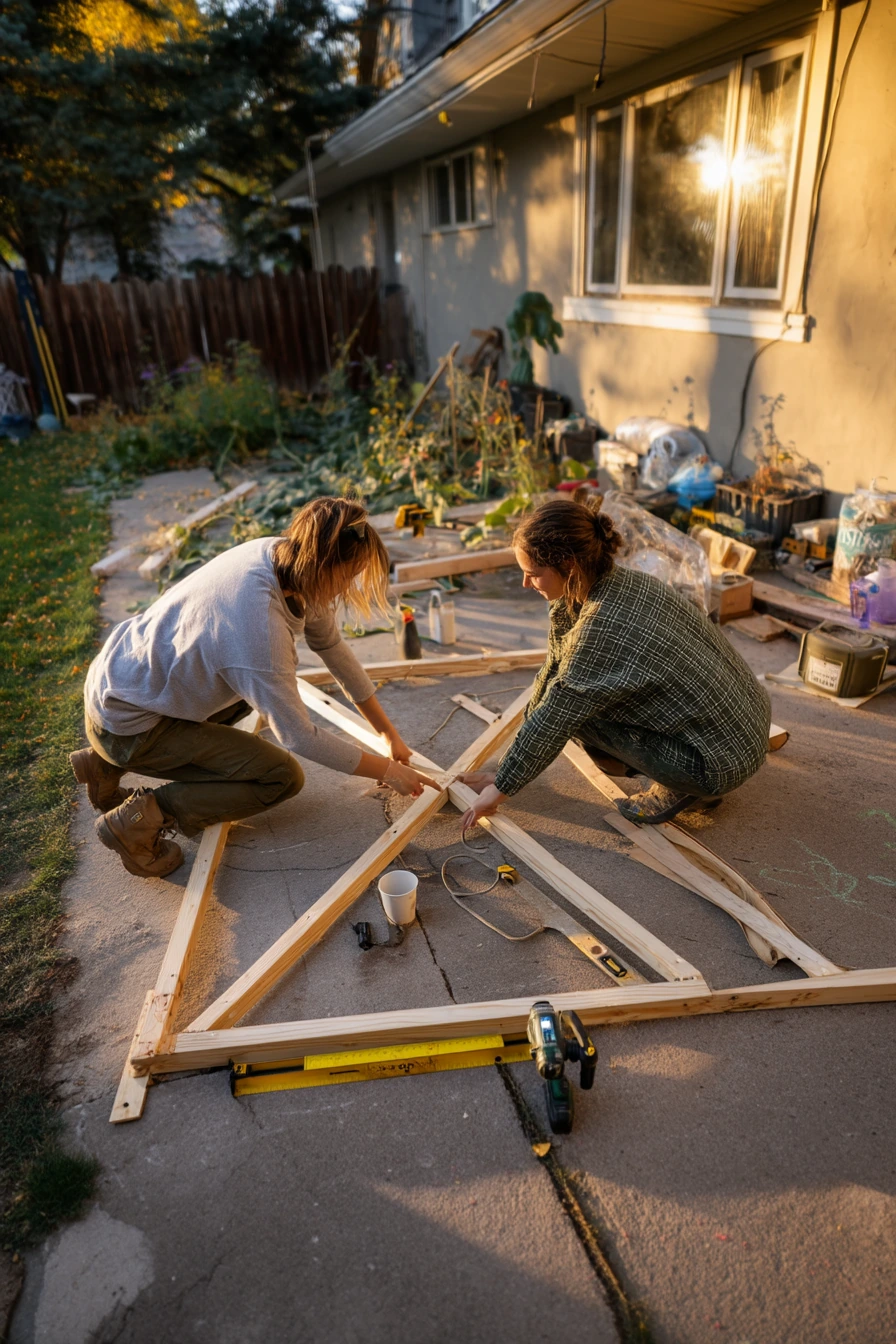
A simple wooden frame trellis is a great weekend project, and it is easy to build with a helper. In a side yard, it can go up while squash vines are still small and just starting to reach. With a drill on the ground, offcuts stacked, and a tape measure nearby, it feels like real life, not a staged garden.
Build a rectangle frame from 2x2s or 2x3s, then add a center support so it does not twist. Attach a wire panel or strong netting to the frame for the vines to grab. Set the legs deep in the soil or anchor to posts. Squash can get heavy, so plan for weight. As vines grow, guide them up and use wide, soft ties. If fruit hangs, support it with slings made from old fabric.
How to style it: keep one crate nearby for tools and screws so you do not lose parts in the grass. A coffee cup can sit on a flat stone or a small table so it does not tip. If a child’s chalk drawing is on the concrete, keep it and work around it, since the garden should fit family life. After the build, sweep up offcuts and store them, so the trellis looks finished even if the garden is still growing.
- Use treated lumber or seal the wood to handle weather.
- Add a wire panel with small openings for better grip.
- Place the trellis where it gets 6 to 8 hours of sun.
- Train vines early to prevent snapping later.
- Check fasteners after heavy wind or rain.
Pro Design Tip: Make the frame slightly taller than you think you need, since squash grows fast and will fill extra height.
Budget Considerations: Use offcuts and leftover screws first. If buying new, a single wire panel can be cheaper than multiple wood slats and saves build time.

These DIY garden trellis ideas cover small balconies, renter-friendly fences, front porches, and full vegetable beds. Each one helps vines grow upward, keeps plants healthier, and makes harvest or blooms easier to enjoy.
Start with the trellis that matches your space and the plants you already grow. Even a simple stake-and-string setup can look good with a few styling choices and a tidy tool spot.
FAQ
What is the easiest DIY trellis to build? A stake and twine trellis is the fastest. Push in stakes, tie horizontal rows, and plant peas or beans at the base.
What plants grow best on a trellis? Sweet peas, morning glories, tomatoes, cucumbers, beans, clematis, jasmine, roses, and many squash types do well with support.
How tall should a garden trellis be? For peas and beans, 5 to 7 feet works well. For tomatoes and roses, aim for 6 feet or more, depending on the variety.
What is a renter-friendly trellis option? Use tension rods and removable hooks, or a freestanding grid tied to planters. These avoid holes and permanent changes.
How do I keep a trellis from falling over? Anchor posts deep, tighten ties, and add cross braces or center supports. Heavier crops like squash need stronger frames and fasteners.
Is wood or metal better for a trellis? Metal lasts longer and stays rigid. Wood is easy to customize and can look warmer, but it needs sealing or regular replacement.