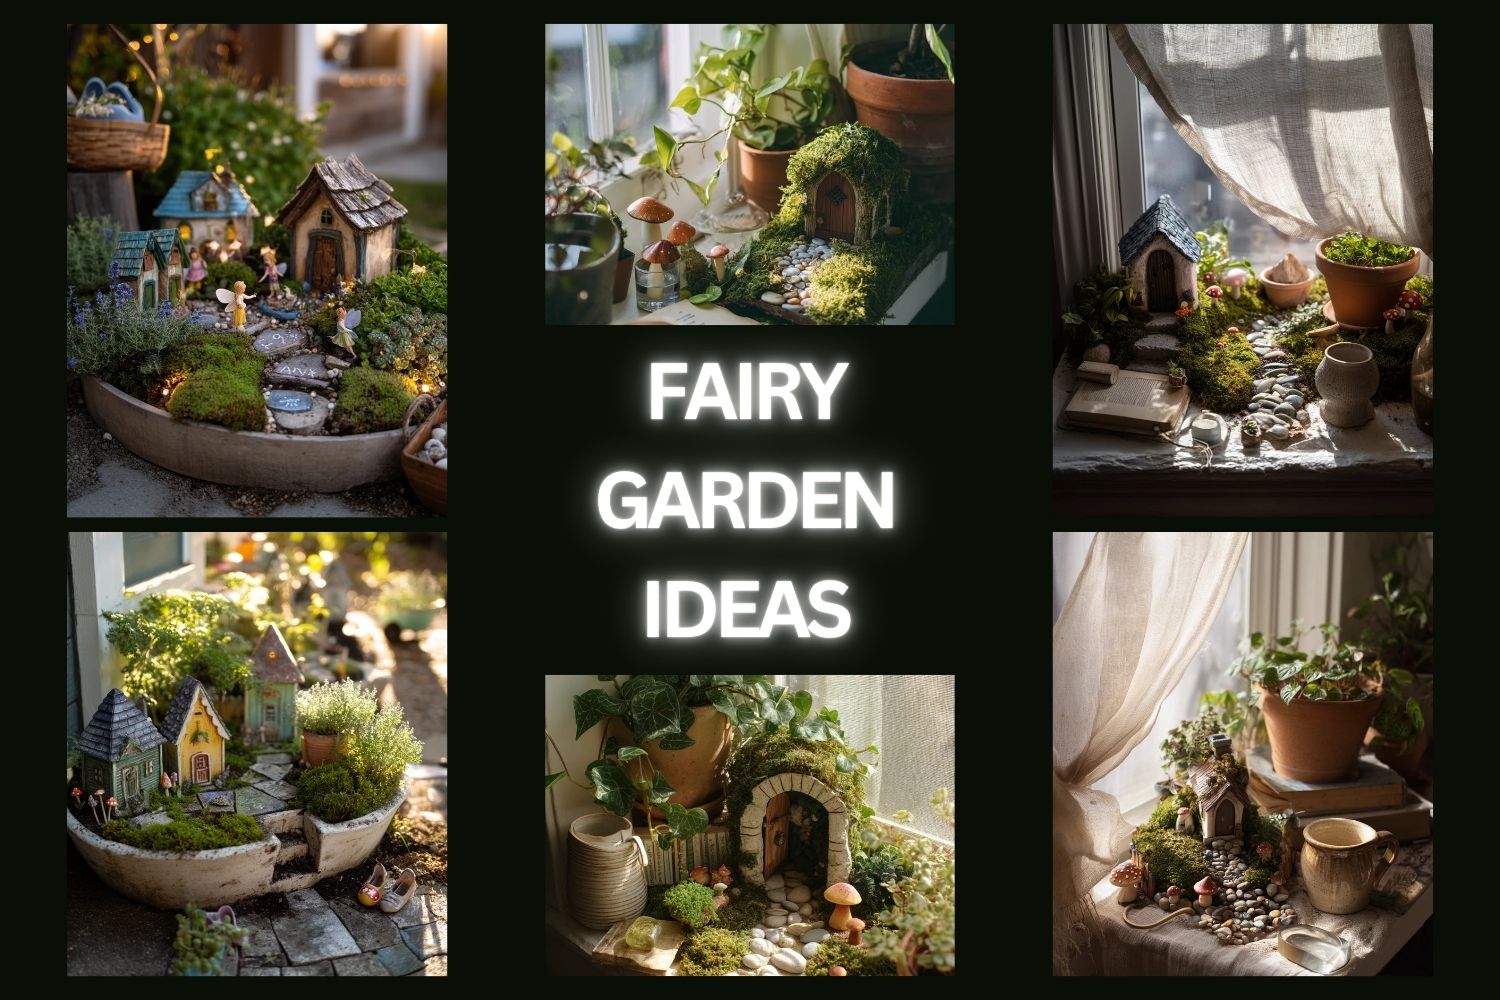
Fairy garden ideas are a simple way to make a small space feel special. You can build one on a windowsill, a balcony, a porch, or a backyard planter with moss, pebbles, and tiny houses.
This post shares 10 realistic fairy garden setups based on everyday homes. Each one includes easy styling steps, plant choices like thyme, lavender, pothos, and ferns, plus details that make the scene look lived-in.
You will also get a pro design tip and a budget note for each idea. Use these mini scenes to decorate, to help kids play outside, or to add calm to a reading nook.
Save the pictures you like, then copy the layout with what you already have. Most projects can be done in an hour, and you can keep improving them over time.
Intro


A fairy garden works best when it fits your real life. That means it can sit next to a charging cable, a coffee mug ring, or a watering can and still look nice. The goal is a small scene that is easy to care for and fun to look at each day.
Start by picking one container and one main plant. Then add moss mounds, a pebble path, and one focal piece like a tiny arched door or a mushroom house. Keep the scale consistent so everything looks like it belongs together.
Before you buy anything, look around your home. Chipped terracotta pots, small bowls, acorn caps, and smooth stones often work better than brand-new decor. A fairy garden looks more charming when it has small imperfections and real texture.
- Choose a shallow container so you can see the mini scene from above
- Use pebbles to guide the eye like a walkway
- Pick one color theme for houses and accessories
- Add one “story” object like a book, bench, or gate
- Keep plants simple so trimming is easy
Pro Design Tip: Take a quick photo from the angle people will see it most, then adjust the path and main house until the picture looks balanced.
Budget Considerations: Use what you already own first, then add one new mini piece at a time so the setup grows slowly without a big spend.

1. Windowsill Fairy Garden Ideas for Renters

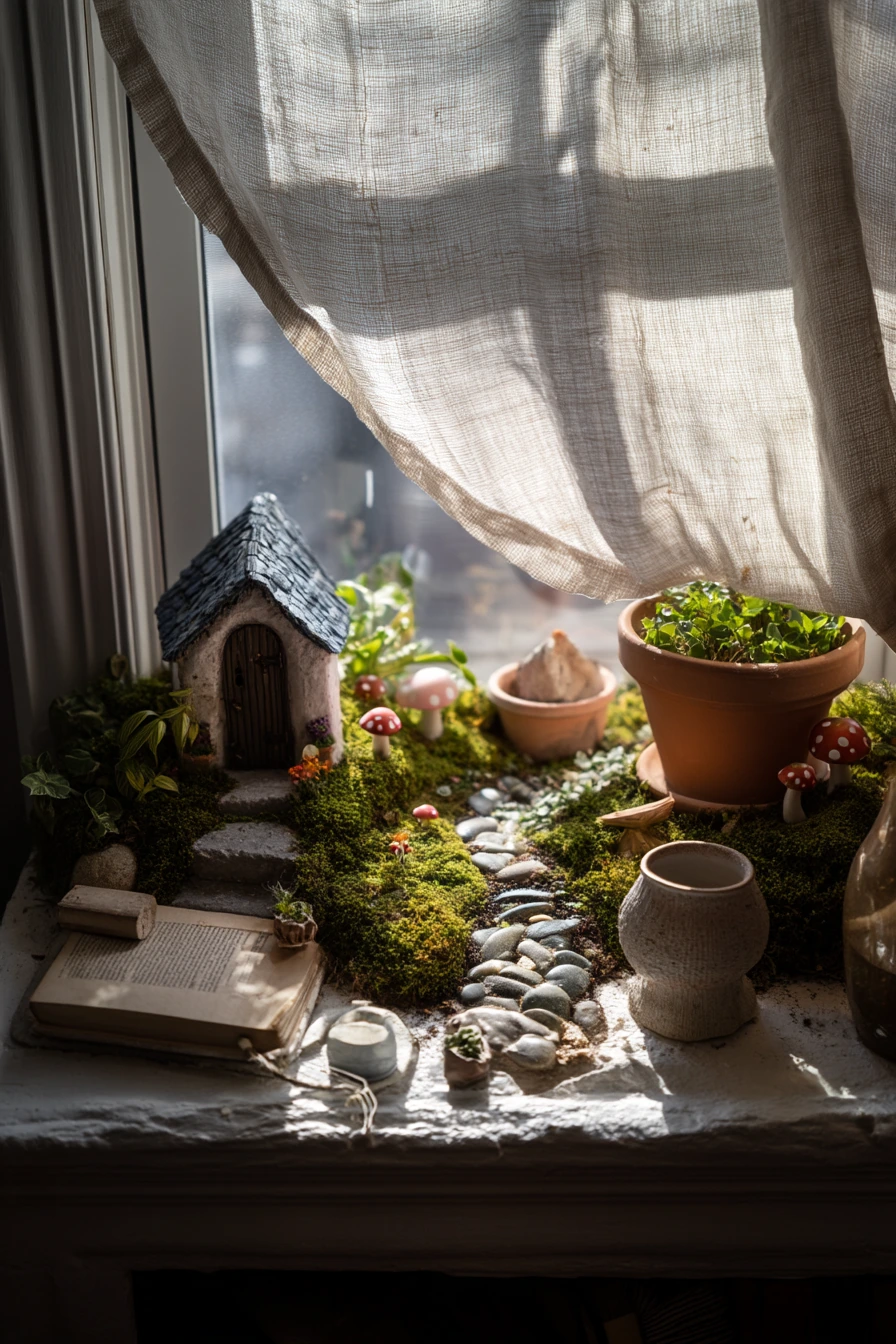
A windowsill fairy garden is perfect for renters because it is small, movable, and easy to water. Use a shallow tray or a single chipped terracotta pot as the base, then build up soft moss mounds around it. Tuck miniature mushroom houses into the moss so they feel nested, not placed on top.
For a lived-in look, style it beside a trailing pothos. Let the pothos vines frame the tiny scene like a curtain. Add a pebble path that curves toward a tiny arched door, and keep the door close to a plant stem so it feels hidden. If the sill already has a water glass, a ceramic mug ring, or a phone charging cable, do not fight it. Just keep the fairy garden grouped tightly so the everyday items look like part of the story.
Morning window light is your best friend here. Put taller pieces at the back so they do not block light from plants. Keep one small watering can nearby and water gently, since moss can get soggy fast. A folded library book on the sill adds a cozy cue, especially if the cover colors match the tiny houses.
- Line the tray with a thin layer of gravel for drainage
- Use sheet moss to cover soil, then add small moss clumps for height
- Create a path with two pebble sizes for a natural look
- Place the main house off-center to keep it interesting
- Rotate the tray weekly so plants grow evenly
Pro Design Tip: Repeat one material three times, like pebble clusters in three spots, so the small scene feels planned and not random.
Budget Considerations: Mini doors and houses can add up; start with one focal piece and make the rest from stones, twigs, and a cut piece of cardboard painted with craft paint.
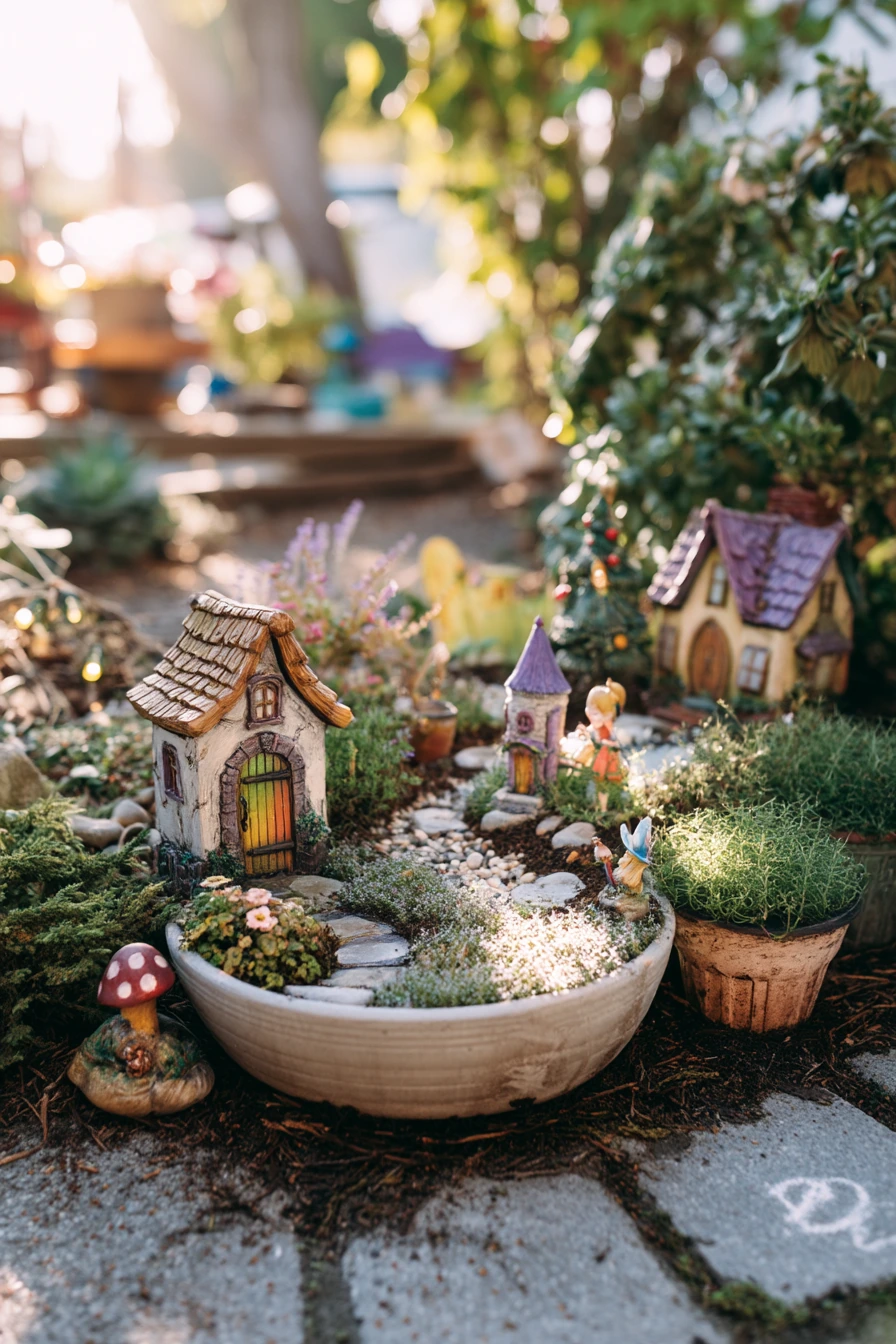
2. Backyard Fairy Garden Ideas by the Patio
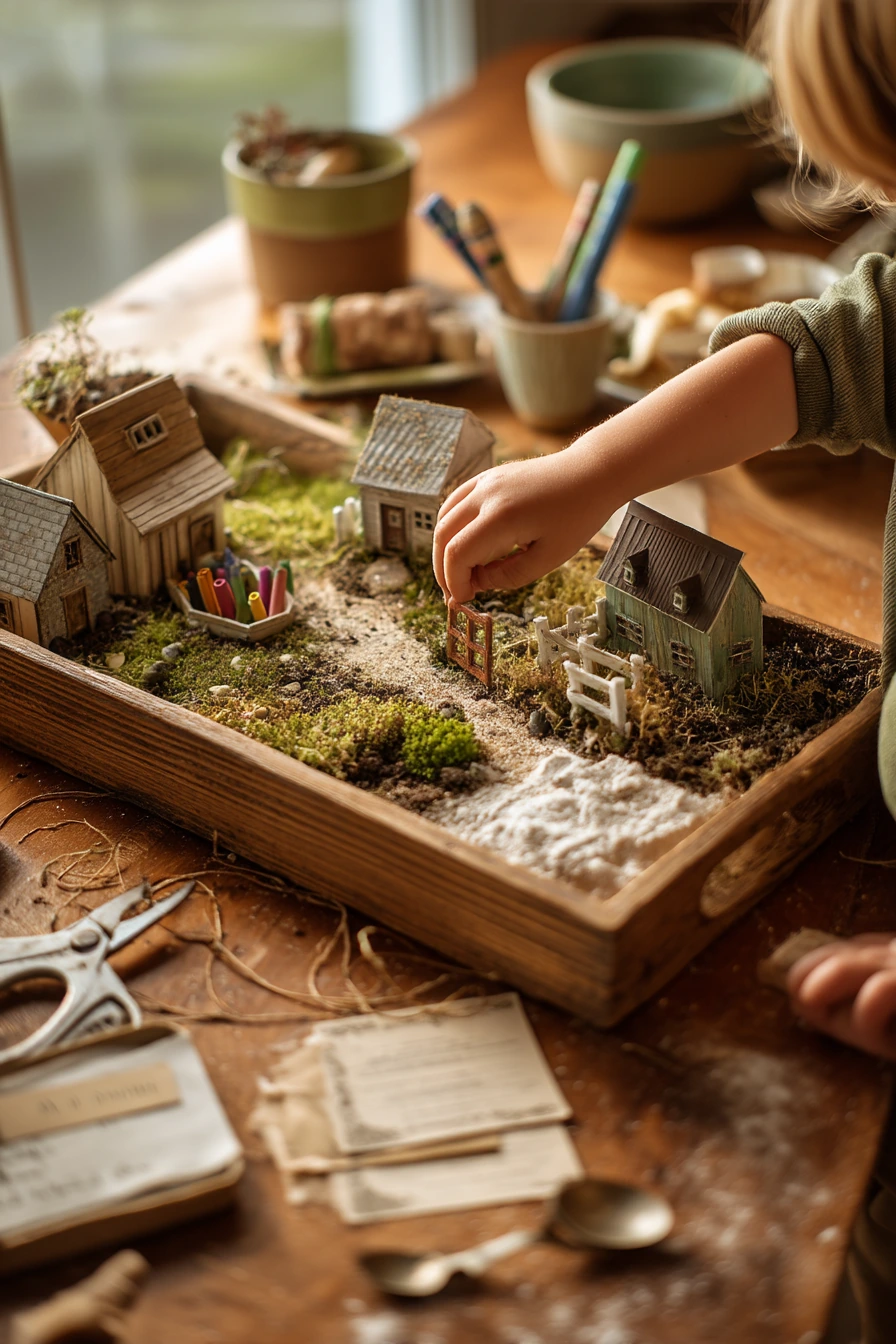
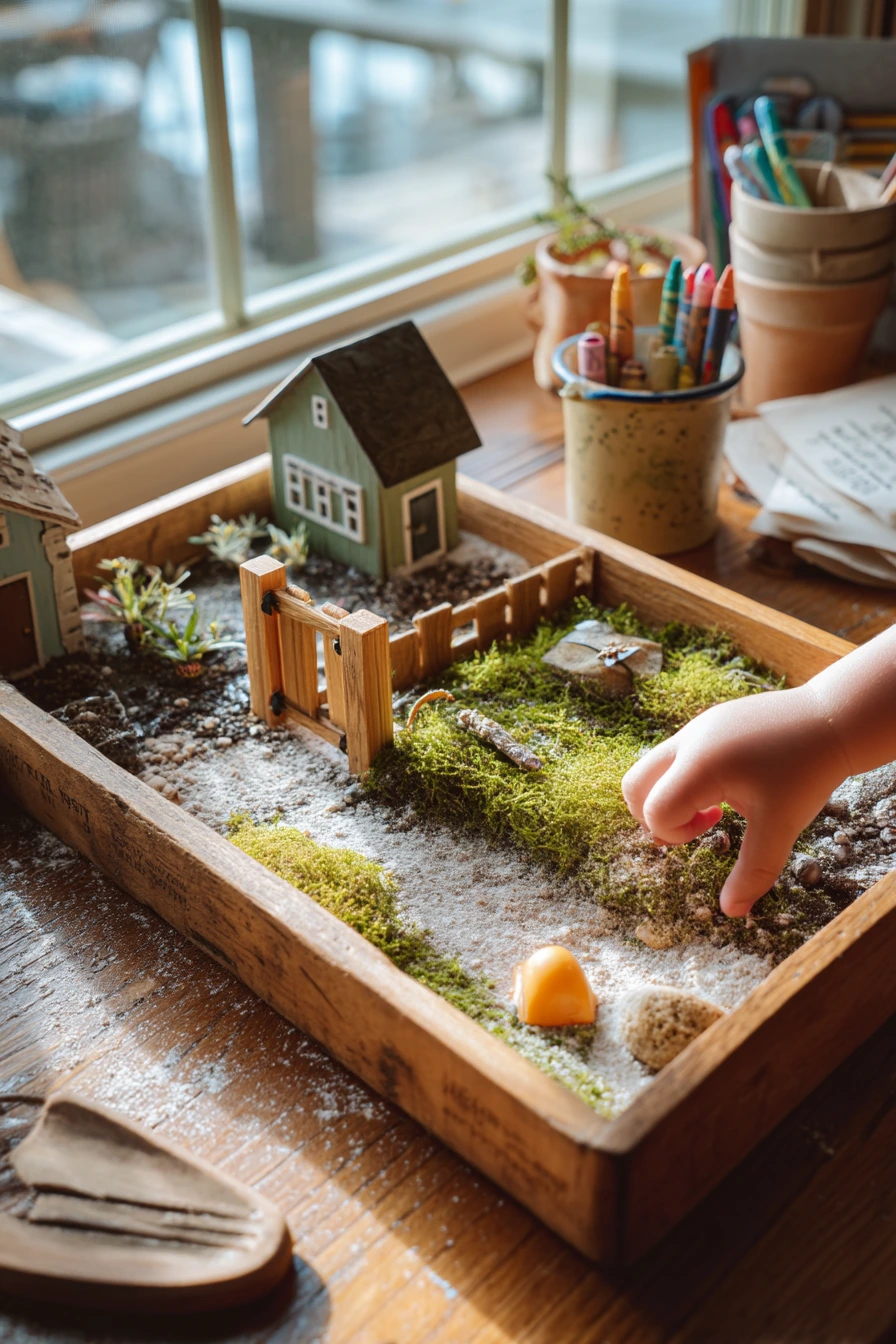
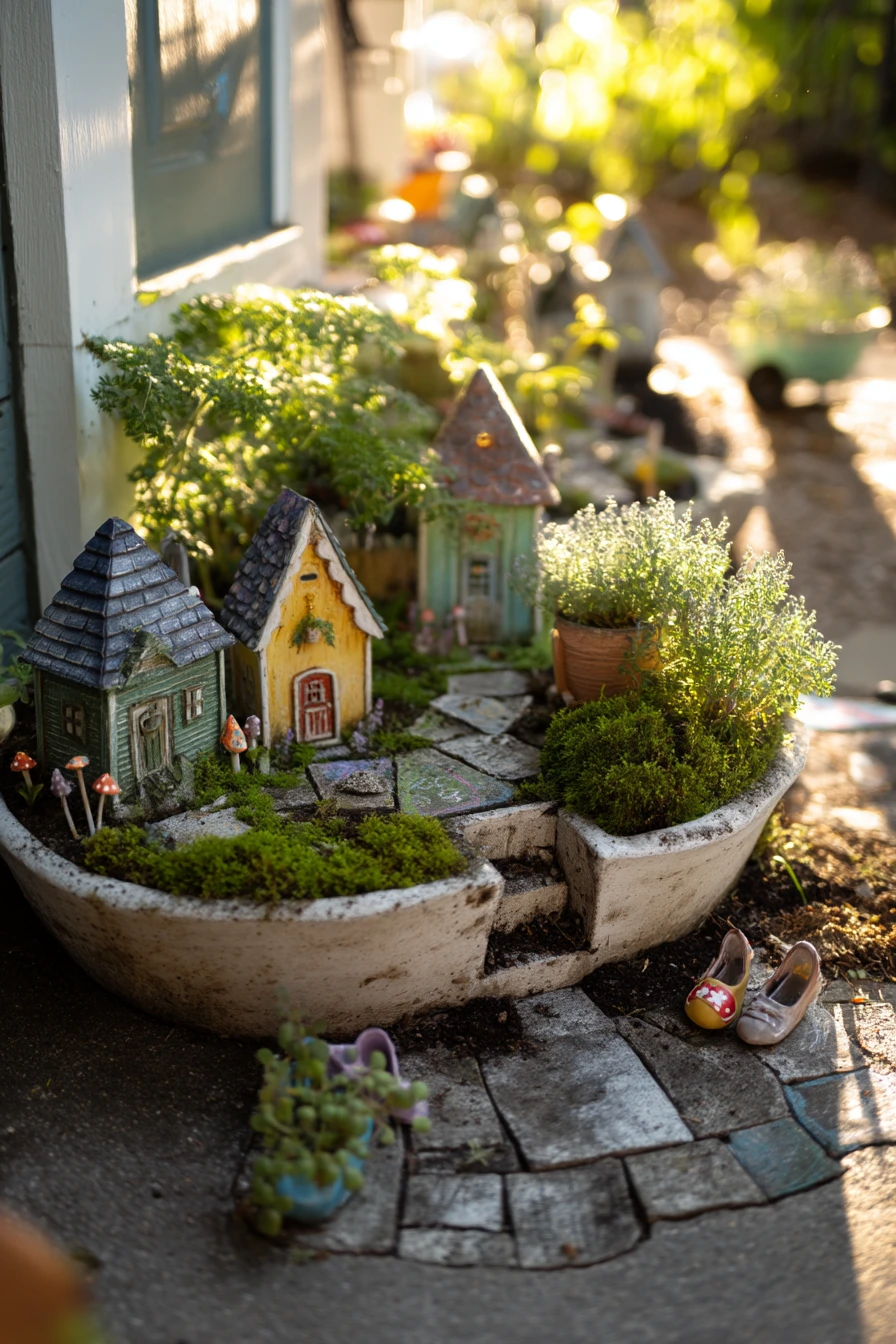
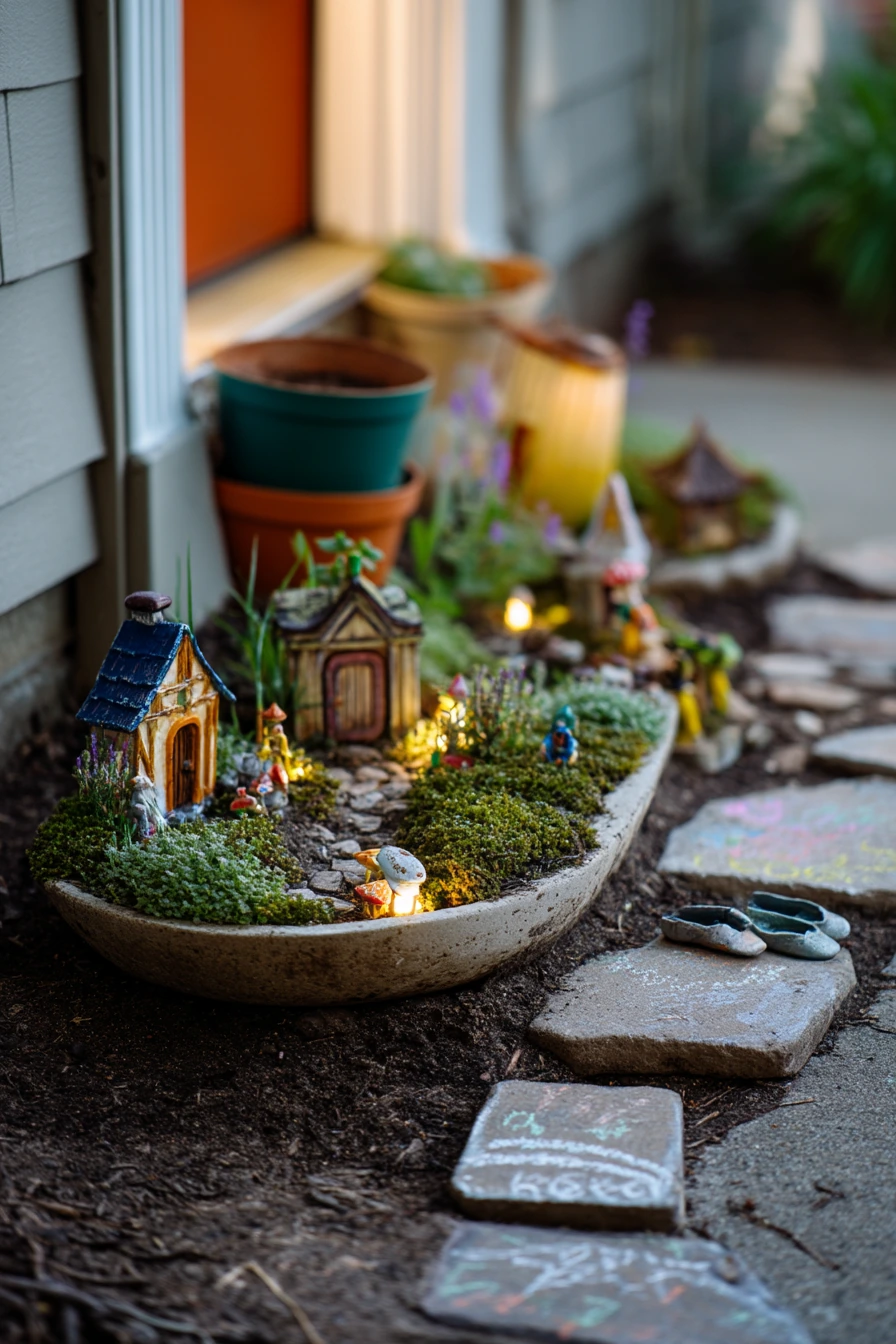
A backyard fairy garden beside the patio works well for families because it sits near where kids already play. Use a shallow planter so children can see the details without stepping into the bed. Fill it with potting soil, top with moss, and nestle tiny painted cottages in small groups like a little neighborhood.
To keep it grounded, mix in real plants that can handle sun and light foot traffic nearby. Lavender adds color and scent, and thyme fills gaps around stepping stones. Place a small birdbath feature in the center or back corner so it becomes the main “meeting spot.” Tuck resin fairies into the thyme so they peek out, not stand straight up. Add twinkling solar lights around the edge for late-afternoon and early evening glow.
The lived-in cues make the scene feel real. A toy basket tipped on its side, muddy sneakers by the door, and chalk marks on the pavers all fit the family setting. Keep the fairy garden tidy so those casual details read as normal life, not clutter. If there is half-finished lemonade on the patio table, use that color as your accent, like pale yellow flowers or a cottage door.
- Use flat stepping stones so little hands can move pieces safely
- Plant thyme along the edge to soften the planter line
- Place solar lights where they will not be shaded by lavender
- Seal painted cottages with outdoor clear coat for longer life
- Create one open “play zone” so kids can add small finds
Pro Design Tip: Make one clear focal point, like the birdbath, then angle paths and stepping stones toward it to guide the eye.
Budget Considerations: Solar string lights vary in price; if you want to save, use one short strand and focus light near the cottages instead of around the whole planter.
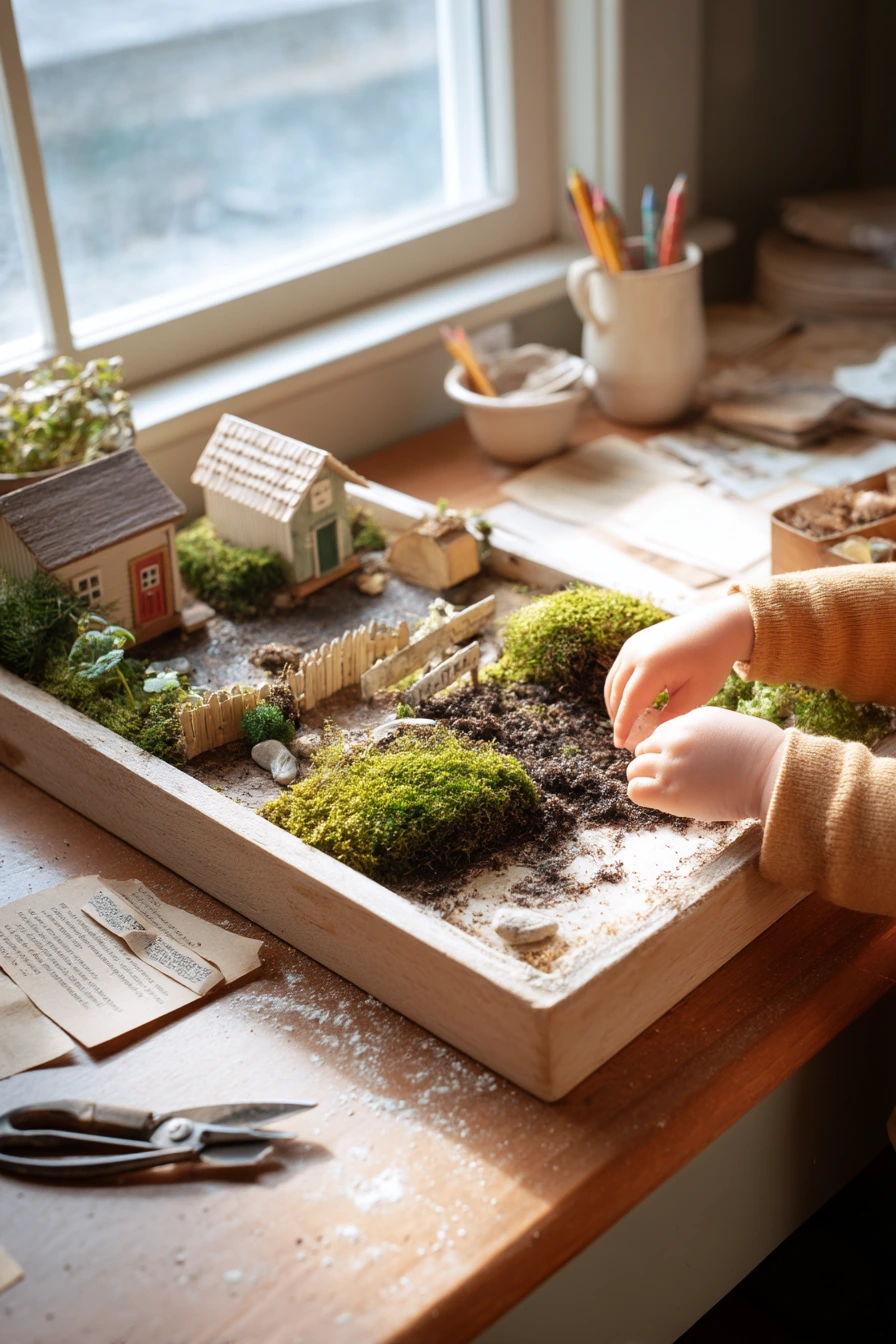
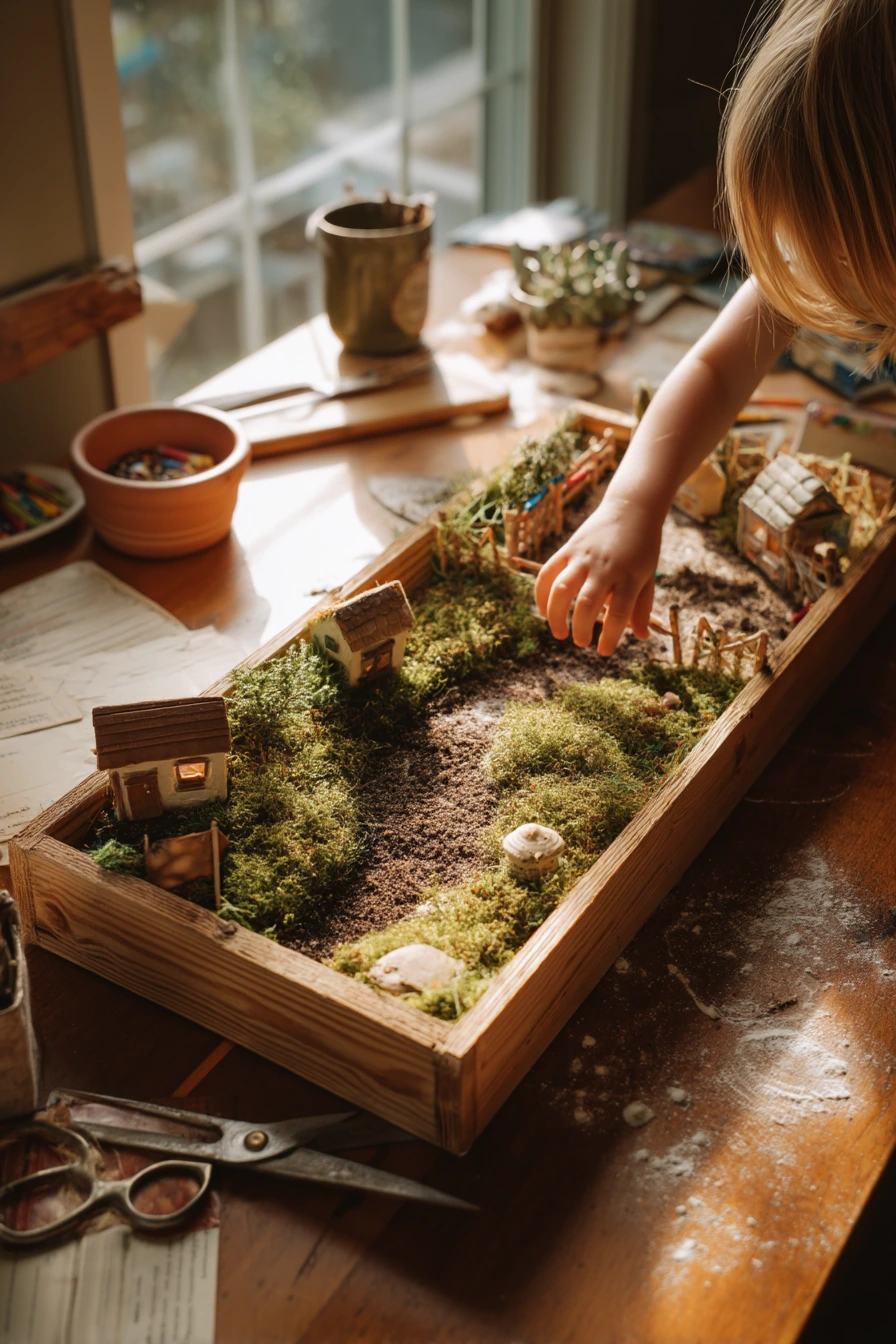
3. DIY Fairy Garden Ideas on the Kitchen Table

A weekend DIY fairy garden project is easier when you spread it out on a kitchen table. A shallow wooden tray works well because you can move it outside later or keep it indoors. Start with potting soil, then press moss into place like a patchwork quilt. Let kids help, since placing tiny pieces is the fun part.
Lay out tiny houses, a miniature bench, pebbles, twine, seed packets, and scissors before you begin. This keeps the build calm and prevents you from digging through drawers with messy hands. Add a small gate as the “entry,” and let a child’s hand place it in the front so it feels personal. Use pebbles to shape a path from the gate to the bench, then to the house door.
In a real kitchen, you may have flour dust near a cutting board, a tea spoon, recipe cards, and a cup of crayons nearby. That is fine. Just keep the fairy garden supplies on one tray or towel so cleanup is quick. When you finish, mist the moss lightly and place the tray near a window with soft light. If you want to add plants later, choose small starts like thyme or baby ferns that will not outgrow the tray fast.
- Cover the table with a plastic cloth for easy cleanup
- Use twine to make a tiny vine or a rope border
- Press pebbles into soil so they do not roll around
- Add one “found” item like a tiny acorn cap bowl
- Label extra mini parts in a jar for next weekend
Pro Design Tip: Keep the front edge lower than the back so the scene reads clearly when you look at it from eye level.
Budget Considerations: A wooden tray can be pricey; use a thrifted baking tray or an old drawer as the base and paint it if needed.


4. Balcony Fairy Garden Ideas for Small Spaces


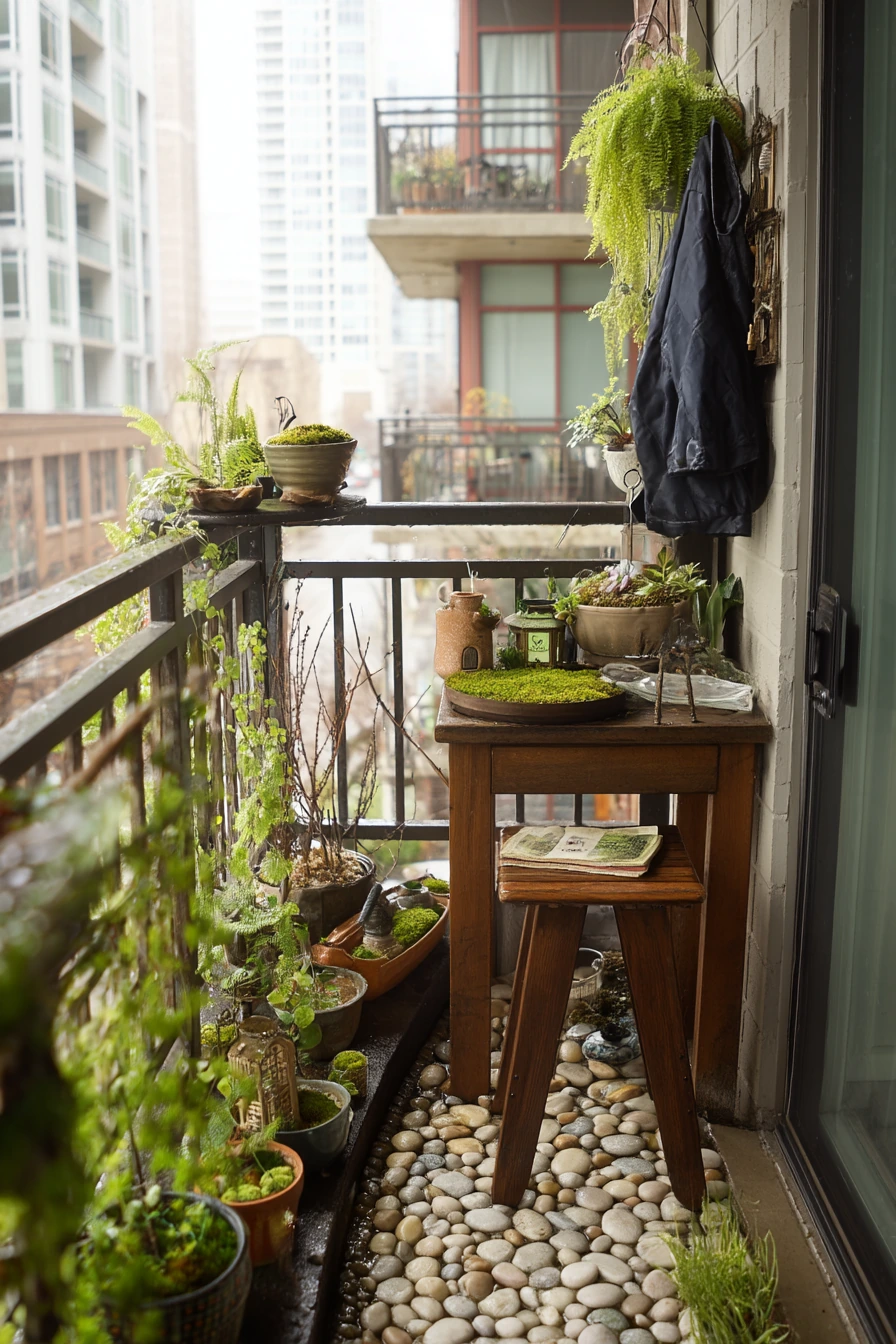
A narrow city balcony can still hold a fairy garden if you think in layers. Use railing planters and hanging ferns to create a green wall, then place shallow bowls of moss on a small table or stool. This setup is renter-friendly because everything can move when you need to clean or rearrange.
Build the mini scene with a pebble path and a miniature bridge. The bridge adds height without taking much room. Add tiny lanterns along the path for a soft glow at night, and keep the colors simple so the balcony does not feel busy. A thrifted stool can act like a display stand, and a fairy door propped against it looks like a doorway to the plants. Two plant saucers and a loosely coiled watering hose can stay nearby, since they match the gardening vibe.
Style for real weather. Choose outdoor-safe pieces, and bring paper items inside. If you keep a rain jacket on a hook, place the fairy garden below it so the hook area looks planned, not crowded. A book with a bent spine on a small side table adds a quiet, lived-in note, but store it in a basket when rain is coming. In cool morning light, the greens will look fresh, so keep any bright colors minimal.
- Use one long railing planter for a clean base line
- Pick ferns that handle shade if your balcony is not sunny
- Create a path with small gravel to reduce weight
- Use museum putty to keep tiny items from sliding in wind
- Group watering tools in one corner so the balcony stays neat
Pro Design Tip: Make a triangle layout with one tall fern, one mid-height bridge, and one low moss bowl to create balance in a tight space.
Budget Considerations: Mini lanterns can cost more than you think; swap in a short strand of warm fairy lights you already own and hide the battery pack behind a pot.


5. Bookshelf Fairy Garden Ideas for a Reading Nook
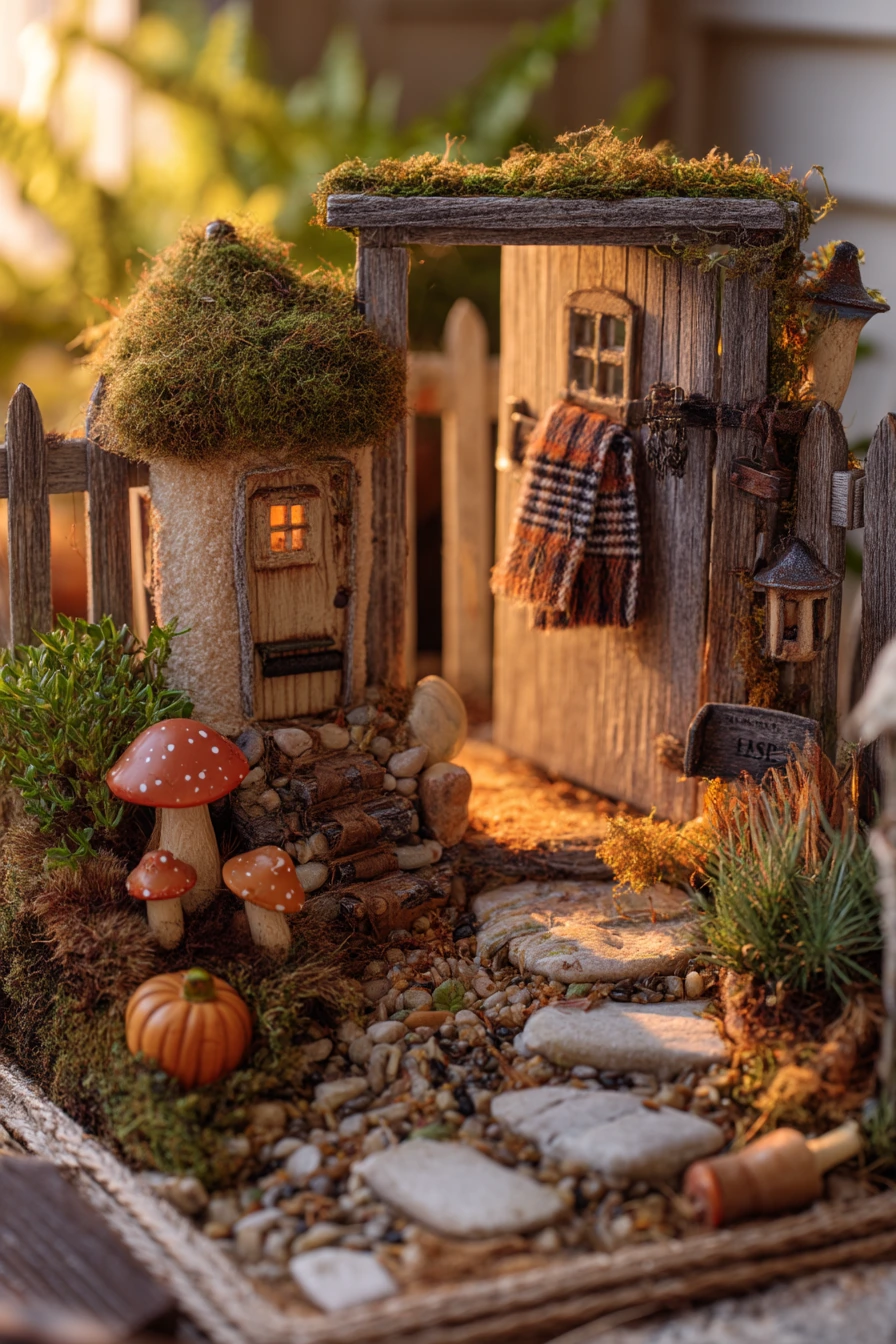
A fairy garden tucked into a low bookshelf makes a cozy detail in a reading nook. Use a moss tray that fits the shelf depth, then add tiny cottages and a miniature ladder to create height. Keep the colors soft so they blend with stacked paperbacks instead of fighting them.
Style with small natural finds. Acorn caps can become tiny bowls, and polished stones can look like a riverbed or stepping stones. Add a small fern in a corner to give the scene real life. A glass cloche over one figurine makes it feel like a collected treasure and helps keep dust off that one piece. If you have reading glasses on the shelf and a knit throw nearby, keep the fairy garden on the side that is less used so nothing gets knocked over.
Warm lamp light is great for this setup, since it makes moss and wood look rich. Keep the moss lightly misted, but do not soak it, especially around books. Place a tea cup with steam on a side table, not on the shelf, so moisture stays away from paper. If you want extra charm, let one tiny “path” lead toward the books, as if the cottages belong in the same quiet corner.
- Use a tray with a lip to protect the shelf from soil
- Keep cottages small so books are still easy to grab
- Add a stone “pond” near the front for shine in lamp light
- Use one cloche as a focal point to reduce visual clutter
- Dust the shelf often with a small brush to protect plants and books
Pro Design Tip: Match one color from your book spines, like green or tan, in the cottage roofs so the whole nook feels tied together.
Budget Considerations: Cloche covers can be expensive; use an upside-down glass bowl or a clear jar from the kitchen for the same look.
6. Autumn Fairy Garden Ideas by the Front Door

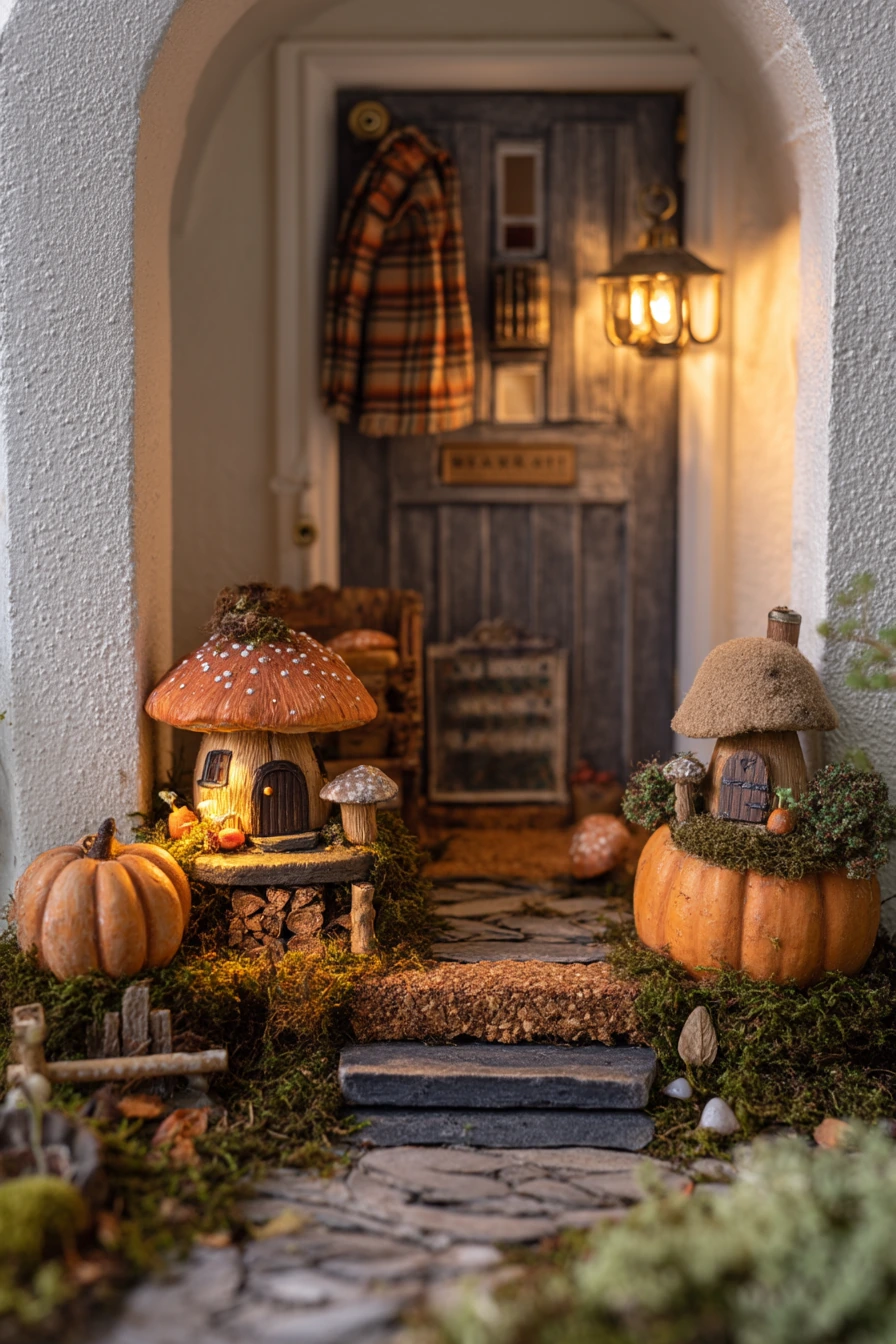
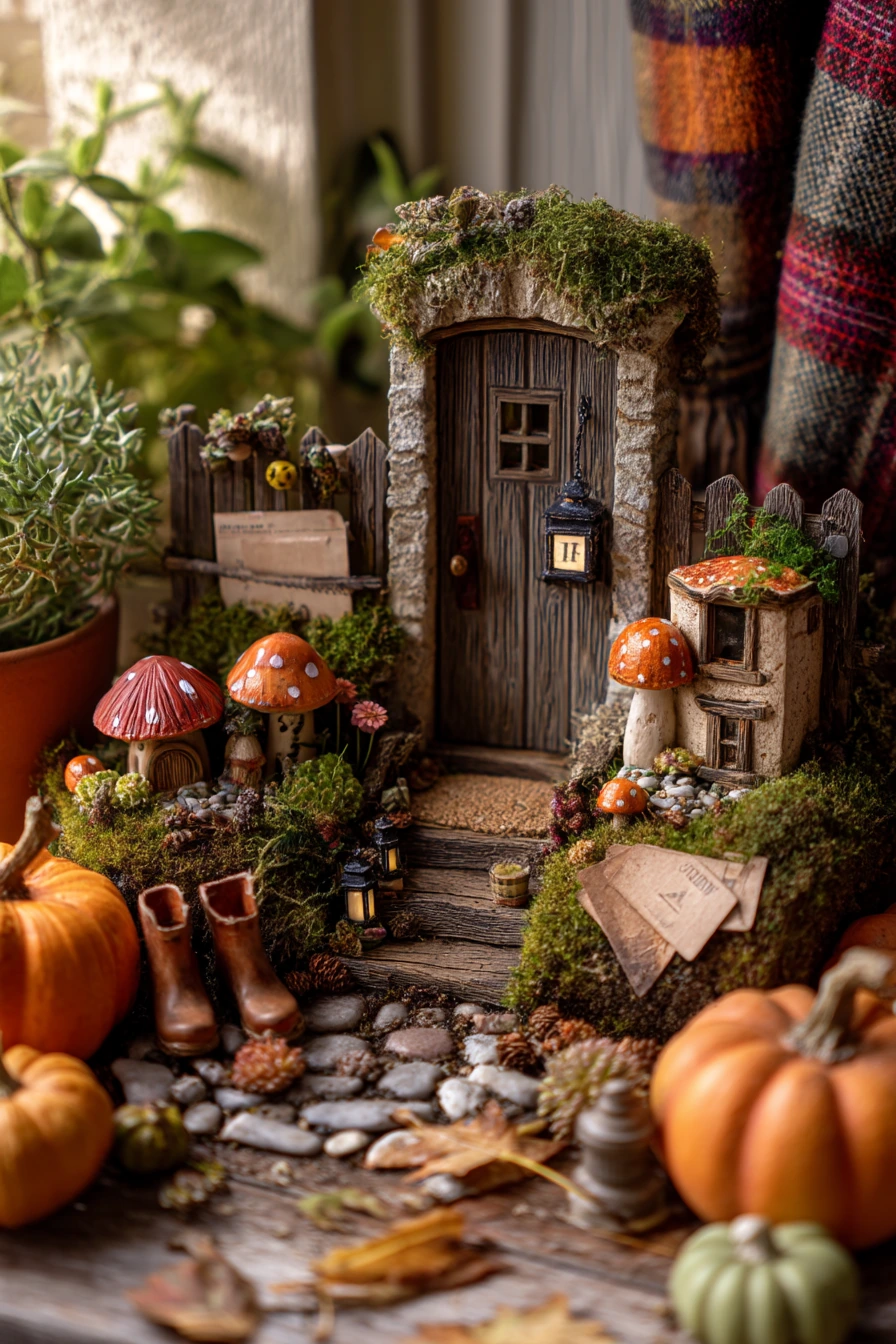
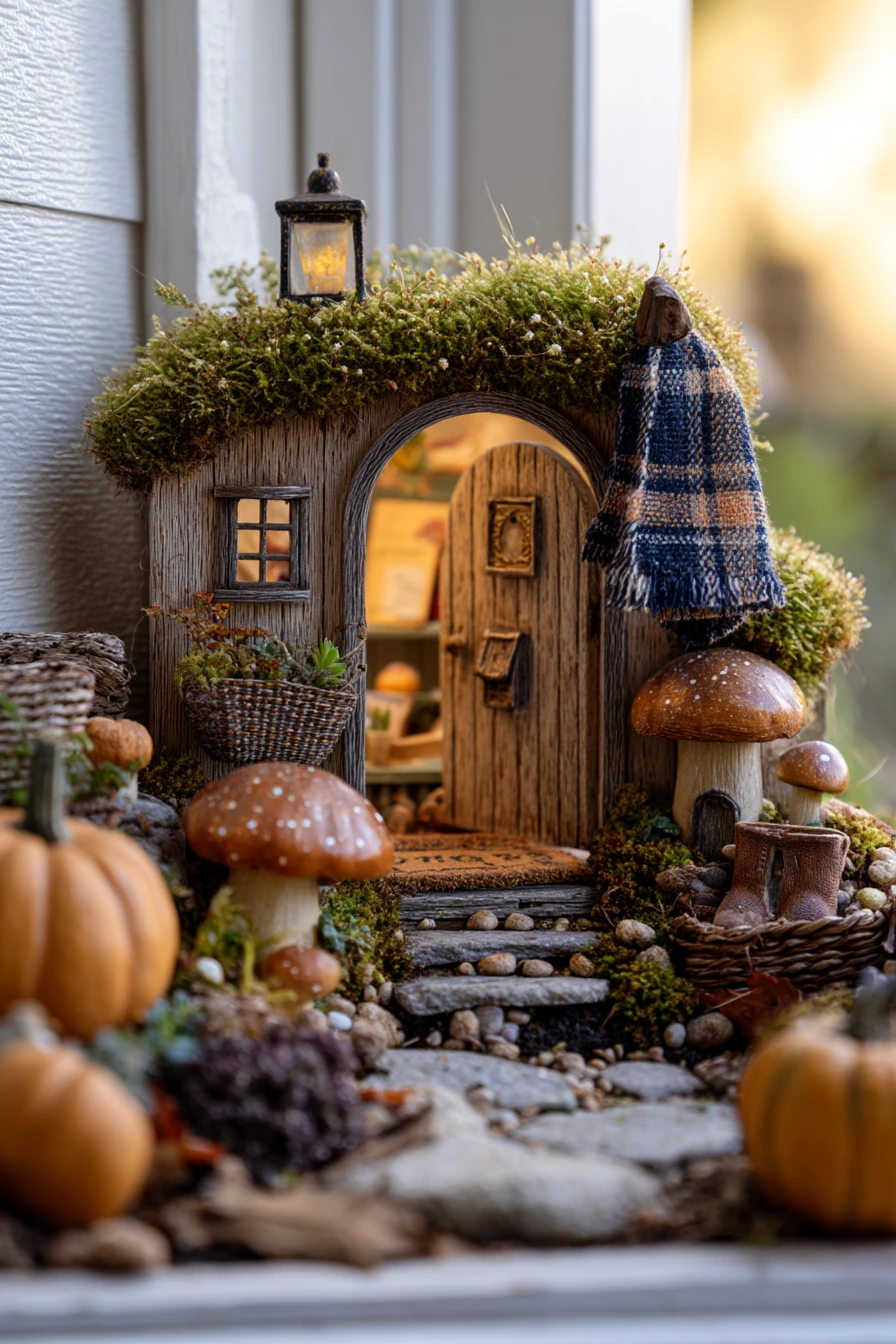
An autumn fairy garden at the front door makes your entry feel warm without needing big decor. Start with a low container or corner bed near the coir mat. Layer moss as the base, then add small pumpkins and dried seed pods for seasonal texture. Use weathered mushroom houses and a tiny lantern or two to make it feel cozy in golden afternoon light.
Create a small stone path that leads to a miniature gate. Keep the path short so it reads clearly from a few steps back. Plant thyme near the edges so it spills a little and softens the stones. This setup works well with real-life entry details like a stack of mail, one boot slightly out of place, and leaf crumbs on the mat. Those things already say “home,” so the fairy garden should look simple and tidy next to them.
Think about traffic flow. Put the fairy pieces where they will not get kicked when people come in and out. If there is a plaid scarf on a hook inside the doorway, repeat that warm color outside with orange pumpkins or a lantern with amber glass. At night, a small battery candle inside a tiny lantern can keep the scene visible without needing outdoor wiring.
- Use mini pumpkins so the scale matches the houses
- Choose dried pods and leaves that will not crumble fast
- Set stones into the soil so they stay flat under wind and rain
- Keep the gate near the front edge for easy viewing
- Swap seasonal pieces while leaving the base moss in place
Pro Design Tip: Limit your fall palette to three tones, like moss green, pumpkin orange, and weathered brown, so the entry looks calm.
Budget Considerations: Mini lanterns and houses can be reused each season; spend more on durable pieces once, then change the look with cheap natural items like leaves and seed pods.

7. Budget-Friendly Fairy Garden Ideas with Thrifted Finds
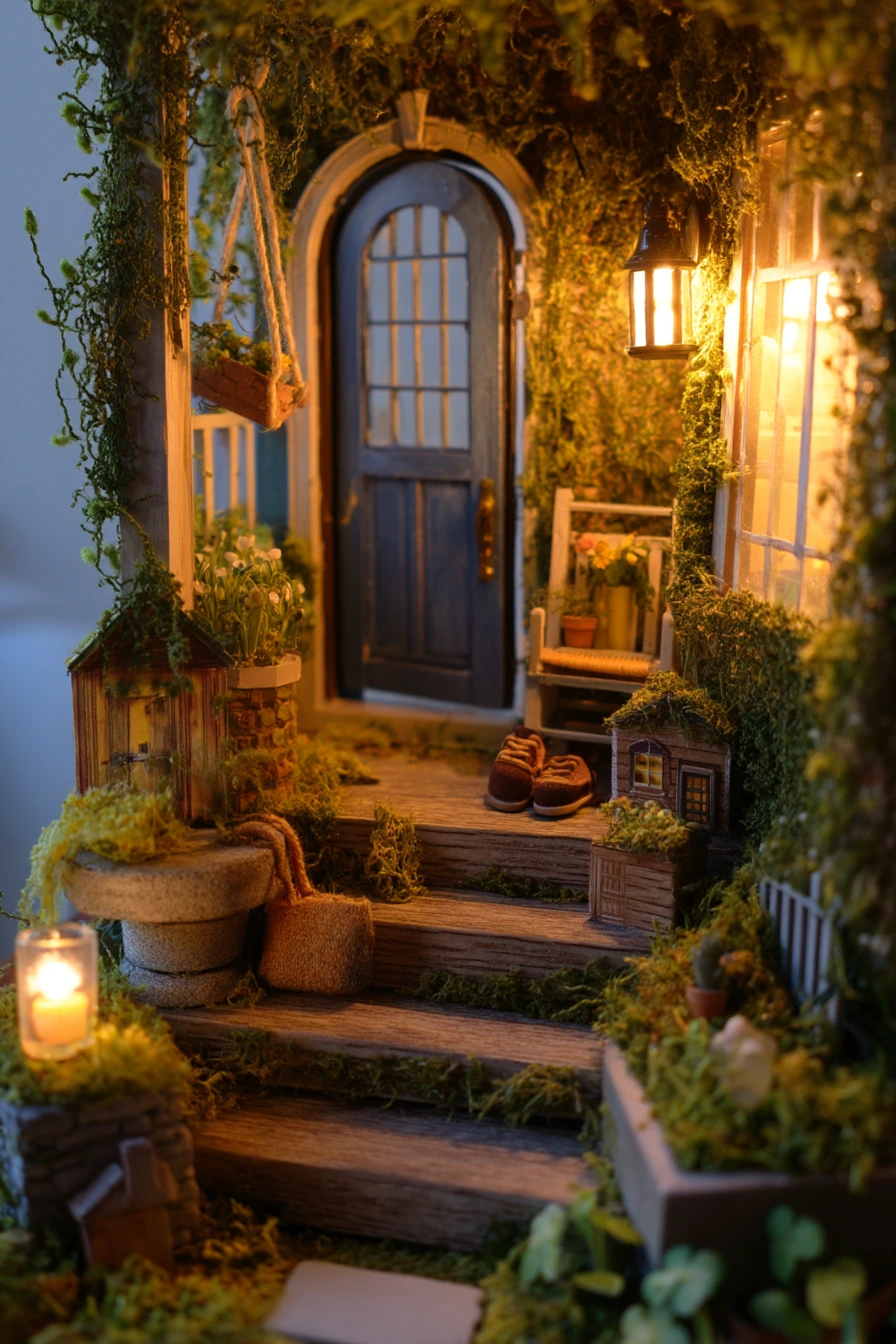
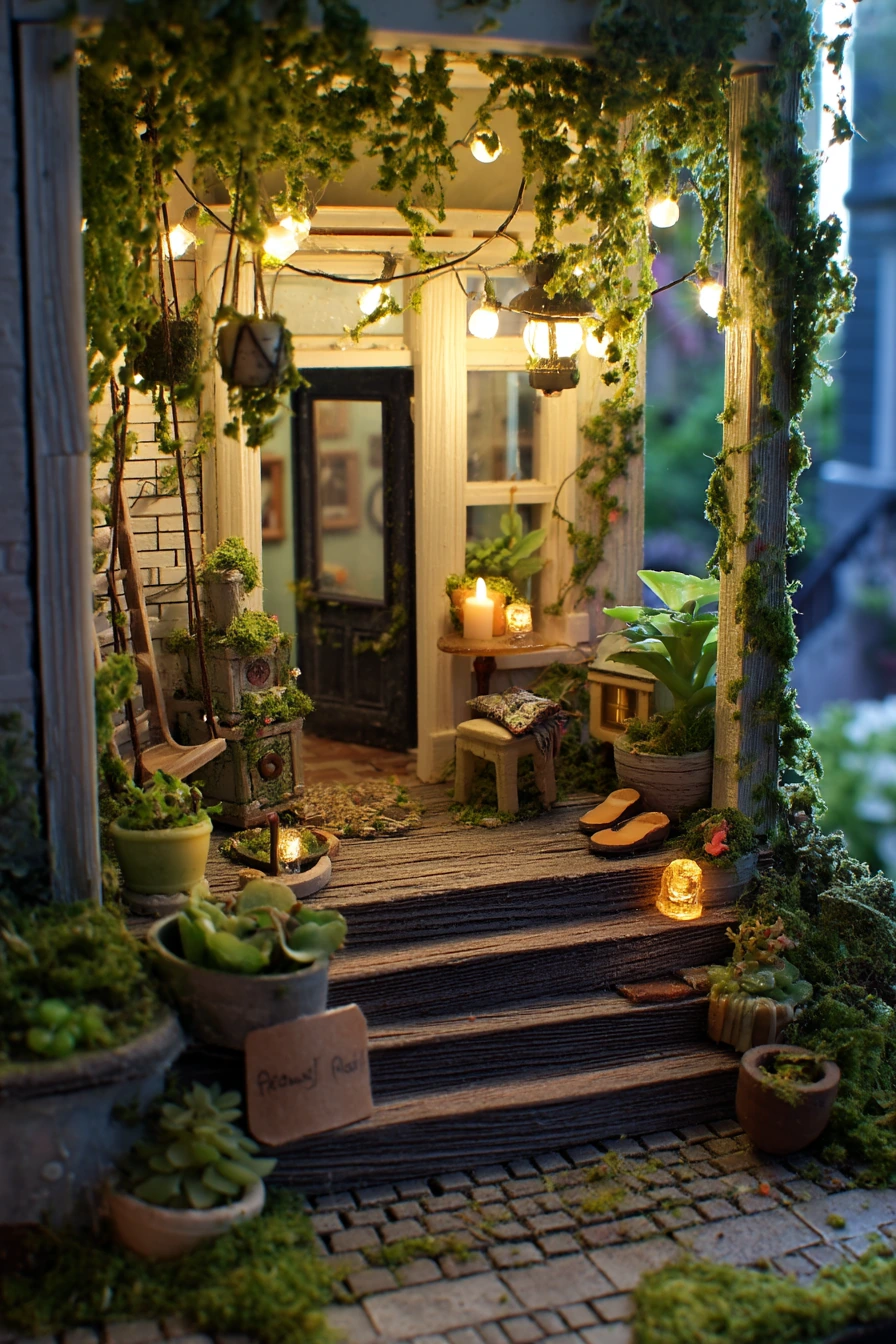
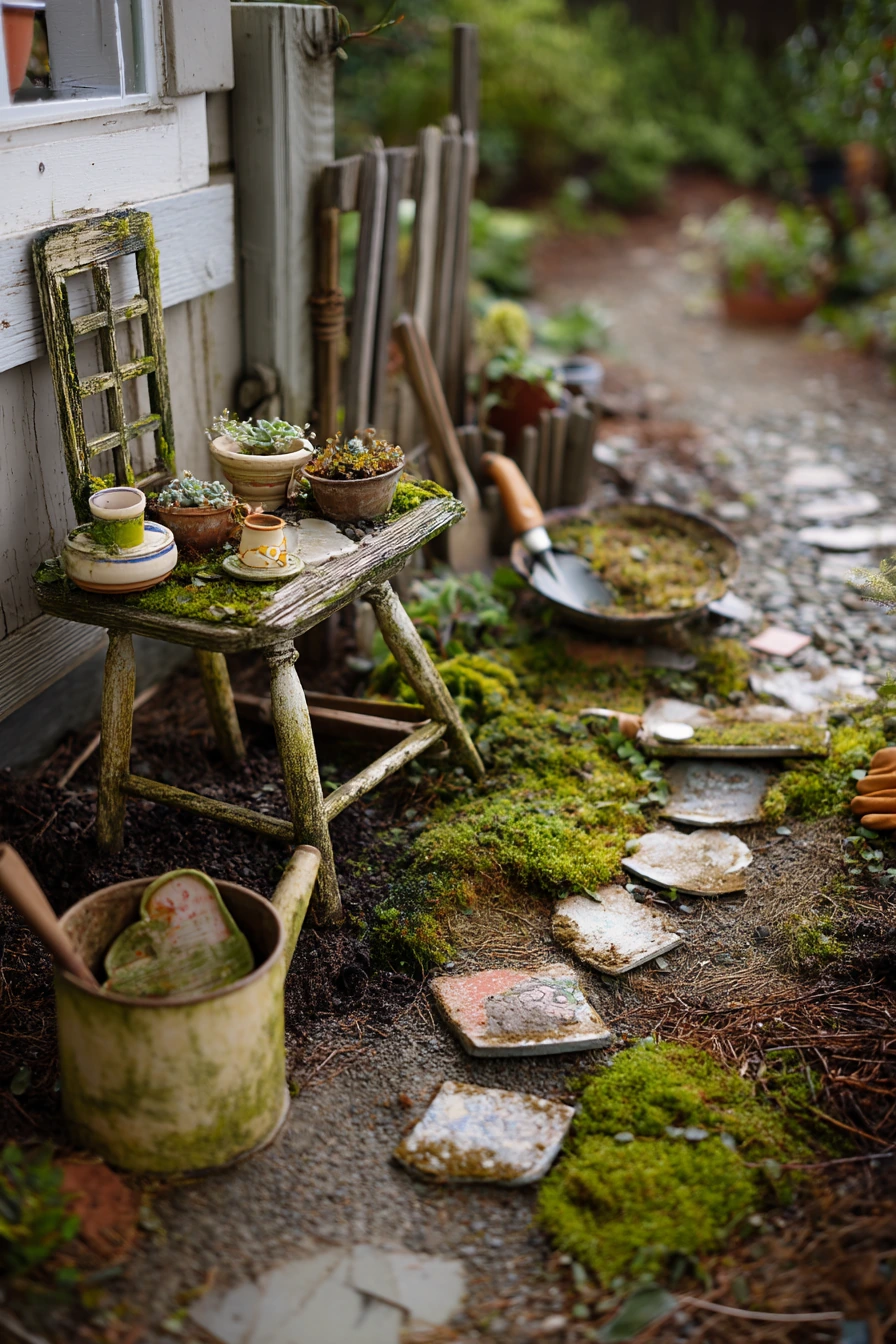
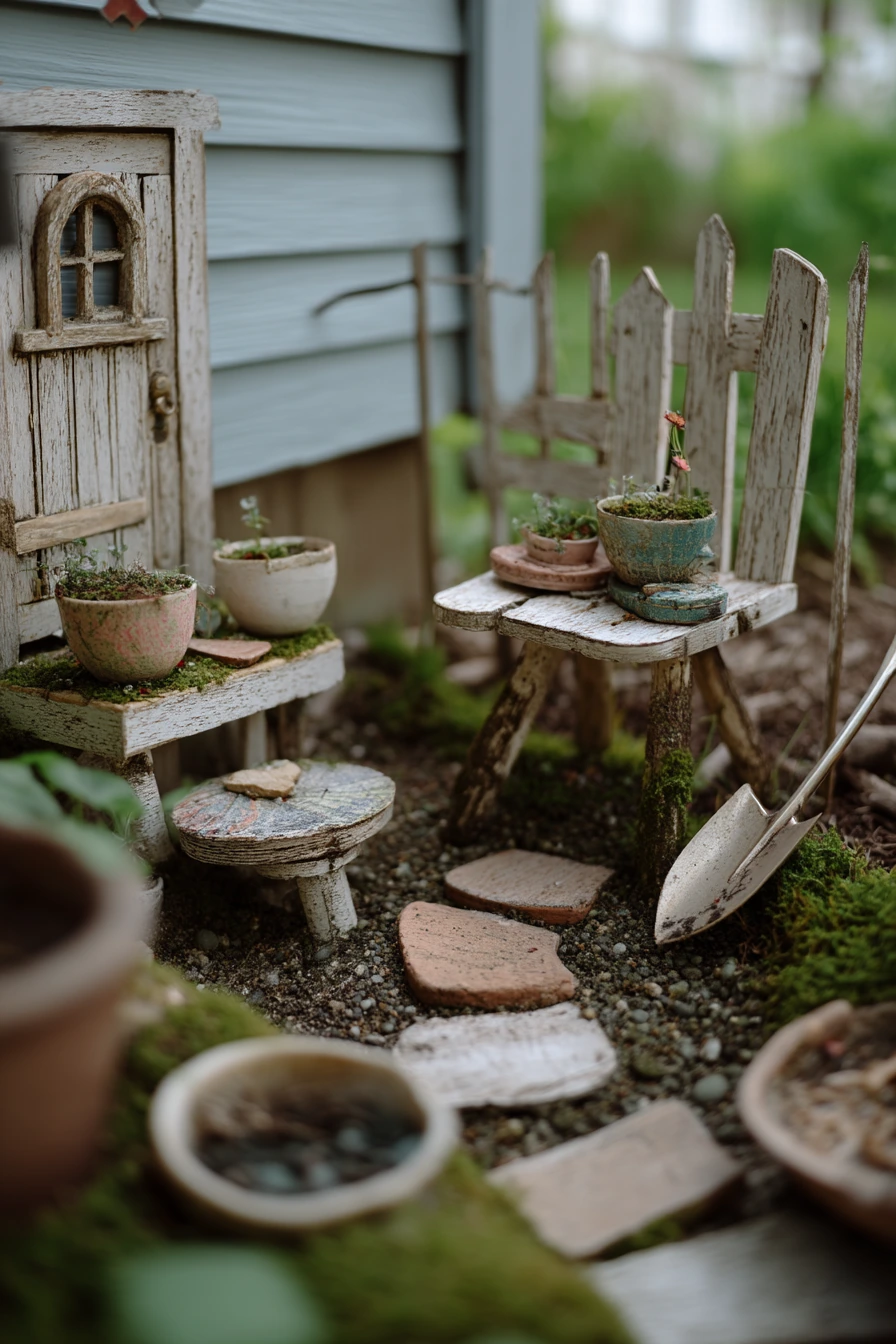
A budget-friendly fairy garden can look thoughtful when you use thrifted and repurposed items. Old teacups make great planters for tiny scenes, especially when grouped in a cluster. Fill each cup with soil, top with moss, and use broken terracotta fragments as stepping stones between the cups like a little walkway.
Add charm with simple handmade details. Paint miniature windows on salvaged wood, then lean the wood behind the cups like a tiny building front. A small fence made from craft sticks can frame the edge and keep the design contained. The handmade look fits well with real garden cues like a paint-stained apron on a chair, a spade leaning nearby, and a bucket with soil smudges.
To style it, pick one accent color for the painted windows, like soft blue or green, so the thrifted pieces feel connected. Use moss to hide rough edges where terracotta is chipped. Place garden gloves on a bench close by to keep the scene believable and practical. On overcast days, this kind of setup looks especially soft, so it is a good time to take Pinterest photos.
- Group teacups in odd numbers, like three or five, for better balance
- Sand sharp terracotta edges before placing them in soil
- Use outdoor craft paint and seal it so rain does not strip color
- Add small stones at the base of cups for drainage
- Use twigs as “logs” to add texture without cost
Pro Design Tip: Repeat the same fence height around the edge so the scene looks finished, even when the items are all different.
Budget Considerations: Thrifted teacups are often cheapest in sets with missing pieces; buy mismatched cups and unify them with the same moss and stone path.


8. Front Porch Fairy Garden Ideas with Lights
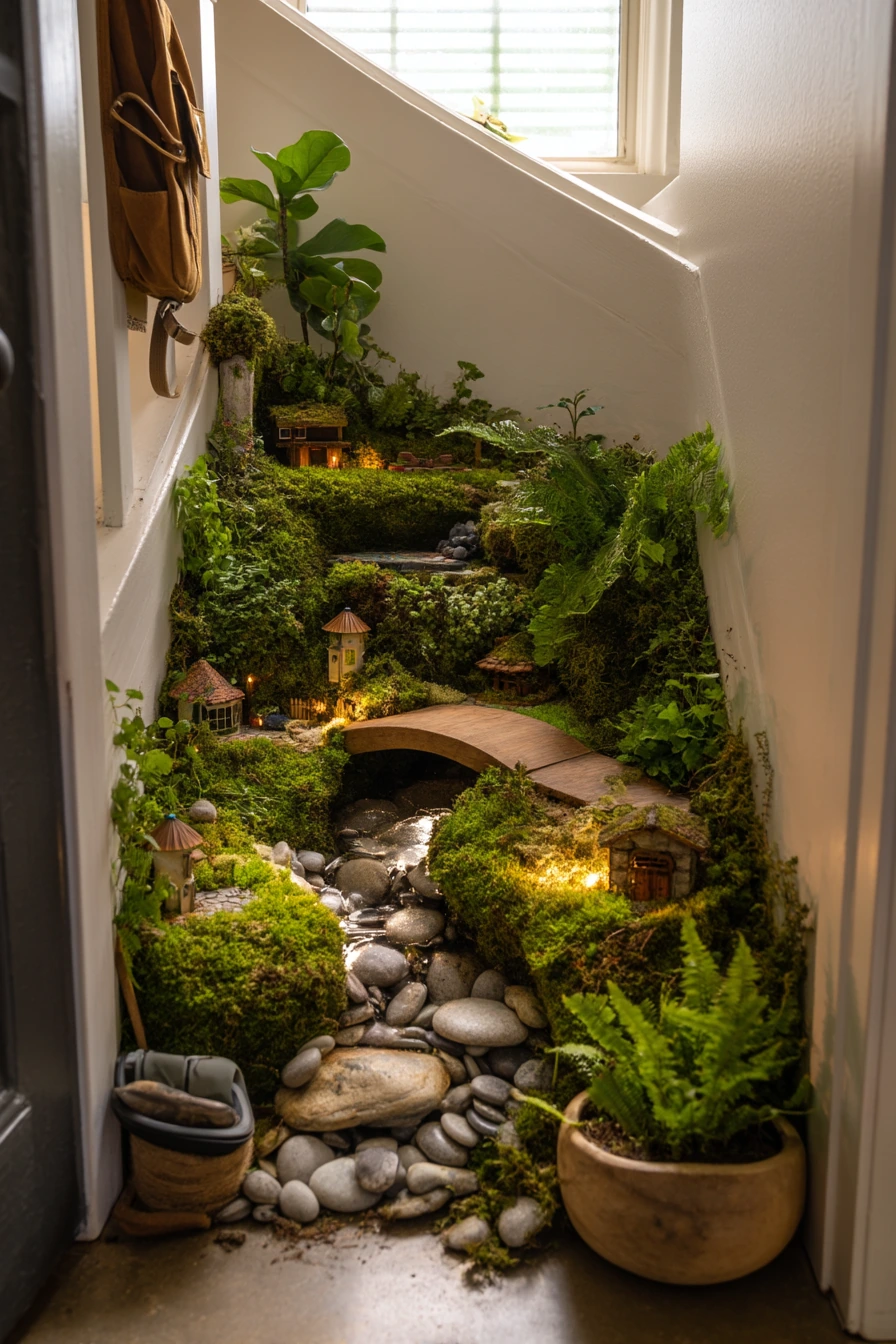
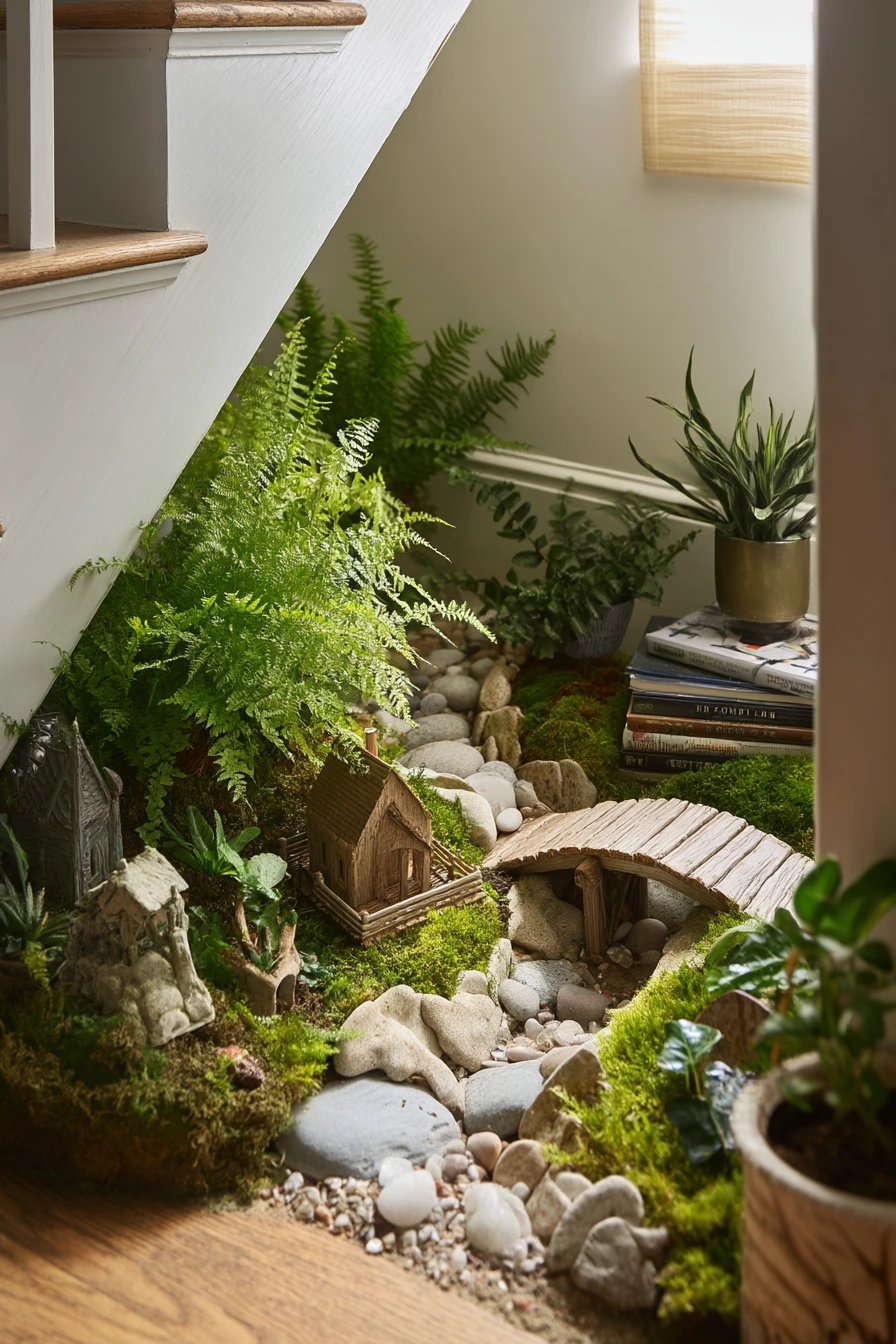
A front porch fairy garden is a strong choice if you want something you see every day and guests notice right away. Use layered planters to build height, with moss covering the soil so it looks clean. Add tiny cottages in the middle layer and a miniature swing in the front so it reads from the steps.
For evening style, weave fairy lights through ivy. The lights should sit behind the cottages so the glow feels soft, not harsh. Add a little stone fountain as a focal point if you have room, even a small tabletop version. Real porch items like two citronella candles, a knit throw over a chair, sandals, and a half-open delivery box can stay. Just keep the fairy garden grouped to one side so the porch still works for daily life.
Dusk is the best time for photos, when lantern light mixes with blue shadows. Use warm bulbs, and keep cords hidden behind planters. If wind is an issue, use heavier stones and tuck small pieces deeper into moss. Water early in the day so the porch is dry by the time people sit outside.
- Use one large planter as the base and two smaller ones for height
- Choose ivy or trailing plants to soften hard porch lines
- Place lights behind leaves to reduce glare in photos
- Anchor tiny decor with a dab of outdoor-safe adhesive
- Keep a small tray nearby for quick cleanup of fallen moss
Pro Design Tip: Put the brightest lights at the back and the darkest items at the front to add depth in low light.
Budget Considerations: Outdoor fairy lights range widely; start with a battery pack strand and upgrade to solar later if you like the look.
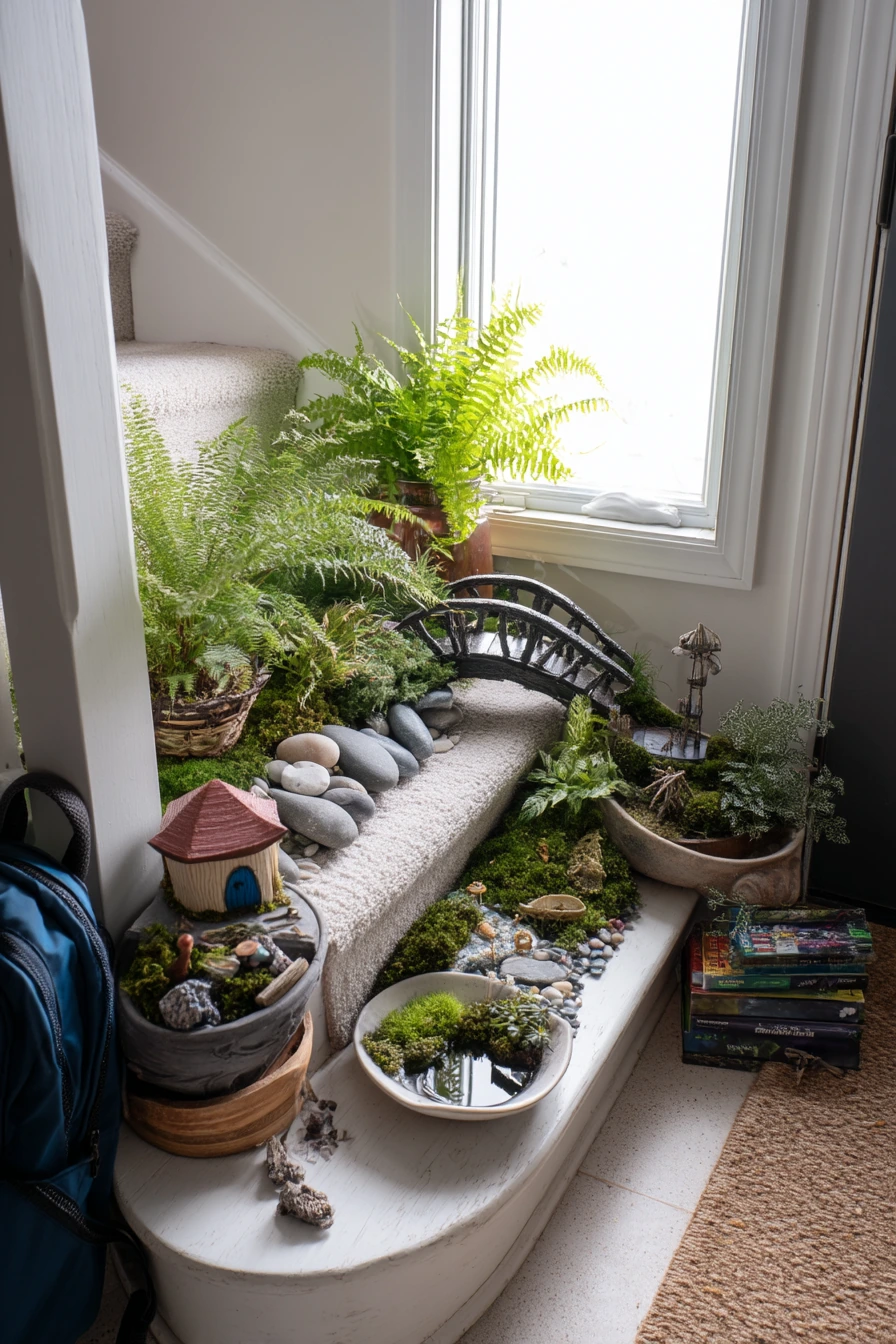
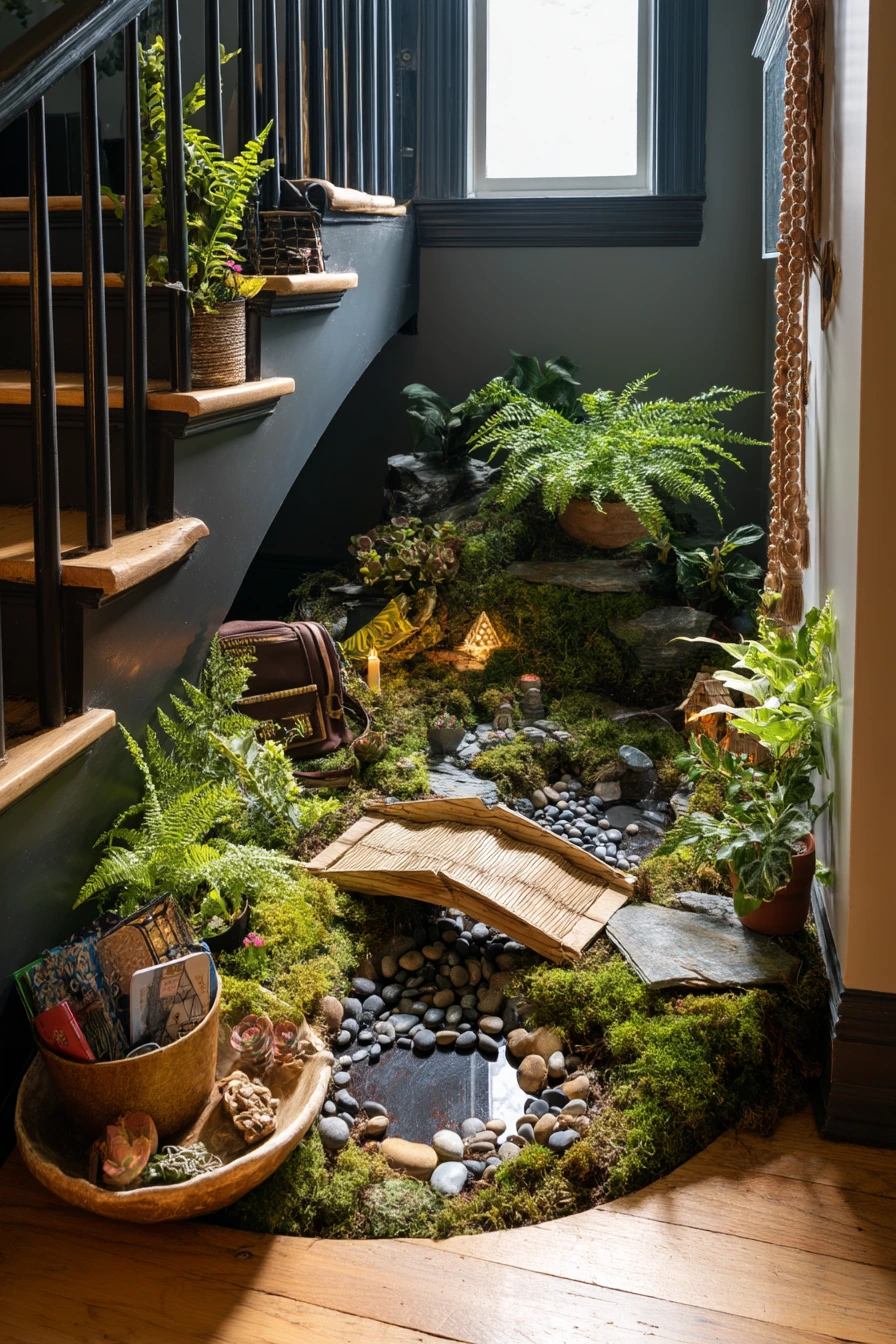
9. Under-Stairs Indoor Fairy Garden Ideas
An indoor fairy garden under a staircase is a smart way to add whimsy without needing outdoor space. Use shallow terrarium trays so you can keep soil contained and clean. Start with a base of pebbles and moss, then add tiny houses and a miniature bridge to create a clear focal point.
To make it feel calm, add ferns for soft texture and a mirror pond effect using a small mirror or a shiny ceramic dish. Keep the “pond” near the front so it catches window light from the entry. Real household items nearby, like a school backpack, slippers, a stack of board games, and even a vacuum parked close by, can exist in the same corner. The trick is to keep the fairy garden edges neat so the area looks intentional.
For care, choose plants that like indoor light and steady moisture, and mist instead of heavy watering. If the space is dim, use a small grow light on a timer and hide it behind a stair post or plant. Add a few stones along the tray edge to keep moss from lifting over time. This setup is also great for kids because it is at eye level and does not require going outside.
- Use trays with low sides so you can see details from standing height
- Choose small ferns that stay compact indoors
- Make a “pond” with a glossy dish for safer use than real water
- Keep a small brush nearby to sweep pebbles back into place
- Store extra mini pieces in a labeled box under the stairs
Pro Design Tip: Frame the scene with two similar plants on both sides so the under-stairs area feels like a finished display zone.
Budget Considerations: Terrarium trays can be costly; use thrifted serving platters or cafeteria trays, then line them with plastic to protect the surface.

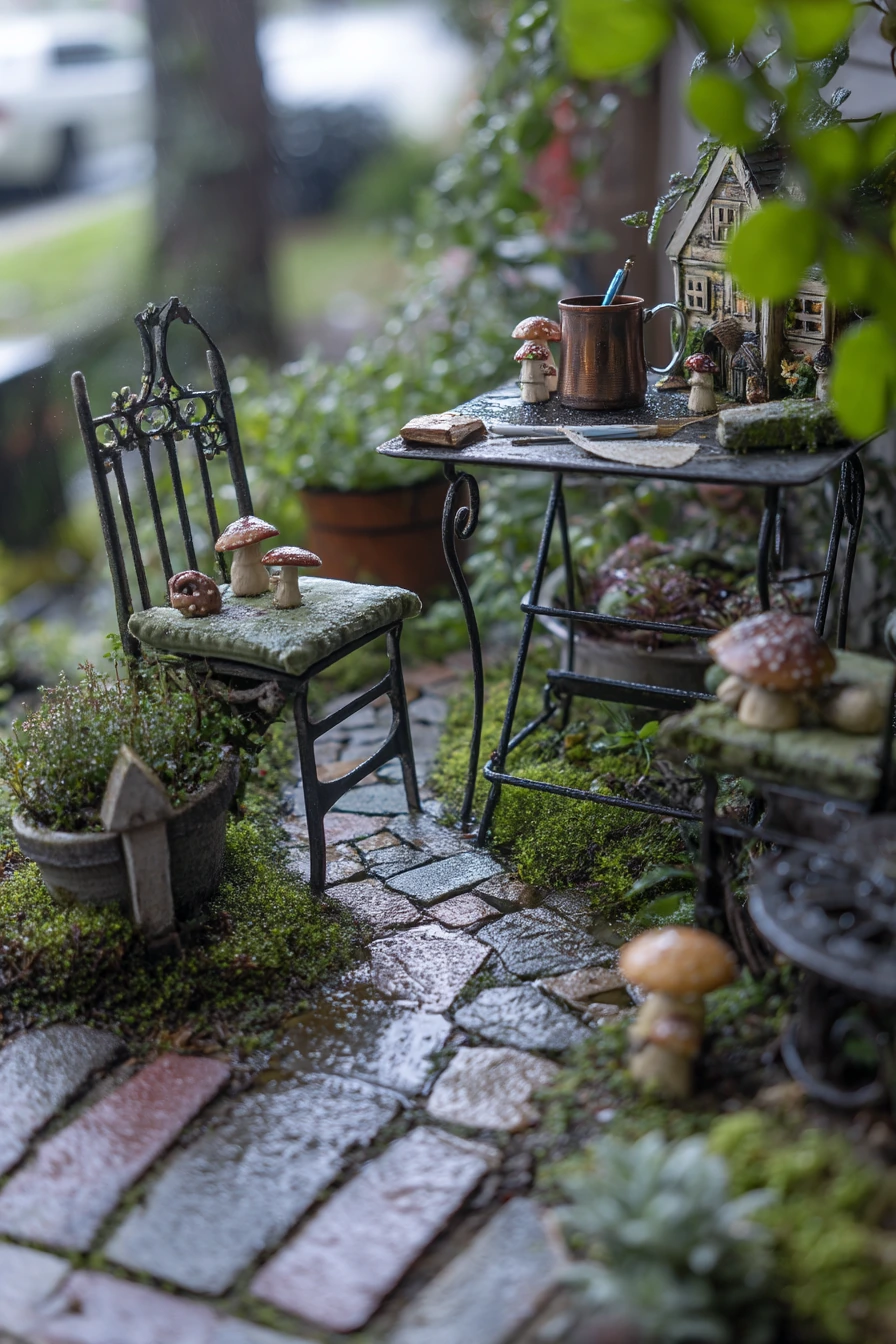
10. After-Rain Patio Fairy Garden Ideas
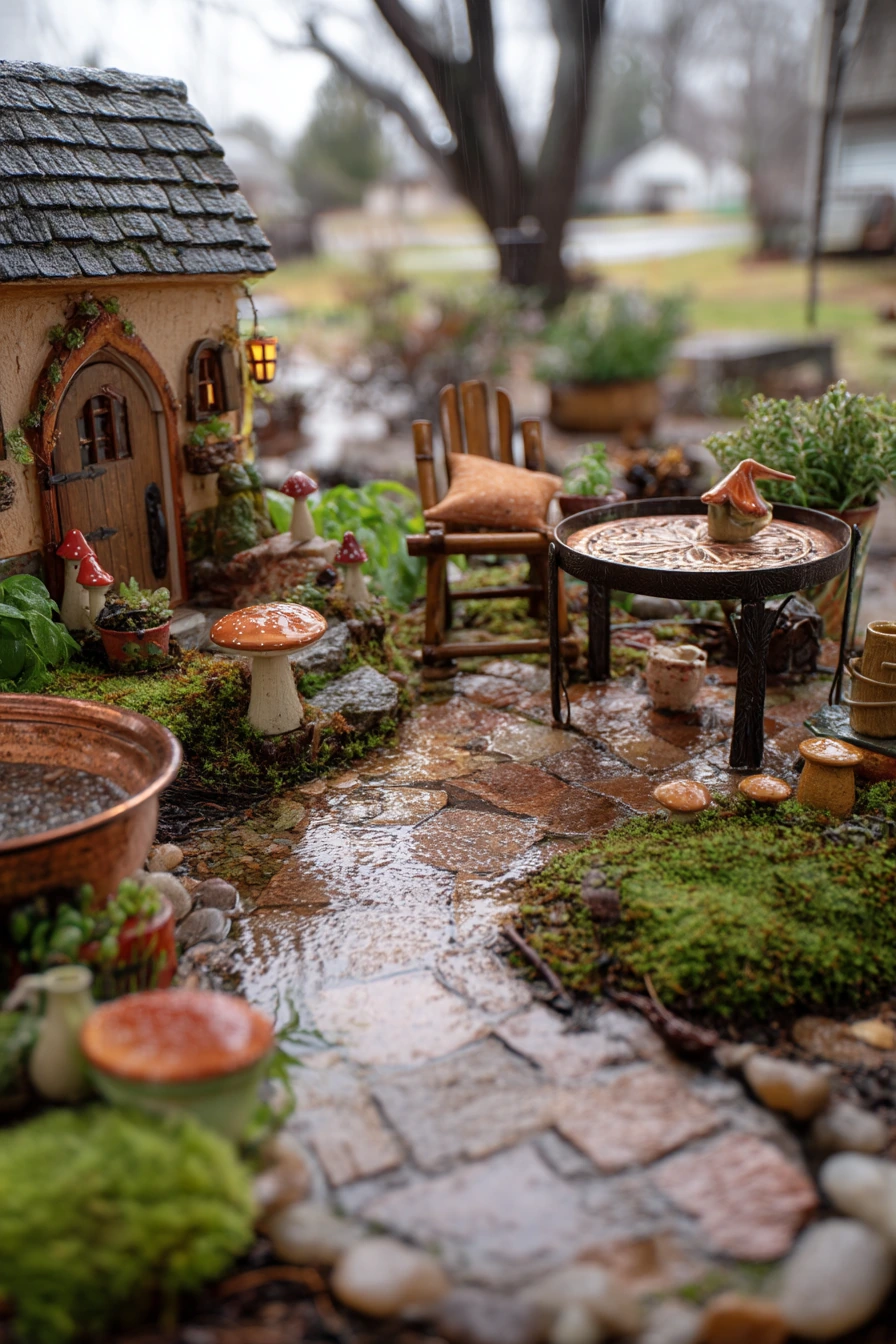
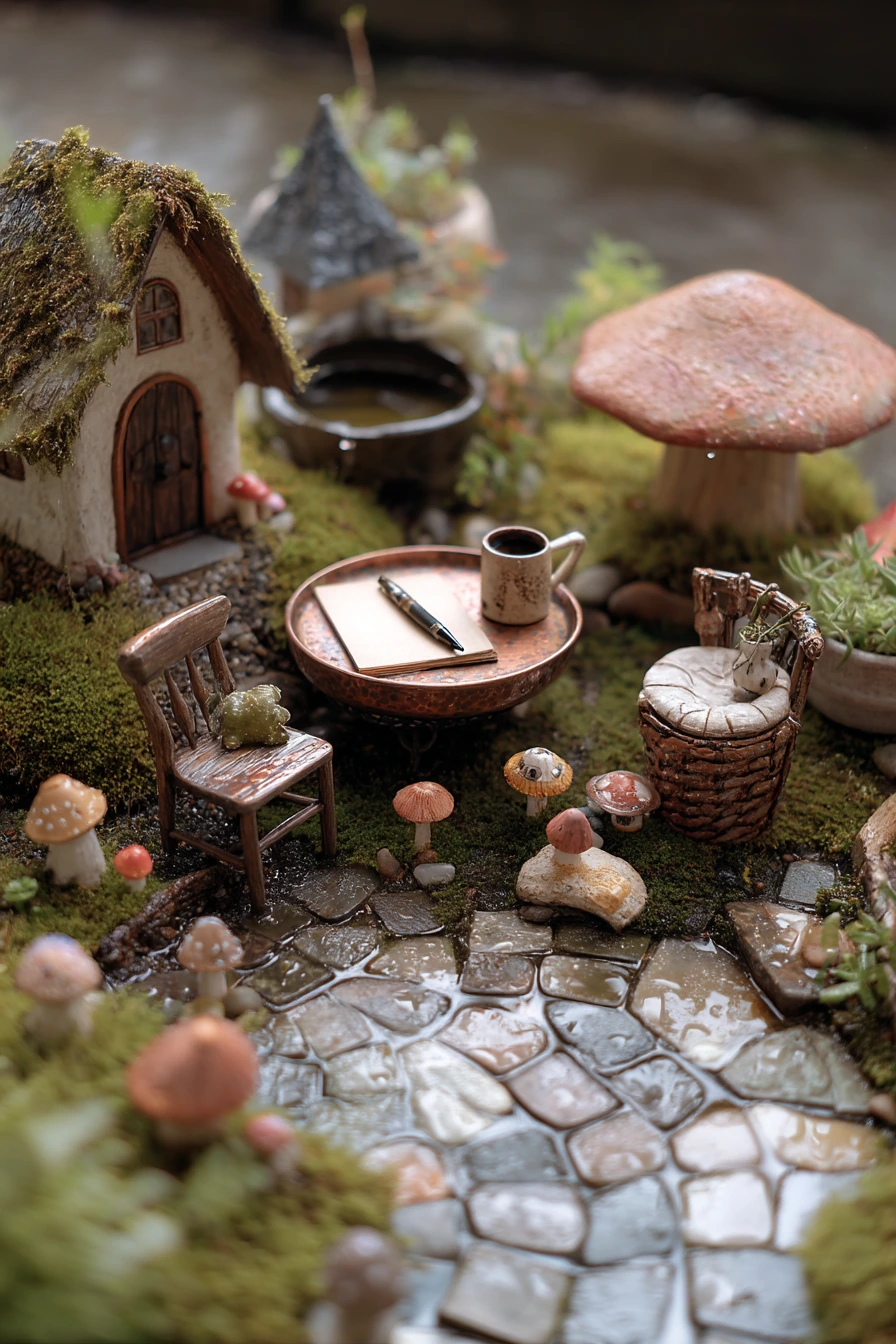
A patio fairy garden right after rain looks fresh and real, especially if you already grow herbs. Use wet moss as the base, then add tiny cottages and small mushrooms tucked into thyme. A pebble path will shine when it is damp, so keep the stones clean and avoid muddy soil on top.
Place miniature chairs near the path to create a simple “hangout” spot. Add a copper birdbath where droplets can collect and sparkle. Keep the scene close to where you sit, like beside a table with a mug, so it feels like part of your daily routine. A folded rain jacket, a garden notebook with a pen, and a chair cushion slightly askew all fit the quiet, cared-for mood.
For styling, use cool, diffused light days to take photos and to check if your layout reads clearly. If puddles form, lift a cottage and add a little gravel underneath so it does not sink. Trim thyme often so it does not swallow the path. If you want the rain look without actual rain, mist the moss and stones lightly before you photograph.
- Add a thin gravel layer under moss for better drainage
- Use thyme around edges to keep the scene low and tidy
- Choose sealed mini items so water does not damage them
- Keep one clear path line so the scene is easy to read
- Dry metal pieces after storms to reduce tarnish
Pro Design Tip: Place shiny elements, like the birdbath and wet stones, in the front third of the scene so the light reflection pulls viewers in.
Budget Considerations: Copper features can be expensive; use a small thrifted metal dish or a terracotta saucer and let the rain droplets do the work.
Fairy garden ideas work best when they match your space and your routine. A windowsill tray, a balcony bowl, or a patio planter can all feel special with moss, a simple path, and one strong focal piece.
Start small, use plants you can care for, and add details over time. When you keep the scene tidy and easy to water, it stays charming in real life and in photos.
FAQ
1) What is the best base for a fairy garden?
A shallow tray, planter, or terracotta pot works well. Pick something with drainage or add gravel at the bottom.
2) What plants work well in miniature fairy gardens?
Moss, thyme, small ferns, and trailing pothos are popular. Match the plant to your light level and watering habits.
3) How do I keep moss from drying out indoors?
Mist it lightly, keep it out of hot direct sun, and use a tray that holds a bit of moisture without flooding.
4) How do I make a fairy garden look realistic?
Use a clear path, tuck items into moss instead of placing them on top, and repeat materials like stones or wood.
5) Can I make a fairy garden if I rent?
Yes. Use movable containers like trays, bowls, and railing planters so you can take it with you.
6) How do I make it kid-friendly?
Use larger mini pieces, avoid sharp stones, and keep a small “play zone” where kids can rearrange safely.
7) What is the cheapest way to start?
Use thrifted containers, stones from outside, twigs, and a small amount of moss. Add one mini house or door as the main piece.